

A chipped corner on your favorite table or door frame stands out the moment you notice it. The good news? You can fix it yourself. You don’t need a workshop or years of woodworking skill to repair chipped wood and make it look whole again. With a few basic supplies and a little patience, you can erase that damaged spot and restore a clean, smooth finish.
This guide walks you through every step, from cleaning the damaged area to blending the final color. Whether you rent your place or own it, these methods work on furniture, trim, cabinets, and floors. By the end, you’ll know exactly how to repair chipped wood and get professional-looking results. The purpose here is simple: give you a clear, beginner-friendly process you can follow today.
Why Repairing Chipped Wood Matters
A small chip rarely stays small. Exposed wood absorbs moisture, swells, and cracks further. Left alone, that little flaw turns into a bigger, costlier problem.
Fixing it early protects your investment. Furniture and trim cost real money, and a quick repair extends their life by years. You also save the expense of hiring a pro or buying a replacement.
There’s a visual payoff too. A clean surface raises the appeal of your whole room. Buyers and guests notice rough edges, and so do you, every single day.
Learning this skill pays off again and again. Once you know the process, you can tackle scratches, dents, and worn corners across your home with confidence. One afternoon of practice gives you a repair ability you’ll use for life.
Tools and Materials You’ll Need
Gather your supplies before you start. Having everything within reach keeps the work smooth and prevents half-dried filler while you hunt for a missing tool.
- Wood filler or epoxy to rebuild the missing chip
- Putty knife to press and smooth the filler
- Fine-grit sandpaper (120 and 220) for a flat, clean surface
- Clean cloth to wipe away dust and debris
- Wood stain or paint to match the original color
- Clear finish or sealant to protect the repaired spot
- Painter’s tape to shield the surrounding area
- Small artist’s brush for precise color blending
- Tack cloth(optional) to grab fine dust before finishing
That tack cloth is a convenience worth having. It picks up dust a regular rag leaves behind, giving you a cleaner base for stain and sealant.
Step-by-Step Guide on How to Repair Chipped Wood
Step 1 – Clean the Damaged Area
Start with a clean surface. Dust, grease, and loose splinters stop filler from bonding properly, so wipe the chip and the area around it with a slightly damp cloth.
Run your finger lightly over the edge of the chip. You’ll feel any rough splinters that need attention. Pick away loose fragments with your fingernail or a putty knife tip, since these break free later and ruin your finish.
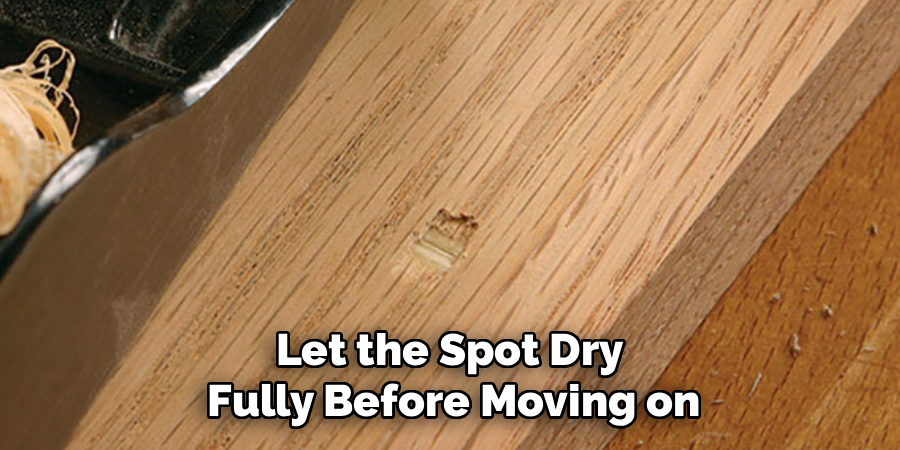
Let the spot dry fully before moving on. Trapped moisture weakens the bond and leads to bubbling. A dry, smooth base makes every following step easier. This first move sets the tone for the entire repair, so take your time and get it right.
Step 2 – Smooth the Rough Edges
Now soften the sharp borders of the chip. Fold a piece of 120-grit sandpaper and gently work the jagged edges until they feel even under your fingertips.
You want the chip’s rim to blend into the surrounding surface rather than sit like a cliff. Sand in the direction of the wood grain, never against it, to avoid leaving scratch marks across the face.
Listen for the sound to change. A smoother surface produces a quieter, finer scrape as you sand. Wipe away the dust with your cloth and check your progress with a fingertip. The transition should feel gradual. This prep ensures the filler grips well and sits flush once it cures.
Read More: How to Repair Chipped Granite Worktop.
Step 3 – Apply the Wood Filler
Scoop a small amount of filler onto your putty knife. Press it firmly into the chip, packing it slightly higher than the surrounding surface to allow for shrinkage as it dries.
Drag the knife across the spot at a low angle to remove excess and create a near-flat surface. Work quickly, since most fillers begin to set within minutes. You’ll feel the paste turn stiffer under the blade as it starts to harden.
For deep chips, apply in two thin layers rather than one thick blob. Thin layers cure evenly and crack less. This is the moment your repair takes shape, so aim for a smooth, slightly raised patch you can refine later.
Step 4 – Let It Cure Completely
Patience matters here. Read the product label and respect the full curing time, which often ranges from one to several hours.
Resist the urge to sand early. Soft filler tears and gums up your sandpaper, undoing your hard work. Press a fingernail gently at the edge to test firmness. A fully cured patch resists the pressure and feels solid, not tacky.
Keep the area cool and dry while it sets. Heat and humidity throw off curing times and weaken the result. Use this waiting period to clean your tools and plan your color match. Rushing this step is the most common reason a repair fails, so give the filler the time it needs.
Step 5 – Sand the Patch Flush
Once cured, switch to 220-grit sandpaper. Sand the raised filler down gently until it sits perfectly level with the surrounding wood.
Move in light, even strokes along the grain. Check often by running your hand over the surface with your eyes closed. Your fingertips detect bumps your eyes miss. When the patch feels invisible to the touch, you’re done.
Watch the dust color as you work. Filler dust looks different from wood dust, which tells you when you’ve sanded into the original surface. Stop there to avoid creating a dip. Wipe the area clean. To repair chipped wood well, this flush, seamless surface is what makes the fix disappear.
Step 6 – Match the Color
Color blending makes or breaks the repair. Test your stain or paint on a hidden spot first, like the underside of the furniture, to confirm the match.
Dip your small artist’s brush and apply the color sparingly to the patch only. Build up the tone in thin coats rather than one heavy stroke. Wood color usually has depth, so layer light shades until the patch melts into the grain.
Wipe excess stain with a cloth after a minute for a natural look. If your wood shows grain lines, mimic them with a fine brush stroke. Step back and view it under different light. A good match looks effortless from a few feet away.
Read More: How to Repair Wood Veneer.
Step 7 – Apply a Protective Finish
Seal your work to lock in the repair. Brush a thin coat of clear finish or sealant over the patched area and feather it into the surrounding surface.
This layer protects against moisture, scratches, and daily wear. It also unifies the sheen so the repaired spot matches the gloss of the original wood. Use light, even strokes and avoid drips, which dry into visible ridges.
Let the first coat dry, then add a second for high-traffic surfaces like tabletops or floors. The finish gives that satisfying, smooth glide when you run your hand across it. When you repair chipped wood and seal it properly, the fix lasts for years instead of months.
Step 8 – Inspect and Touch Up
Give the finished spot a final review. View it in natural daylight and again under indoor lighting, since color reads differently in each.
Run your fingers across the repair one last time. It should feel as smooth as the surrounding surface, with no ridges or soft spots. Look for any missed grain lines or color gaps you can correct now.
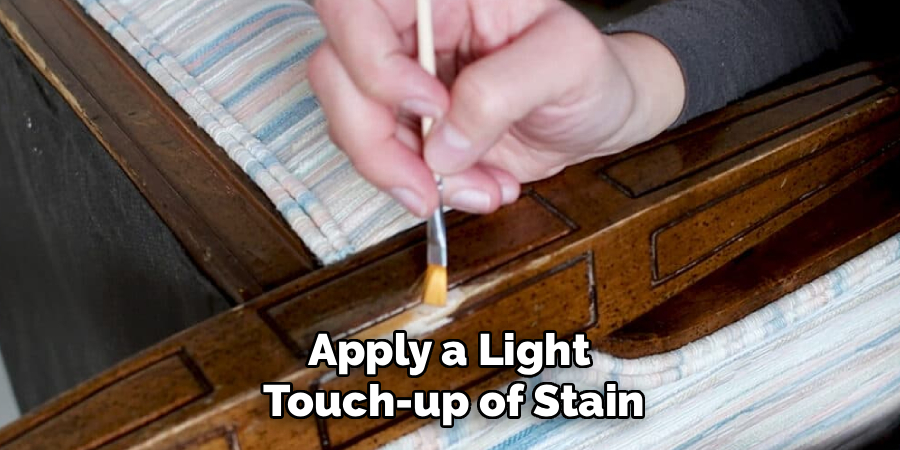
If something stands out, apply a light touch-up of stain or finish and let it dry. Small corrections at this stage make a big difference in the final look. Remove the painter’s tape slowly at an angle to keep the edges crisp. Your repair is now complete and ready for daily use.
Critical Mistakes When Repairing Chipped Wood
Most failed repairs trace back to a handful of avoidable errors. Knowing them ahead of time saves you frustration and a do-over.
The first mistake is skipping the cleaning step. Filler will not bond to a dusty or greasy surface. It looks fine for a day, then lifts at the edges and pops out. Always start clean and dry.
The second error is overfilling without a plan. People glob on too much filler and assume sanding will fix everything. It does, but you waste time and risk gouging the surrounding wood. Apply in thin layers and build up gradually instead.
Rushing the cure time ranks high too. Soft filler sands poorly, clogs your paper, and leaves a rough, uneven patch. Wait the full recommended time, even when you’re eager to finish.
A fourth common slip is poor color matching. Applying stain straight from the can without testing leads to a patch that’s too dark or too light, drawing every eye straight to it. Test on a hidden area first and build color in light coats.
Finally, many people skip the protective finish entirely. Without a sealant, the repair absorbs moisture and wears away fast. That final coat is what makes your work hold up.
Expert Tips
Work in good light. A bright, angled lamp reveals texture and color flaws you’d miss under overhead lighting, helping you catch problems while they’re still easy to fix.
Keep a sample of the original wood color saved on your phone. When you shop for stain, you’ll match it far more accurately than from memory.
For colored repairs, mix two stain shades to capture the true tone of aged wood. Real wood rarely matches a single can.
Use epoxy instead of standard filler for chips on edges and corners. Epoxy holds shape better and resists future chipping where impact is most likely.
Finally, practice on a scrap piece first. Five minutes of testing your technique builds confidence and prevents costly mistakes on the real surface.
Frequently Asked Questions
How long does a chipped wood repair take?
Most repairs take one to three hours of active work, plus curing time. The hands-on steps move quickly, but filler and finish each need time to dry. Plan for a half-day if you want to apply multiple coats. Rushing the drying stages causes most failures, so build the wait time into your schedule rather than forcing the process.
Can I repair chipped wood on a painted surface?
Yes. The process is nearly identical, but you skip staining and match with paint instead. After sanding the filler flush, prime the patch first, then apply paint in thin coats until it blends. Painted surfaces are often easier to match than stained wood because solid color hides the repair completely once the sheen matches.
What’s the best filler for deep chips?
Two-part epoxy works best for deep or structural chips. Here’s why it wins:
- Stronger bond that resists future cracking
- Better shape retention on edges and corners
- Minimal shrinkage as it cures
For shallow surface chips, standard wood filler is faster and easier. Match the product to the depth and location of your damage for the best result.
Will the repair be visible after I finish?
A careful repair becomes nearly invisible from normal viewing distance. Success comes down to three things: sanding the patch perfectly flush, matching the color in light layers, and sealing with a finish that matches the original sheen. Up close, a slight difference may show, but most repairs disappear in everyday lighting and use.
Do I need to seal the repair?
Yes, sealing is essential. A clear finish protects the patch from moisture, scratches, and daily wear, and it blends the sheen so the repair matches the surrounding wood. Skipping this step is the fastest way to watch your work fail. One or two thin coats add years of durability to the finished surface.
Conclusion
Fixing a chip is well within your reach. You’ve now seen the full process, from cleaning and smoothing the damage to filling, sanding, color matching, and sealing. Each step builds on the last, and none of them require special skills or expensive gear.
The key takeaways are simple. Start clean, work in thin layers, respect the curing time, and never skip the protective finish. Test your color on a hidden spot, and use good lighting to catch flaws early. Get these basics right, and your repair will hold up and blend in beautifully.
The real reward goes beyond one fixed table or door frame. Once you learn to repair chipped wood, you gain a skill you’ll reach for again and again across your home. That worn cabinet edge, that scratched shelf, that dinged trim, you can handle all of it now.
So grab your supplies and tackle that chip today. With a little patience and the steps above, you’ll restore your wood to a smooth, clean finish you can feel proud of.