

Seeing a chunk missing from your beautiful kitchen counter can make your heart sink. Granite is incredibly tough, but it is not completely indestructible.
Accidents happen to the best of us, especially in busy kitchens. If you are wondering how to repair chipped granite worktop damage without spending a fortune, you are in the right place.
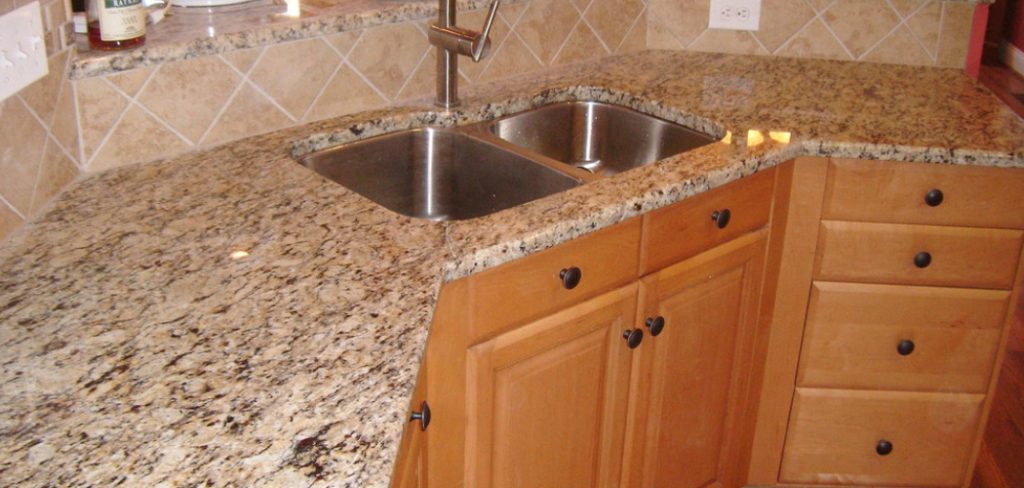
You do not need special contractor skills to fix this issue. With a little patience and the right supplies, you can make that ugly chip disappear completely.
Learning how to repair chipped granite worktop surfaces yourself saves you a massive amount of money. You can skip the expensive service call and feel proud of your handy work.
Let us walk through this simple fix together so you can get your kitchen back to looking its absolute best.
What Causes Granite Worktops to Chip?
Even the strongest stones have their weak points. Understanding how the damage happened can help you prevent it in the future.
Here are the most common reasons you might find a chip in your stone:
- Dropping Heavy Objects: Slippery hands and a cast-iron skillet are a bad combination. A direct hit from a heavy pot is the number one cause of edge chips.
- Dragging Hard Items: Sliding ceramic bowls or rough metal appliances across the counter can catch on natural fissures and break off small pieces.
- Belt Buckles and Buttons: Leaning against the edge of the sink while washing dishes can cause metal buttons or buckles to chip the stone over time.
- Natural Stone Fissures: Granite has natural tiny cracks called fissures. Sometimes, everyday pressure causes these weak spots to finally give way.
- Poor Edge Profiles: Square or sharp edges chip much easier than rounded or beveled edges.
Tools & Materials Needed for the Repair
Before we dive into the repair process, you need to gather your supplies. Having everything within reach makes the job completely stress-free.
Here is exactly what you need to pick up from the hardware store:
- Granite Repair Kit: A clear epoxy resin or cyanoacrylate (CA) glue designed specifically for stone.
- Masking Tape or Painter’s Tape: This protects the surrounding stone from accidental glue spills.
- Rubbing Alcohol (Isopropyl): You need this to thoroughly clean the damaged area before starting.
- Paper Towels or Microfiber Cloths: For wiping away dust and cleaning up any small messes.
- A Straight Razor Blade: Crucial for shaving down the dried epoxy so it sits flush with the counter.
- Fine-Grit Sandpaper: You will need 400, 600, and 1200 grit wet/dry sandpaper for the final polish.
- Toothpicks or Craft Sticks: These are perfect for mixing the epoxy and applying it to tiny chips.
- Stone Polish: A standard granite polish to blend the repaired area and bring back the shine.
Step-by-Step Fix Guide: How to Repair Chipped Granite Worktop
Do not let the idea of working with epoxy intimidate you. This process is incredibly straightforward when you take it one step at a time.
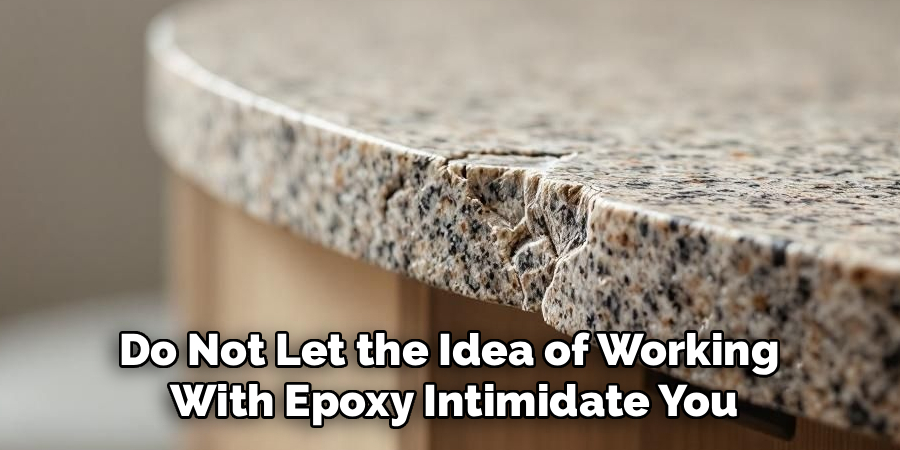
Follow these beginner-friendly steps, and your counter will look amazing.
Step 1: Clean and Prep the Damaged Area
A successful repair relies entirely on a clean surface. If there is grease or dust inside the chip, the epoxy will not stick properly.
Pour a small amount of rubbing alcohol onto a clean paper towel. Vigorously wipe out the inside of the chip and the surrounding counter.
Wait about five minutes to ensure the alcohol completely evaporates. The stone must be completely bone-dry before you apply any adhesive.
Step 2: Tape Off the Chip
Epoxy can be messy, and you do not want it curing on the undamaged parts of your stone. Masking tape is your best friend here.
Tear off a few pieces of tape and border the chip closely. You want to create a small “dam” around the hole.
If the chip is on the edge of the counter, use the tape to create a supportive wall. This stops the liquid epoxy from dripping down onto your cabinets.
Step 3: Prepare Your Filler
If you bought a two-part epoxy kit, now is the time to mix it. Read the manufacturer instructions carefully.
Use a craft stick to mix the resin and hardener on a piece of cardboard. Mix it slowly to avoid creating tiny air bubbles in the liquid.
If you are using a pre-mixed CA glue gel, you can skip the mixing process entirely. Just remove the cap and get ready to apply it.
Step 4: Fill the Chipped Area
Dip a toothpick or a clean craft stick into your mixed epoxy. Carefully dab the adhesive directly into the center of the chip.
Fill the hole until the epoxy sits just slightly higher than the surface of the granite. The adhesive shrinks slightly as it dries, so you want a tiny mound.
Work somewhat quickly here. Most epoxies begin to harden within five to ten minutes, so you want it placed before it gets too sticky.
Step 5: Let the Epoxy Cure Completely
Patience is the secret ingredient to a perfect granite repair. You must leave the epoxy alone so it can harden completely.
Check the instructions on your specific kit for curing times. Some fast-acting adhesives dry in minutes, while standard epoxies might take a full 24 hours.
Resist the urge to poke the filler with your finger. Just walk away and let the chemicals do their job.
Step 6: Shave Off the Excess Filler
Once the patch is rock hard, remove the masking tape. You will see a small, hardened bump of epoxy sitting on your counter.
Take your straight razor blade and hold it at a sharp 45-degree angle against the granite. Very gently, use a back-and-forth sawing motion to shave the bump down.
Keep shaving small layers off until the epoxy is completely flush with the surrounding stone. Run your finger over it to ensure it feels perfectly flat.
Step 7: Sand and Polish the Spot
The shaved epoxy will likely look a little dull compared to your shiny worktop. We fix this by wet sanding the area.
Dip your 400-grit sandpaper in water and gently rub the patch in small circles. Repeat this process with the 600-grit, and finally the 1200-grit sandpaper.
Wipe the area clean with a damp cloth. Spray a generous amount of granite polish over the patch and buff it out with a microfiber cloth.
Essential Safety Warnings
Working with chemicals always requires a little bit of common sense. Keep these safety tips in mind while you work.
Always work in a well-ventilated area. Open a nearby window or turn on the kitchen exhaust fan to clear out epoxy fumes.
Wear disposable nitrile gloves to protect your skin from the adhesive. If you get epoxy on your fingers, wash it off immediately with soap and warm water.
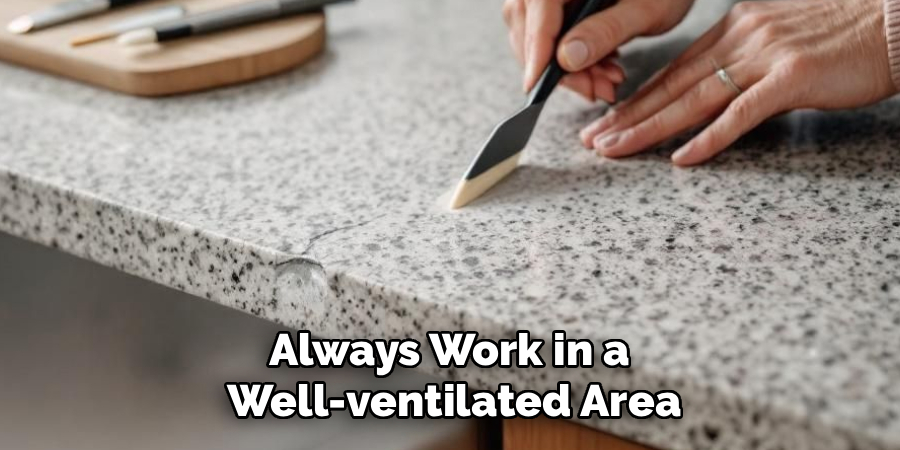
Use extreme caution when handling the razor blade. Keep your fingers away from the sharp edge and never force the blade if it gets stuck on the hardened glue.
When to Call a Professional
DIY repairs are fantastic for small, everyday accidents. However, some jobs require heavy machinery and professional expertise.
If the chip is larger than a quarter, you might struggle to make it look natural. Professionals have specialized tinted resins to match complex stone patterns.
You should also call a pro if the damage is an actual crack rather than a chip. A spreading crack indicates structural stress that could split the entire slab.
If you attempt the fix and hate how it looks, do not panic. A professional stone technician can remove your epoxy and redo the job correctly.
Cost Estimate: DIY vs. Professional Repair
One of the best parts about learning how to repair chipped granite worktop surfaces is the massive savings. Let us break down the math.
A good DIY granite repair kit costs between $20 and $50 at the hardware store. Since you already own paper towels and tape, your total cost remains extremely low.
Hiring a professional stone fabricator to visit your home tells a different story. The minimum trip charge usually starts around $150 to $200.
For multiple chips or complex edge damage, a professional might charge up to $500. By doing it yourself, you keep that money right in your pocket.
Frequently Asked Questions
How long does a granite repair take?
The actual hands-on work only takes about 15 to 30 minutes. However, you must factor in the curing time of the epoxy, which can take anywhere from an hour to a full day.
Can I use standard super glue for the chip?
While you can use thick super glue (CA gel) in a pinch, standard watery super glue will not work. It will seep into the stone pores and fail to fill the gap. Always use a proper stone-rated filler.
Will the repaired spot be noticeable?
If you use clear epoxy on dark or speckled granite, the repair is almost invisible. If your granite has a solid, light color, you might see a slight glassy spot if you look incredibly close.
Will the repaired edge break again?
Epoxy resin cures incredibly hard, sometimes even harder than the stone itself. As long as you prepped the area well, the patch will easily withstand normal daily kitchen use.
Conclusion
A damaged kitchen counter is frustrating, but it is far from the end of the world. You now have the exact blueprint for fixing the problem yourself.
Learning how to repair chipped granite worktop damage is an incredibly valuable skill for any homeowner. You restore the beauty of your kitchen while keeping your hard-earned cash safe.
Just remember to take your time, prep the surface thoroughly, and be patient with the curing process. Your counter will look flawless before you know it.
Ready to tackle more home projects? Grab your repair kit today and show that granite chip who is boss!