

Nothing ruins the look of a beautiful yard faster than brown, dead patches of grass. You put hard work into maintaining your property. Seeing patches of dirt can be incredibly frustrating.
Many homeowners and renters face this exact issue every single season. The good news is that you do not need an expensive landscaping crew to fix it.
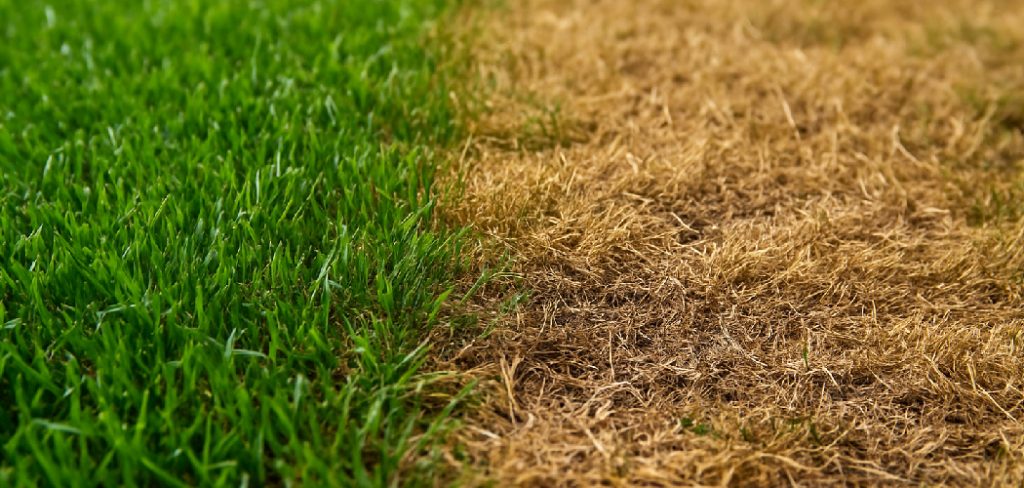
Learning how to repair bare spots in lawn is simple, fast, and saves you serious money. You can achieve professional results with just a few basic tools and a free afternoon.
By fixing the grass yourself, you keep your hard-earned cash in your pocket. We are going to walk through this together, step by step. Grab your gardening gloves, and let’s get your yard looking perfect again!
Understanding Your Grass Problems
Before we start planting new grass, we need to understand the root cause. Fixing a patch without knowing why it died is a temporary solution.
If we ignore the cause, the new grass might die, too. Let’s figure out what went wrong in your yard.
What Causes This Problem?
Several everyday issues can damage your turf. Here are the most common culprits:
- Pet Urine: Dogs have high nitrogen levels in their urine, which easily burns grass and leaves distinct dead patches.
- Heavy Foot Traffic: Walking exactly the same path every day compacts the dirt, making it impossible for roots to grow.
- Thatch Buildup: A thick layer of dead grass, known as thatch, blocks water and nutrients from reaching the roots.
- Grubs and Pests: Lawn grubs eat grass roots from underneath, causing the turf to turn brown and pull up easily.
- Fungal Diseases: Poor drainage and extreme humidity can cause lawn fungus, resulting in expanding brown circles.
- Buried Debris: Rocks or old construction debris left near the surface block root growth and heat up the soil.
Gathering Your Supplies
Preparation is the secret to a successful DIY repair. Having everything ready saves you trips to the hardware store.
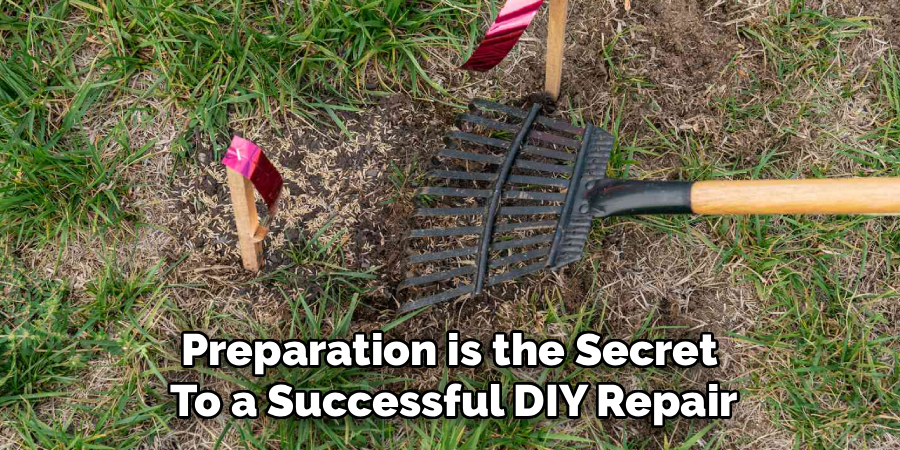
You likely already have a few of these items in your shed. Here is a clear list of exactly what you will need.
Tools & Materials Needed
- Quality Grass Seed: Match the seed type to your existing turf (like fescue, bluegrass, or Bermuda).
- Steel Garden Rake: This is essential for removing dead turf and scratching up the dirt surface.
- Hand Trowel: Perfect for digging out tough roots or rocks hidden beneath the surface.
- Enriched Topsoil or Compost: New seed needs a nutrient-rich base to establish strong roots quickly.
- Starter Fertilizer: This gives your baby grass the specific nutrients required for rapid growth.
- Garden Hose with Mist Nozzle: Gentle watering is required so you don’t wash the tiny seeds away.
- Peat Moss or Straw: A light layer on top protects the seeds from hungry birds and hot sun.
The Best Way on How to Repair Bare Spots in Lawn
Now it is time to roll up our sleeves and get to work. I promise this process is completely beginner-friendly.
Follow these simple, numbered steps in order. Take your time, and you will see green sprouts in just a few weeks.
Step 1: Clean Out the Dead Material
Your first clear action is to remove the dead, brown grass. New seeds cannot grow if they are sitting on top of old debris.
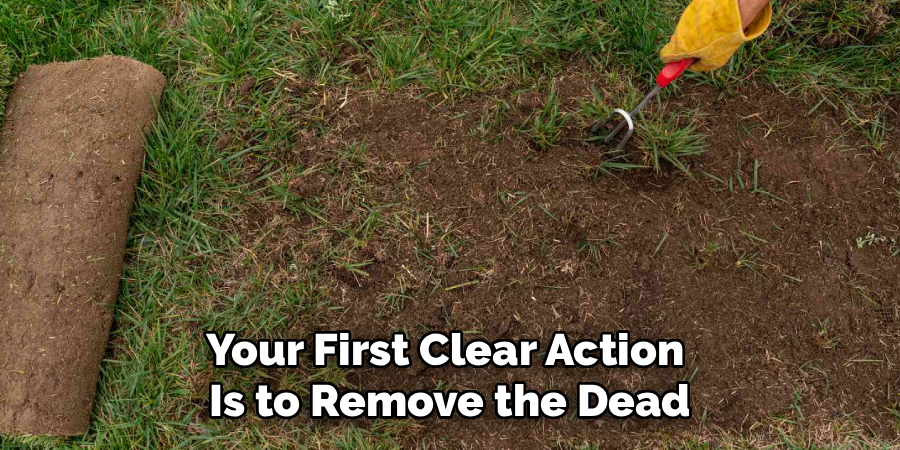
Grab your steel garden rake. Vigorously scrape away the dead turf until you see bare dirt.
Make sure to pull up any excess thatch hiding near the edges. The area needs to be totally clean and clear.
Step 2: Loosen the Earth
Hard, compacted dirt is the enemy of tiny, fragile roots. We must loosen the surface so the new roots can dig deep.
Use your hand trowel or rake to dig down about two inches. Break up any large, hard clods of dirt.
If the ground is extremely hard, basic soil aeration is highly recommended. Poking holes in the dirt helps air and water flow freely.
Read More: How to Repair Hole in Garden Hose.
Step 3: Add Fresh Topsoil
The existing dirt in your bare patch is likely depleted of nutrients. We need to create a welcoming home for our fresh seed.
Spread about an inch of high-quality topsoil or compost over the loosened patch. Use your rake to level it out nicely.
The new soil should sit flush with the surrounding turf. You do not want a bumpy, uneven yard once the grass grows in.
Step 4: Apply the Grass Seed
Now comes the most important part of the entire job. It is time to drop the seed into your freshly prepped dirt.
Take a handful of grass seed and sprinkle it evenly across the patch. You want good coverage, but do not pile the seeds on top of each other.
Seeds that are too crowded will compete for resources and eventually die. A nice, even spread is exactly what we want.
Step 5: Add Starter Fertilizer
New grass needs a major boost of energy to grow fast and strong. A good starter fertilizer provides exactly what it needs.
Sprinkle a light dusting of starter fertilizer over the seeds. Follow the package instructions carefully so you do not use too much.
Too much fertilizer can actually burn the young, tender roots. A light, even application works best.
Read More: How to Repair Crumbling Concrete Statues and Save Money.
Step 6: Cover and Protect
We need to protect your hard work from birds, wind, and the hot sun. Leaving seeds completely exposed is a big mistake.
Gently rake the seeds into the top quarter-inch of the dirt. This ensures excellent seed-to-soil contact.
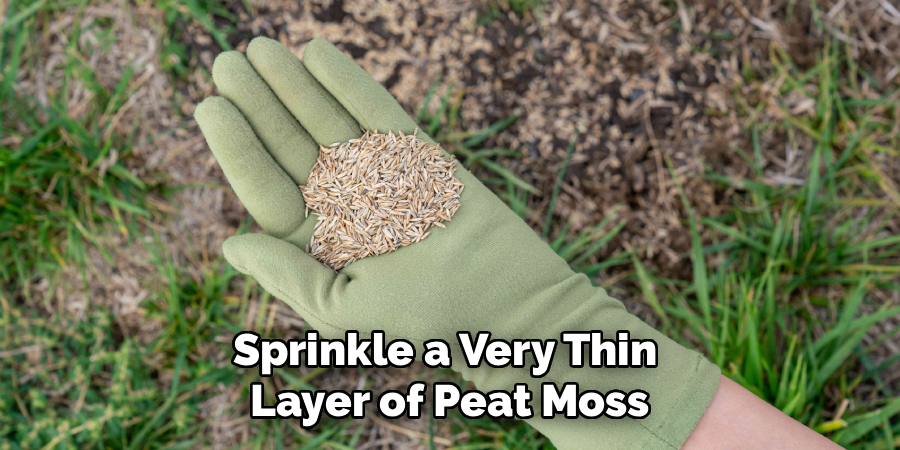
Next, sprinkle a very thin layer of peat moss or straw over the top. It should be thin enough that you can still see a little dirt underneath.
Step 7: Water Gently and Frequently
Water is the absolute key to making your new grass grow. Without consistent moisture, the seeds will dry out and die.
Use a gentle mist setting on your garden hose. Soak the patch thoroughly, but do not create puddles.
You must keep this patch moist every single day for two to three weeks. Water lightly in the morning and again in the late afternoon.
Staying Safe While Working
Yard work is usually very safe, but we still need to be careful. A few basic precautions will keep you healthy and injury-free.
Always wear heavy gardening gloves when digging in the dirt. You never know when you might find a sharp rock, rusty nail, or broken glass.
Protect your back by using your legs to lift heavy bags of soil. Stay hydrated, wear sunscreen, and take breaks if it is a hot afternoon.
When to Call a Professional
I firmly believe that anyone can fix small patches of turf. However, there are limits to what DIY methods can handle.
If more than half of your yard is dead, you might have a massive infestation. Severe grub problems or widespread lawn fungus require commercial treatments.
If your yard has severe drainage issues that cause constant flooding, call a landscaper. Grading a yard to fix water flow is a heavy-duty job for pros.
Cost Estimate: DIY vs. Pro
Let’s talk about the money you are going to save today. Fixing this yourself is incredibly budget-friendly.
For a DIY repair, a bag of seed, some topsoil, and peat moss costs about $30 to $50. You can easily fix dozens of small spots with these supplies.
If you hire a professional landscaping company, expect a hefty bill. They usually charge a minimum visit fee of $100 to $200 just to show up.
For larger repair jobs, a pro might charge between $300 and $500. Doing it yourself clearly keeps a lot of cash in your wallet!
FAQs on How to Repair Bare Spots in Lawn
You probably still have a few specific questions. Here are the most common things people ask me when fixing their yards.
How long does it take for new grass to grow?
Most common seed types will sprout within 10 to 14 days. However, it takes about six to eight weeks for the turf to become fully established and thick.
Can I just throw seed on top of hard dirt?
No, throwing seed on hard, unprepared dirt rarely works. The seeds need loose dirt to establish roots, otherwise, birds will eat them or water will wash them away.
When is the best time of year to fix my yard?
Early fall is the absolute best time for planting cool-season turf. For warm-season turf, late spring or early summer offers the best growing conditions.
Should I block off the repaired area?
Yes, keeping foot traffic away is vital for success. Place a small lawn chair or some stakes around the patch so kids and dogs do not step on the fragile sprouts.
When can I mow the newly repaired grass?
Wait until the new blades are at least three to four inches tall. Make sure your mower blade is sharp so it cuts cleanly instead of ripping the young plants out of the dirt.
Conclusion
Taking care of your yard doesn’t have to be a stressful chore. You now have all the knowledge you need to tackle those ugly brown patches.
Remember to clean the area, loosen the dirt, and keep your new seeds moist. Patience and gentle watering are your best tools for success.
Knowing how to repair bare spots in lawn makes you a smarter, more capable homeowner. You will feel a huge sense of pride when that fresh green turf finally blends in perfectly.
Don’t let those dirt patches ruin your weekend barbecues any longer. Head to the hardware store, grab your supplies, and start fixing your yard today!