

Are you tired of getting soaked by a unexpected leak while watering your plants? You are not alone. Many homeowners deal with damaged watering equipment every single summer.
Knowing how to repair hole in garden hose is a fantastic skill to learn. It saves you from tossing a perfectly good item into the trash. Buying a replacement can easily cost you fifty dollars or more.
Fixing it yourself costs just a few bucks and takes only minutes. You do not need to be a plumbing expert to get this done. We will walk you through the exact steps to stop that pesky leak.
Grab your tools, roll up your sleeves, and let us get started. We will have your yard chores back on track in no time.
How to Repair Hole in Garden Hose: Common Causes
Before we fix the leak, we should understand why it happened. Garden hoses take a lot of abuse during the warmer months. Identifying the cause helps you prevent future damage.
Here are the most common reasons you might find yourself needing a leak repair:
- Sun Damage: Leaving rubber or vinyl out in the hot sun makes it brittle. UV rays break down the materials over time.
- Kinks and Bends: Folding the tubing sharply weakens the outer wall. Repeated kinking eventually causes a permanent crease and tear.
- Lawn Mower Accidents: Running over the line with heavy lawn equipment is a major culprit. Sharp mower blades slice right through tough rubber.
- Freezing Temperatures: Water expands when it freezes into ice. If you leave water inside during winter, the expanding ice creates splits.
- Animal Chewing: Dogs, squirrels, and mice love to chew on soft rubber. Those tiny teeth puncture holes that ruin your water pressure.
- Dragging Over Pavement: Pulling your gear across rough concrete acts like sandpaper. It slowly wears down the protective outer coating.
Essential Tools & Materials Needed
You need the right gear before starting this simple DIY project. Having everything within reach makes the job much faster. You likely have some of these items in your garage right now.
For a temporary patch, you will need:
- A clean rag or paper towels
- Rubbing alcohol
- High-quality electrical tape or silicone repair tape
For a permanent fix, you will need:
- A heavy-duty hose mender (sized to fit your equipment, usually 5/8 inch)
- A sharp utility knife or heavy gardening shears
- A Phillips head screwdriver
Make sure your hose mender matches the diameter of your tubing. Most standard models use a 5/8-inch fitting. Check the packaging on your replacement parts before you buy them.
Step-by-Step Guide on How to Repair Hole in Garden Hose
We will cover two different methods for fixing your leak repair issue. The first is a quick tape method for tiny pinholes. The second is a permanent mender method for larger splits and tears.
Both methods are incredibly beginner-friendly. Just follow along carefully to ensure a watertight seal.
Method 1: The Quick Tape Patch
This method works well if you only have a tiny pinhole. It is a great temporary fix to get you through the weekend. Do not use this for large blowouts or heavy leaks.
Step 1: Turn Off the Water
Safety and cleanliness always come first. Shut off the water supply at the spigot completely. You do not want sudden water pressure bursting through while you work.
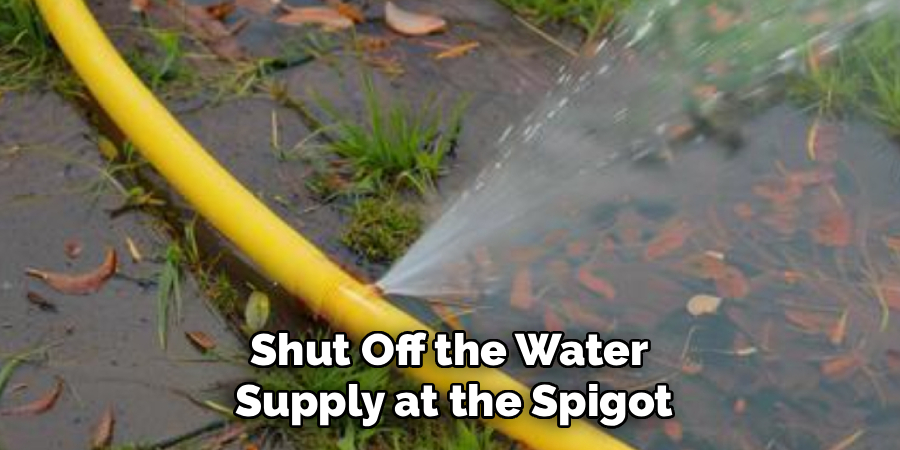
Drain any remaining water out of the line. Simply lift the tubing and walk it toward the nozzle end. Getting rid of internal moisture helps the electrical tape stick better.
Step 2: Clean the Damaged Area
Adhesives will not stick to dirt, mud, or algae. Take a damp rag and wipe away any visible grime. Dry the area completely with a clean paper towel.
Wipe the rubber with a little rubbing alcohol for the best results. This removes invisible oils that prevent a strong bond. Wait about two minutes for the alcohol to evaporate entirely.
Step 3: Apply the Repair Tape
Find the exact center of the pinhole. Take your electrical tape or silicone rescue tape and press it down. Start about two inches to the left of the actual hole.
Wrap the tape tightly around the tube, overlapping each layer. You want to stretch the tape slightly as you pull it. Keep wrapping until you are two inches past the right side of the hole.
Step 4: Test the Seal
Turn the water back on at the spigot. Keep the water pressure relatively low at first. Watch the taped area closely to see if any drips appear.
If you see a drip, you might need to add another tight layer of tape. If it stays dry, you have successfully completed a quick patch.
Method 2: The Permanent Mender Fix
Tape will eventually wear out in the hot sun. If you want a fix that lasts for years, you need a physical hose mender. This involves cutting out the bad section entirely.
Step 1: Mark the Damaged Section
Find the split or tear that is ruining your water pressure. Take a bright marker and draw a line on both sides of the damage. You want to mark about one inch away from the hole on each side.
This ensures you remove all the weakened rubber. Leaving stressed rubber behind will just cause another blowout next week.
Step 2: Cut Out the Bad Hose
Take your sharp utility knife or gardening shears. Cut straight across the tube at your first marker line. Make sure your cut is as flat and straight as possible.
Repeat this process at the second marker line. You should now have a small chunk of ruined rubber removed completely. Throw this damaged piece directly into the trash.
Step 3: Insert the Hose Mender
Take your metal or plastic hose mender out of its packaging. It usually has two ridged ends and a clamp mechanism in the middle. Push one ridged end firmly into the left side of your cut tubing.
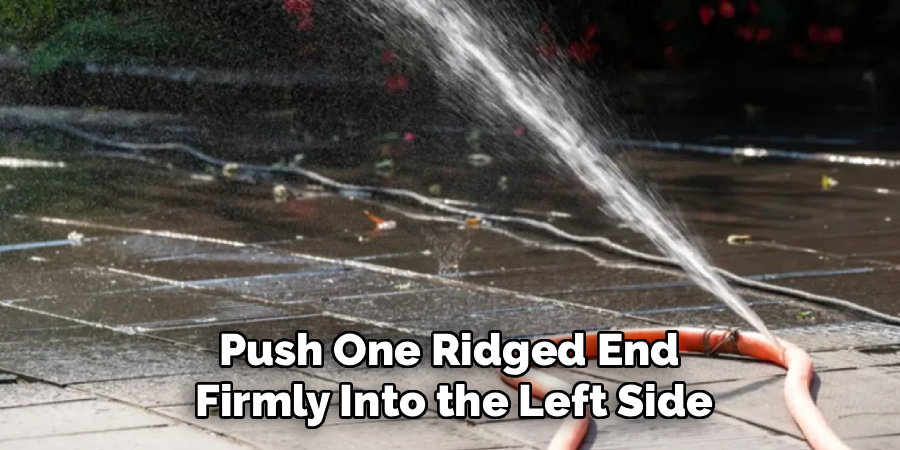
It might require some serious twisting and pushing to get it inside. If it is too tight, soften the rubber with a hairdryer for thirty seconds. Push the other ridged end into the right side of the tubing.
Step 4: Tighten the Clamps
Slide the metal or plastic clamps over the inserted mender ends. Use your screwdriver to tighten the screws on the clamps. Turn them until they bite down firmly into the rubber.
Be careful not to over-tighten and crack plastic parts. The clamps provide the holding power against high water pressure. Double-check that both sides feel perfectly secure.
Step 5: Test Your New Connection
Turn the spigot back on and let the water flow. Inspect your new splice for any tiny leaks or spraying water. The connection should be completely dry on the outside.
If water drips out, simply tighten the clamp screws a little more. You now have a permanent fix that will last for many seasons.
Crucial Safety Warnings for DIY Repairs
Working on yard equipment is generally very safe. However, there are a few important cautions you should always keep in mind. Following these rules prevents unnecessary injuries.
Always cut away from your body when using a utility knife. Tough rubber requires force to cut, and knives can easily slip. Keep your free hand well clear of the blade path.
Never try to repair a line while it is under pressure. A sudden burst of water can shoot debris into your eyes. Always double-check that the spigot is fully turned off.
Be cautious of leaving tools in the hot sun. Metal menders and screwdrivers can become hot enough to burn your skin. Keep your workspace in the shade when possible.
When to Call a Professional
Most garden watering tools are strictly DIY territory. You almost never need to call a professional plumber for a standard yard hose. However, there are some specific limits to what you should fix yourself.
If the leak is actually at the metal house spigot, stop immediately. Attempting to fix internal house plumbing without experience can cause flooding. Call a licensed plumber if the wall pipe is cracked or leaking.
If you are dealing with a heavy-duty pressure washer line, do not use a standard patch. Pressure washers use extreme force that will instantly destroy a basic hose mender. You must replace high-pressure lines entirely for your own safety.
If your standard yard hose is cracked in ten different places, skip the repair. Dry-rotted rubber cannot be saved with a patch or a splice. It is time to recycle it and buy a new one.
Cost Estimate: DIY vs. Buying New
Fixing things yourself is incredibly budget-friendly. Let us look at the real numbers so you can see the savings. The math heavily favors the DIY route.
A brand-new, high-quality 50-foot rubber watering line costs between $40 and $70. Premium heavy-duty models can easily cost over $100. That is a significant hit to your weekend hardware store budget.
A roll of specialized silicone repair tape costs about $6 to $8. A solid brass hose mender kit costs roughly $7 to $10. You likely already own the knife and screwdriver needed for the job.
By choosing to fix the problem, you save anywhere from $30 to $90. That is money you can spend on new plants or mulch instead. Plus, fixing things keeps bulky rubber waste out of the local landfill.
Frequently Asked Questions
Can I use duct tape for a leak repair?
No, duct tape is not waterproof and will not hold up to water pressure. You must use electrical tape or self-fusing silicone tape for a proper seal. Duct tape will turn into a slimy, useless mess within minutes.
Why is my hose mender leaking after I installed it?
Your cut might not have been perfectly straight, leaving a gap. Alternatively, the clamp screws might need to be tightened further. Ensure the mender is the correct 5/8-inch size for your specific tubing.
How do I stop my watering line from kinking?
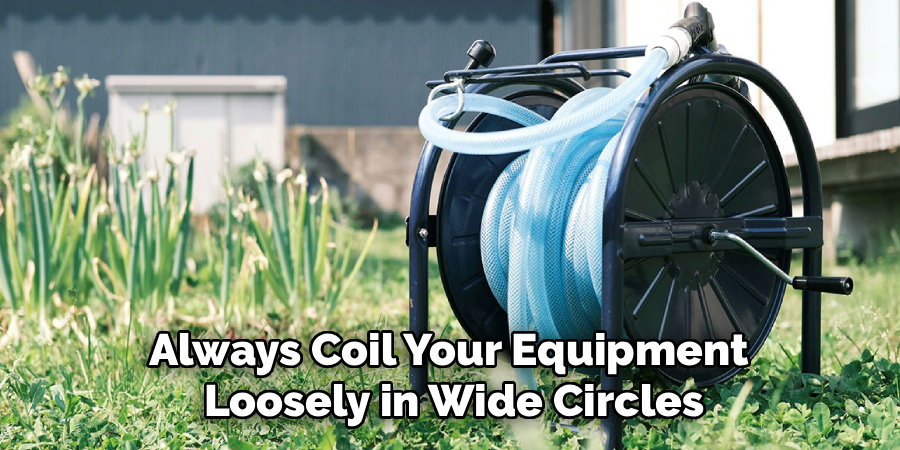
Always coil your equipment loosely in wide circles after every use. Never pull hard on a tangle to straighten it out. Using a mounted storage reel prevents sharp bends and future damage.
Is it safe to drink water from a patched line?
Unless your tubing is specifically labeled as drinking-water safe, you should not drink from it. Standard rubber contains chemicals that leach into the water. The brass fittings on repair kits also sometimes contain trace amounts of lead.
How long does a sliced patch job last?
A silicone tape patch might last a few weeks to a few months. A brass splice mender can last for the remaining lifespan of the rubber. The permanent method is always recommended for long-term durability.
Final Thoughts on How to Repair Hole in Garden Hose
Learning how to repair hole in garden hose is a fast and rewarding project. It keeps perfectly usable materials out of the trash and saves you money. You now have the knowledge to tackle leaks with total confidence.
Whether you use the quick tape method or the permanent mender, you are in control. Maintaining good water pressure makes keeping your lawn green much easier. No more sudden puddles or ruined shoes while watering your tomato plants.
Check your yard equipment regularly for signs of wear and tear. Store it out of direct sunlight to prevent future cracking and splitting. A little preventative care goes a very long way.
Ready to tackle more easy home maintenance tasks? Browse our other DIY repair guides to keep your property in top shape this season!