

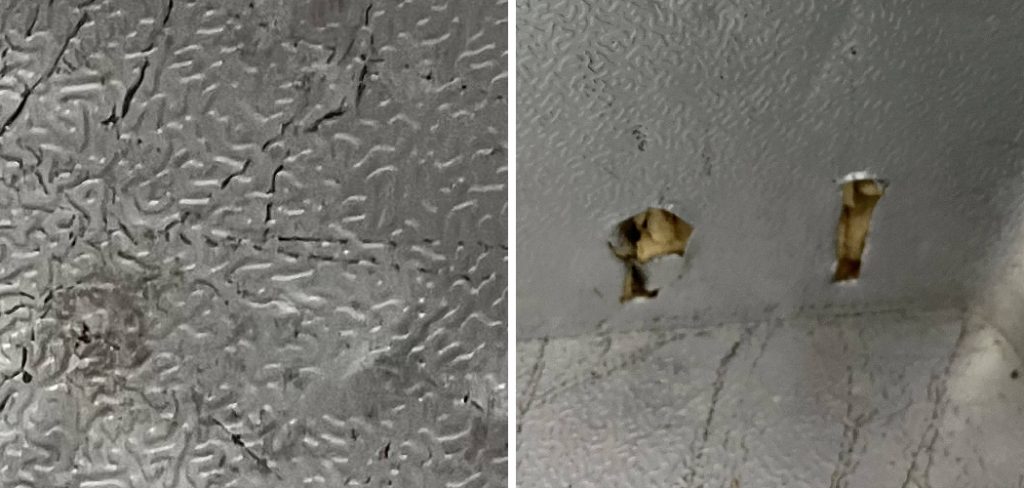
Opening your freezer door to find a gouge or crack can easily ruin your weekend. We have all been there. You were probably just trying to chip away some stubborn ice to reach your favorite frozen treats.
Instead of getting your food out, you ended up breaking the plastic wall. If you are wondering how to fix puncture hole in freezer walls, you are in the right place. This is a common issue for homeowners and renters alike.
You do not always need to throw away your appliance or pay expensive technician fees. Fixing this problem yourself saves you a significant amount of money.
As long as you have not caused a dangerous refrigerant leak, patching the plastic is a very simple job. Grab your tools, and let us get this appliance running like new again.
What Causes This Problem?
Before we dive into the repair, it helps to know how this damage happens. Most freezer punctures are entirely accidental.
Here are the most common reasons you might end up with a hole in your appliance:
- Chipping ice with sharp tools: Using butter knives, screwdrivers, or ice picks to defrost a freezer is the leading cause of inner liner damage.
- Dropping heavy frozen items: A frozen turkey or dense roast can easily crack the brittle plastic if dropped from a top shelf.
- Overstuffing the freezer: Forcing the door closed when the freezer is completely full puts massive pressure on the side walls.
- Moving accidents: Transporting the appliance without securing the internal shelves can cause loose parts to bang against the sides.
- Aging plastic: Over time, the extreme cold makes the internal plastic brittle, causing it to crack under minimal pressure.
Tools & Materials Needed
You do not need a massive toolbox to complete this repair. A quick trip to your local hardware store is all it takes.
Gather these items before you start working:
- Appliance-grade epoxy putty or marine epoxy (formulated for cold temperatures)
- Medium-grit sandpaper (around 120-grit)
- Rubbing alcohol (isopropyl)
- Clean microfiber cloths or paper towels
- A hair dryer
- A plastic putty knife
- Protective rubber gloves
- A face mask (for sanding dust and fumes)
Step-by-Step Guide: How to Fix Puncture Hole in Freezer
Are you ready to tackle this project? Roll up your sleeves and follow these simple instructions carefully.
We will walk through exactly how to fix puncture hole in freezer liners without breaking a sweat.
Step 1: Empty and Unplug the Freezer
Safety always comes first when working with household appliances. Unplug the freezer from the wall outlet completely.
Remove all of your frozen food and store it safely in a cooler with ice packs. Take out any removable shelves, drawers, or ice bins to give yourself plenty of working room.

Leaving the freezer off allows the internal temperature to rise. Epoxy putty will not cure properly on a freezing cold surface.
Step 2: Thoroughly Dry the Damaged Area
Moisture is the biggest enemy of a good adhesive bond. As the freezer warms up, condensation will start to form on the walls.
Wipe down the entire area around the puncture with a clean, dry towel. Use a hair dryer on a low, warm setting to gently dry the damaged spot.
Do not use high heat, as you could melt or warp the surrounding plastic liner. Ensure the crack and the space behind it are completely bone dry.
Step 3: Sand the Inner Liner
Epoxy needs a rough surface to grip onto properly. Take your medium-grit sandpaper and gently scuff the area around the hole.
You only need to sand about one inch outward from the edge of the damage. Be careful not to press too hard and make the hole larger.
Once the area looks cloudy and scratched, you have created enough texture for the patch to hold.
Read More: How to Repair Pond Liner.
Step 4: Clean the Surface
Sanding leaves behind fine plastic dust that will ruin your repair. Pour a small amount of rubbing alcohol onto a clean cloth.
Wipe the sanded area thoroughly to remove all dust, grease, and old food residue. The alcohol evaporates quickly and leaves zero residue behind.
Wait a few minutes to ensure the area is perfectly clean and dry before mixing your adhesives.
Step 5: Mix and Apply the Epoxy Putty
Put on your protective gloves and grab your epoxy putty. Knead the putty with your fingers until the two parts blend into a solid, uniform color.
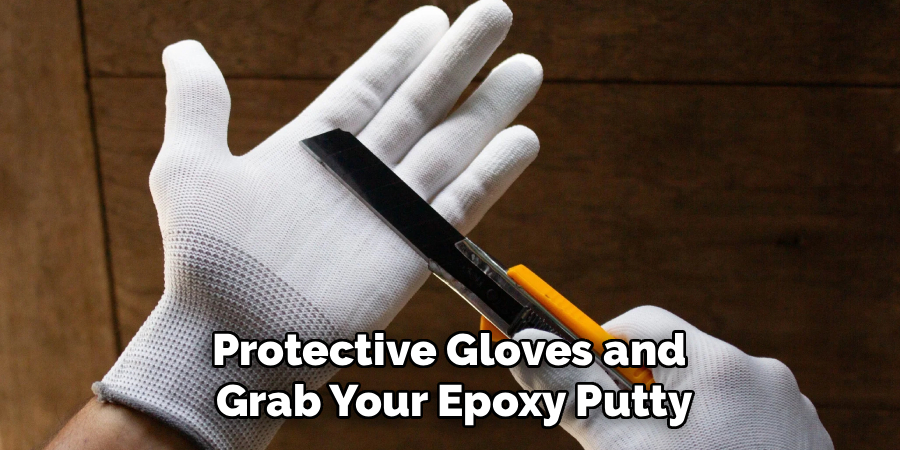
Pinch off a piece just large enough to cover the puncture hole. Press the putty firmly into the hole, pushing it slightly past the surface to fill the gap.
Use your plastic putty knife to smooth the patch flat against the inner liner. You want the edges to feather out seamlessly into the surrounding plastic.
Step 6: Let It Cure
Patience is key here. Read the manufacturer’s instructions on your epoxy packaging for specific curing times.
Even if it hardens in an hour, it is best to leave the freezer open and off for a full 24 hours. This guarantees the chemical bond is completely solid.
Once fully cured, you can lightly sand the patch again if you want a smoother cosmetic finish.
Read More: How to Fix Chipped Paint on Walls.
Step 7: Clean Up and Power On
Wipe the interior of your freezer down one last time with a mild soap and warm water. Plug the appliance back into the wall outlet.
Allow the freezer to run empty for a few hours until it reaches its target temperature. Finally, load your food back onto the shelves and give yourself a pat on the back.
Crucial Safety Warnings Before You Start
While this is an easy DIY fix, you must stay alert. Your freezer contains mechanical parts and chemical gases.
If you punctured the wall and heard a loud hissing sound, stop immediately. That hissing means you have struck a cooling line and caused a refrigerant leak.
Freon and other refrigerants are toxic chemicals that displace oxygen. If this happens, open your windows for ventilation, unplug the unit, and leave the room immediately.
Never try to patch a leaking cooling line with epoxy or tape. That is a dangerous situation that requires professional intervention.
When to Call a Professional
Knowing your limits is a superpower for any DIY enthusiast. A simple crack in the plastic is easy to handle.
However, you should call a certified technician if your freezer stops cooling entirely after the puncture. This points to internal compressor damage or lost refrigerant.

If the hole is larger than a golf ball, a putty patch might not hold up against the cold. A professional can weld the plastic or replace the liner safely.
Do not hesitate to call for help if you feel out of your depth or smell weird chemical odors.
Cost Estimate: DIY vs. Professional Repair
Fixing things yourself is incredibly rewarding for your wallet. A tube of appliance epoxy and some sandpaper will only cost you between $15 and $30.
If you already have basic cleaning supplies at home, your expenses are minimal. It only costs you a bit of elbow grease and time.
On the other hand, calling a professional appliance repair service is costly. You will easily pay a service call fee of $100 just to have them look at it.
With labor and materials, a professional liner repair can range from $150 to over $400. In many cases, saving that money makes the DIY route completely worth it.
Frequently Asked Questions About Freezer Repairs
Can I use super glue to fix a freezer crack?
No, standard super glue becomes brittle and shatters in sub-zero temperatures. You must use an appliance-grade epoxy or marine sealant designed for extreme cold.
Is it safe to store food near an epoxy patch?
Yes, once the epoxy putty is fully cured and hardened, it is generally food-safe and non-toxic. Just be sure to wipe the area clean before turning the freezer back on.
How do you fix a refrigerant leak in a freezer?
You cannot fix this yourself safely. A refrigerant leak requires a licensed technician to braze the copper lines and recharge the chemical system.
Will duct tape fix a hole in a freezer?
Duct tape is only a temporary fix. The adhesive will eventually freeze, dry out, and peel off, letting moisture seep into the appliance insulation.
Conclusion: You Can Fix a Puncture Hole in Your Freezer
Dealing with appliance damage is frustrating, but you are more than capable of handling it. By using the right tools and a little patience, you can extend the life of your appliance.
Now you know exactly how to fix puncture hole in freezer walls safely and efficiently. You just saved yourself hundreds of dollars and learned a valuable new home maintenance skill.
Just remember to put down the ice pick next time you need to defrost! Let the ice melt naturally to protect your hard work.
If you found this repair guide helpful, be sure to bookmark our website for more easy DIY fixes around the house!