

Seeing peeling or flaking spots on your otherwise perfect room can be incredibly frustrating. Whether you bumped the wall while moving furniture or moisture got the best of an old paint job, wall damage happens to all of us. But here is the good news. Learning how to fix chipped paint on walls is a simple project you can tackle in a single weekend.
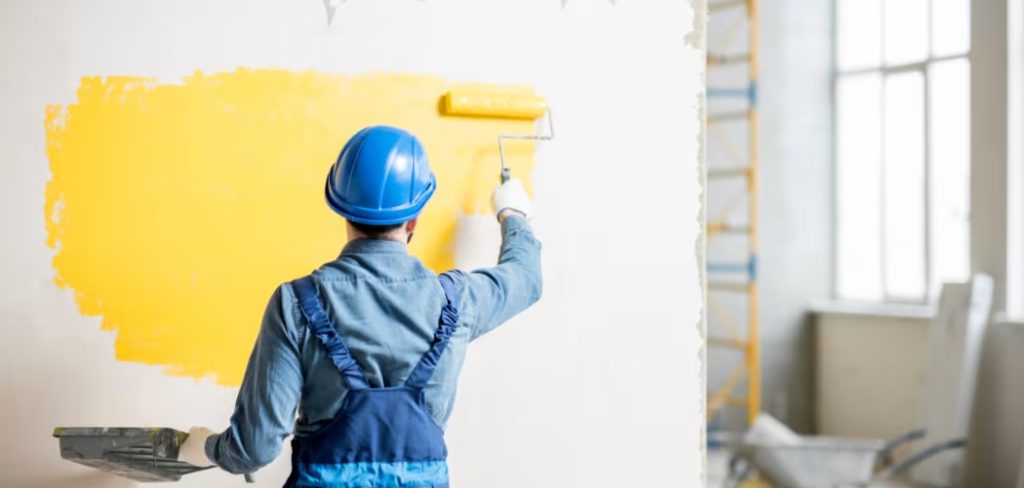
You do not need to hire an expensive contractor to make your room look new again. Homeowners and renters alike can save a lot of money by handling this basic repair themselves. We will walk you through exactly what you need to do, step by step, so you can restore your smooth finish with confidence. Grab your work clothes, and let us get started.
What Causes This Problem?
Before you fix the current damage, it helps to know why your paint is failing. Paint can lose its bond to the drywall or plaster for a few different reasons. By identifying the root cause, you can stop the problem from coming back.
Here are the most common culprits behind flaking and peeling:
- Physical impact: Moving furniture, flying toys, or rough vacuuming can easily nick the surface and break the paint seal.
- Moisture and high humidity: Bathrooms and kitchens are notorious for this. Steam gets trapped behind the paint layer and pushes it outward.
- Poor surface prep: If the wall was dirty, dusty, or greasy before the last paint job, the fresh coat never adhered properly in the first place.
- Skipping the primer: Applying new color directly over raw drywall or patching compound almost always leads to weak spots.
- Using incompatible paints: Painting latex over oil-based paint without the right primer causes the top layer to reject the bottom layer.
- Normal aging: Houses settle over time. Temperature changes cause walls to expand and contract, eventually stressing the paint.
Tools & Materials Needed
Having the right gear makes this project fast and painless. You probably have a few of these items in your garage already. Gather everything on this list before you start so you do not have to stop mid-project.
For preparation and safety:
- Drop cloths or old sheets
- Painter’s tape
- Dust mask and safety glasses
- A damp microfiber cloth or sponge
For the repair:
- A metal putty knife or paint scraper (a 2-inch or 3-inch blade works perfectly)
- Fine-grit sandpaper (120-grit and 220-grit)
- A sanding sponge or block
- Spackle or lightweight joint compound
For finishing:
- A high-quality stain-blocking primer
- Matching interior wall paint
- A small foam roller or a high-quality paintbrush
Step-by-Step Fix Guide: How to Fix Chipped Paint on Walls
Do not let the idea of patching drywall intimidate you. This process is incredibly straightforward. Just take your time with each step, and you will get a seamless, professional-looking result.
Step 1: Prep the Area
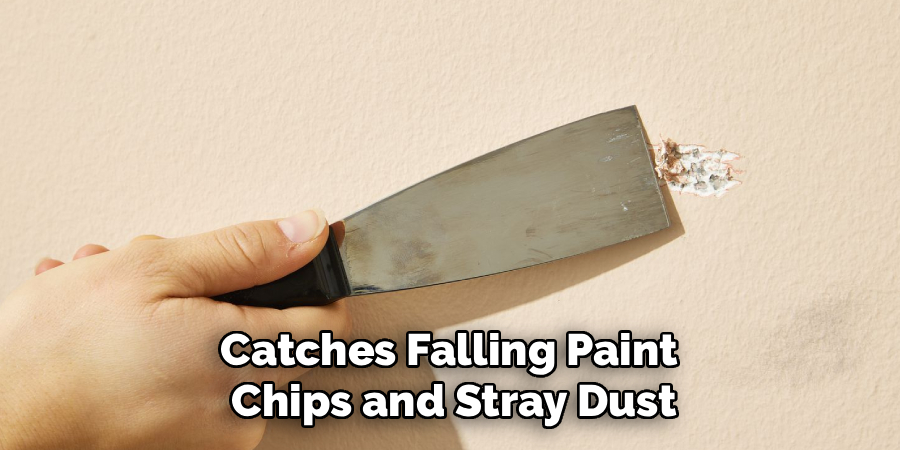
First, protect your floors. Lay down a drop cloth right below the damaged section and secure the edges with painter’s tape. This catches falling paint chips and stray dust. Put on your safety glasses and dust mask to protect your eyes and lungs.
Step 2: Scrape Away the Loose Flakes
Take your putty knife and gently press it against the edge of the chip. Slide the blade under the loose paint and push slightly. You want to remove anything that is no longer stuck to the wall. Keep scraping until the edges feel firm and tight. Do not worry if the chipped area gets a little bigger—you need a solid foundation for the repair.
Step 3: Sand the Rough Edges
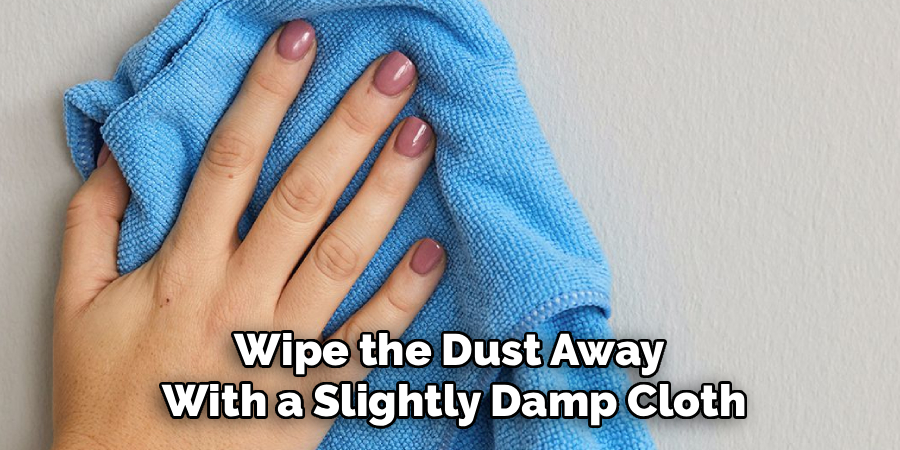
Once you remove all the loose flakes, take a piece of 120-grit sandpaper. Lightly sand the edges where the bare wall meets the remaining paint. Your goal is to bevel the edge so the transition feels a bit smoother. This helps the patching compound grip the wall properly. Wipe the dust away with a slightly damp cloth.
Step 4: Apply the Patching Compound
Scoop a small amount of spackle or joint compound onto the edge of your putty knife. Press it firmly into the chipped area. Pull the knife across the patch at a 45-degree angle to smooth it out. You want the spackle to sit just slightly higher than the surrounding paint because it will shrink a tiny bit as it dries.
Step 5: Let It Dry and Sand It Smooth
Give the compound plenty of time to dry. Lightweight spackle usually dries in a couple of hours, while standard joint compound might need overnight. Once it is completely hard and white, take your 220-grit sanding block. Gently sand the patch in circular motions until it blends perfectly with the surrounding wall. Run your hand over it; you should not feel any bumps or ridges.
Step 6: Clean the Surface Thoroughly
Sanding creates fine dust that will ruin your fresh paint job. Take a damp microfiber cloth and wipe down the repaired area. Let the wall dry completely for about ten minutes before moving on to the final stages.
Step 7: Apply the Primer
Never skip the primer on a patched wall. Spackle is highly porous and will suck the moisture right out of your topcoat, leaving a dull, flashing spot. Use a small brush to dab primer directly over the sanded patch. Feather the edges slightly outward so it blends into the surrounding paint. Let the primer dry according to the instructions on the can.
Step 8: Paint the Repaired Area
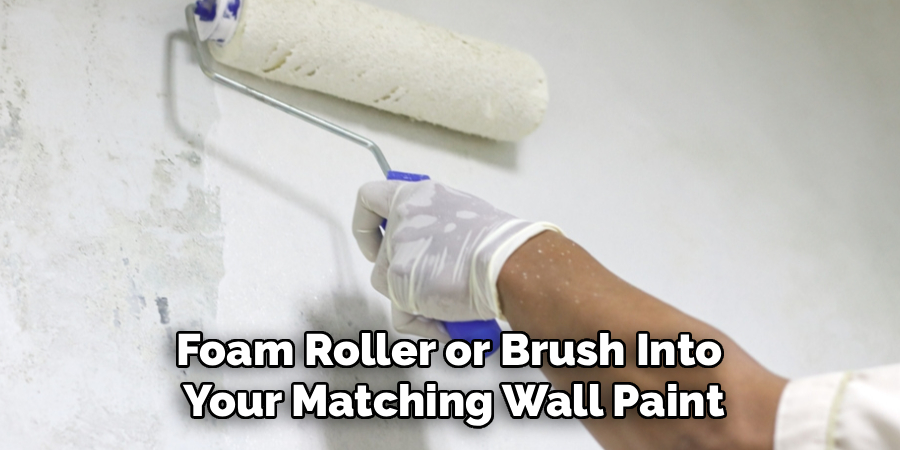
Now for the fun part. Dip your small foam roller or brush into your matching wall paint. Apply a light, even coat over the primed patch. A roller usually provides a better texture match for existing walls. Once the first coat dries, apply a second coat if necessary. After it dries fully, your wall will look completely flawless.
Safety Warnings
While patching walls is a very safe DIY project, you must keep a few precautions in mind.
If your home was built before 1978, there is a chance the existing layers contain lead-based paint. Scraping and sanding lead paint creates toxic dust that is highly dangerous to breathe. If you suspect lead paint, stop immediately. Pick up a lead testing kit from your local hardware store. If it tests positive, you will need to follow specific EPA guidelines or hire a certified professional.
Always wear a dust mask when sanding spackle or joint compound. The fine particulate matter can irritate your throat and lungs. Make sure your room has adequate ventilation while painting by opening a window or running a fan.
When to Call a Professional
Knowing your limits is a key part of successful home maintenance. Most small dings and chips are easy weekend projects. However, you should call a professional painter or drywall contractor if you face certain situations.
If you find extensive water damage causing large sheets of paint to bubble and fall off, a simple patch will not work. You have an active leak that a plumber or roofer needs to fix first.
You should also hire a pro if a massive section of a room is peeling. Scraping and skimming entire walls requires a lot of specialized labor. Finally, if you confirm the presence of lead paint, leave the removal to certified abatement specialists to keep your family safe.
Cost Estimate: DIY vs. Pro
One of the best reasons to learn this skill is the money you keep in your pocket.
If you tackle this yourself, you only need to buy the materials. A tub of spackle, a cheap putty knife, sandpaper, and a small can of primer will run you about $20 to $30. If you do not have leftover matching paint, a sample quart will cost another $15 to $20. Total DIY cost sits right around $35 to $50.
Hiring a professional painter tells a different story. Contractors usually have minimum call-out fees. For a small drywall repair and touch-up, you can expect to pay anywhere from $150 to $300, depending on your location. By doing the work yourself, you save well over a hundred dollars.
Read More: How to Repair a Boiler
Frequently Asked Questions
Can I just paint right over chipped paint?
No, you should never paint directly over loose flakes. The new coat will dry, pull at the old layer, and eventually peel right off. You must always scrape the loose pieces, fill the gap, and sand the area smooth first.
Do I really need primer for a tiny chip?
Yes, primer is crucial for repairs of any size. Patching compounds are porous. If you skip primer, the spackle will absorb the resins from your topcoat, creating a dull spot that looks totally different from the rest of the wall.
How long does spackle take to dry?
It depends on the type you buy and the humidity in your room. Color-changing spackle usually dries in 1 to 2 hours. Traditional joint compound can take up to 24 hours. Always check the container for specific guidelines.
Can I figure out how to fix chipped paint on walls without sanding?
Sanding is highly recommended for a truly invisible repair. However, if you are very careful with your putty knife, you can smooth the wet spackle down tightly. You can then use a damp sponge to smooth the edges as it begins to set, avoiding harsh dust.
Can I use toothpaste to fix a wall chip?
While toothpaste is a popular internet hack for tiny nail holes, you should never use it for chipped paint. Toothpaste shrinks, cracks, and will not hold paint properly. Stick to real spackle for lasting results.
Conclusion
Seeing damage on your walls can be annoying, but you are now fully equipped to handle it. Knowing how to fix chipped paint on walls is a fantastic skill that will save you hundreds of dollars over the years. By taking the time to scrape, patch, sand, and prime correctly, you ensure a permanent repair that looks completely seamless.
Do not let those ugly wall blemishes bother you for another day. Head to your local hardware store, grab your supplies, and tackle that project this weekend.
If you loved this guide and want to master even more home improvement skills, subscribe to our newsletter today. We send out weekly tips to help you maintain your home like a true professional.