

Finding a rip in your favorite tent, patio awning, or boat cover can be incredibly frustrating. Replacing heavy-duty outdoor fabrics is expensive and often unnecessary.
Learning how to repair torn canvas like a pro is a valuable skill that saves you serious money. You do not need a professional sewing background to fix your gear.
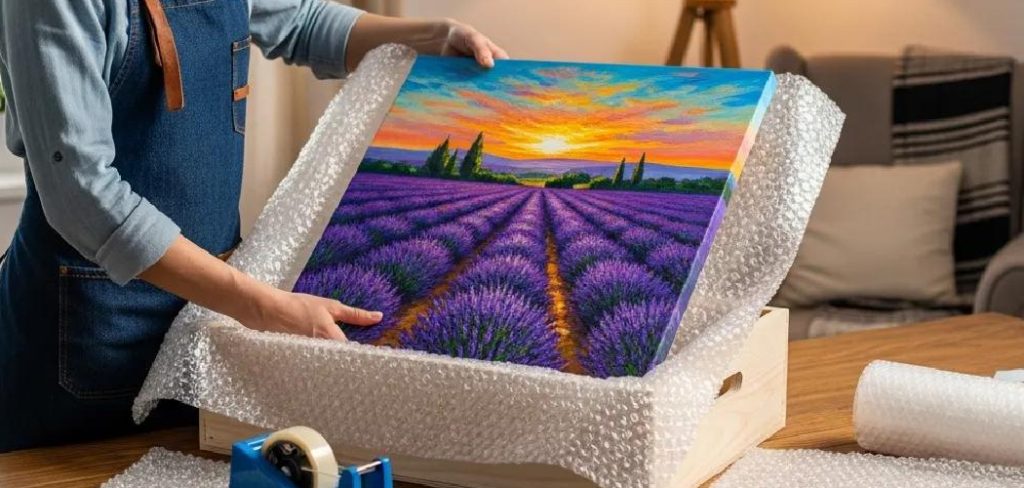
With the right tools and a little patience, you can make your outdoor equipment look and function like new. A simple DIY repair extends the life of your expensive outdoor gear for years.
Whether you are dealing with a small puncture or a massive rip, we have you covered. Let us dive into the easiest ways to fix your gear right at home.
What Causes Canvas to Tear?
Before we look at how to repair torn canvas, it helps to understand why the damage happened. Identifying the cause prevents future rips.
Here are the most common culprits behind fabric damage:
- UV Degradation: Years of direct sunlight bake the fabric, making the fibers brittle and prone to snapping.
- High Wind and Weather: Heavy gusts stretch the material beyond its limits, causing stress tears near seams.
- Sharp Objects: Falling branches, sharp tent poles, or even pet claws can quickly puncture the thickest fabrics.
- Mold and Mildew: Trapped moisture rots organic cotton fibers, weakening the material until it easily rips.
- Extreme Tension: Pulling awnings or covers too tightly creates tension points that eventually give way.
- Rodents and Pests: Mice and insects love to chew through stored outdoor gear to build their nests.
Essential Tools & Materials Needed
You cannot fix a heavy-duty fabric with a standard hotel sewing kit. You need supplies designed for thick materials and outdoor conditions.
Gather these items before you begin your project.
- Heavy-Duty Canvas Patch: Choose a patch material that matches the weight and color of your original item.
- Outdoor Fabric Glue: A high-quality, waterproof adhesive is essential for a watertight seal.
- Curved Upholstery Needles: Standard straight needles will break. Curved needles make sewing thick fabrics much easier.
- Heavy-Duty Waxed Thread: Waxed polyester or nylon thread resists UV rays and prevents rot.
- Rubbing Alcohol: You need this to clean the surface around the tear before applying any adhesive.
- Sharp Fabric Scissors: Dull scissors will fray the edges of your patch and ruin the repair.
- Seam Sealer or Waterproofing Spray: This restores the waterproof barrier over your new stitches.
- A Seam Roller (Optional): This helps press the glued patch firmly against the original material.
Step-by-Step Fix Guide: how to repair torn canvas like a pro
Now that you have your tools, it is time to get to work. Follow these numbered steps carefully for a durable, long-lasting fix.
Step 1: Clean and Prep the Area
You must start with a completely clean surface. Dirt, grease, and old waterproofing treatments prevent glue from sticking.
Lay your damaged item flat on a hard, clean surface like a workbench or driveway.
Wipe the area around the tear with a cloth soaked in rubbing alcohol. Clean both the inside and outside of the material.
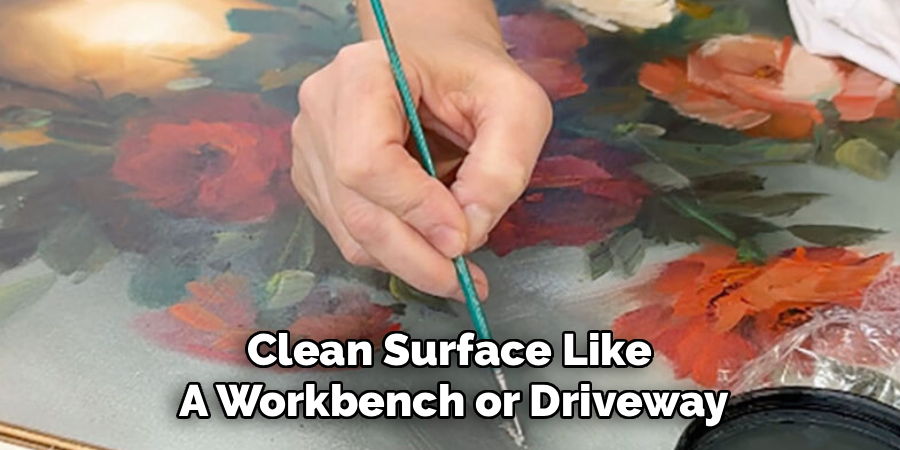
Wait five to ten minutes for the alcohol to completely evaporate. The area must be bone dry before you apply any patches or adhesives.
Step 2: Trim the Frayed Edges
A clean edge is much easier to patch than a messy, unraveled one.
Take your sharp fabric scissors and carefully trim away any loose threads. Cut away any severely damaged or rotted fabric along the edge of the tear.
Do not cut away too much material. You just want to create a neat, smooth line for the two sides to meet.
Read More: How to Repair Torn Pages in a Book.
Step 3: Measure and Cut Your Patch
Your patch needs to be significantly larger than the tear itself to hold properly.
Measure the rip, and cut a patch that extends at least two inches past the damage on all sides.
Round off the corners of your patch with your scissors. Square corners catch on things and peel up over time.
If the tear is very large, cut two identical patches. You will place one on the outside and one on the inside for double strength.
Step 4: Apply the Fabric Glue
Place the edges of the tear as close together as possible.
Apply a thin, even layer of waterproof fabric glue to the back of your patch.
Carefully press the patch over the tear, smoothing it out from the center to the edges.
Use a seam roller or the bottom of a glass jar to firmly press out any air bubbles.
Step 5: Let the Adhesive Cure
Patience is key during this step. Do not rush the drying process.
Place a heavy object, like a book or a brick, over the patched area to maintain pressure.
Leave it alone for at least 24 hours, or whatever time the glue manufacturer recommends.
Moving the fabric before the glue cures will weaken the bond and ruin your repair.
Read More: How to Repair Torn Tulle.
Step 6: Sew the Patch for Extra Strength
Glue is great, but sewing guarantees the patch will never fall off under tension.
Thread your curved needle with heavy-duty waxed nylon thread.
Stitch around the entire perimeter of the patch, keeping your stitches tight and even.
Use a simple whip stitch or a straight stitch, staying about a quarter-inch from the edge of the patch.
Tie off the thread securely on the inside of the fabric when you finish.
Read More: How to Repair Brown Grass Patches.
Step 7: Waterproof Your Repair
Every hole you made with your needle is a potential leak. You must seal them.
Apply a thick layer of liquid seam sealer over all your new stitches.
Let the seam sealer dry completely according to the package directions.
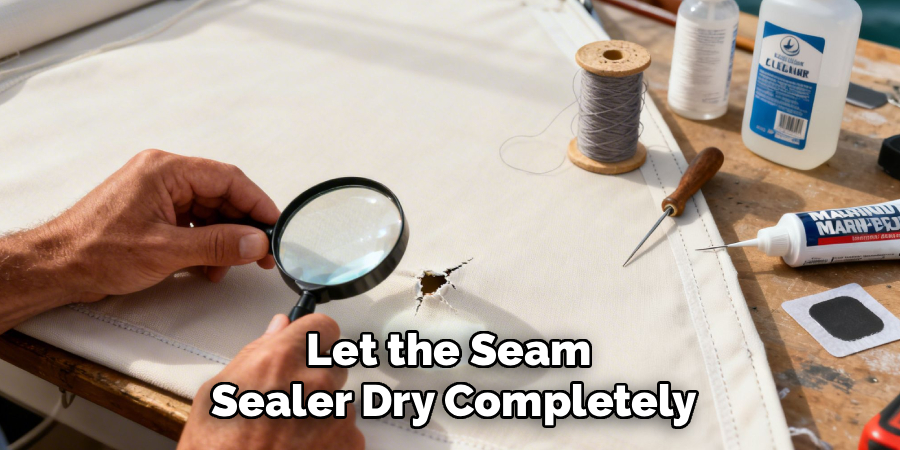
Finally, spray the entire patched area with a heavy-duty waterproofing canvas spray for ultimate weather protection.
Safety Warnings for DIY Repairs
Safety should always come first when working with sharp tools and chemical adhesives.
Curved upholstery needles are incredibly sharp and require significant force to push through thick materials. Always push the needle away from your body, and consider wearing a leather thimble.
Fabric glues and seam sealers emit strong, toxic fumes. Always work in a well-ventilated area, preferably outdoors or in an open garage.
If you are repairing an awning while on a ladder, ensure the ladder is fully stable. Never stretch or lean too far while trying to reach a difficult tear.
When to Call a Professional
While learning how to repair torn canvas is empowering, some jobs require a professional touch.
If the tear is longer than 12 inches, a home repair might not hold up under heavy wind tension.
When the damage involves intricate zippers, structural seams, or heavy marine-grade vinyl, specialized industrial sewing machines are necessary.
If the fabric is heavily rotted from mildew, a patch will just tear away from the weakened fibers. In these cases, taking it to a professional upholstery or marine repair shop is your best bet.
Cost Estimate: DIY vs. Professional Repair
Fixing things yourself is almost always the more economical choice.
A complete DIY repair kit with glue, patches, needles, and thread will cost between $15 and $30.
These supplies will last through multiple repairs, bringing the cost per fix down to just a few dollars.
In contrast, a professional canvas repair shop usually charges a minimum fee just to look at the item.
Professional repairs typically range from $100 to $300, depending on the size of the tear and the item’s complexity.
For small to medium tears, the DIY route is a clear financial winner.
Frequently Asked Questions
Can I use regular super glue to fix a canvas tear?
No. Super glue dries hard and brittle. When the fabric flexes in the wind, the brittle glue will crack and the tear will reopen. Always use a flexible fabric adhesive.
How to repair torn canvas on a pop-up camper?
Follow the same steps above, but apply a patch to both the interior and exterior sides of the camper wall. Double-patching is crucial for pop-up campers due to the extreme tension when fully expanded.
Does duct tape work for emergency repairs?
Duct tape works as a temporary, emergency fix while camping. However, the sun will quickly melt the adhesive into a sticky mess. You should always replace tape with a proper sewn and glued patch as soon as you get home.
Can I sew the tear without using a patch?
If it is a perfectly clean slit, you can pinch the edges together and sew them. However, this creates a weak point. Using a patch distributes the tension and ensures the hole will not grow.
What is the best thread to use?
Always use a UV-resistant, heavy-duty waxed polyester or nylon thread. Standard cotton thread will quickly rot when exposed to rain and sun, ruining your hard work.
Conclusion
A rip in your gear does not mean it belongs in the trash. Knowing how to repair torn canvas is a straightforward process that simply requires the right materials and a little bit of time.
By cleaning the area, applying a strong glued patch, and reinforcing it with heavy-duty stitches, you can handle almost any damage. You will save hundreds of dollars and get your favorite outdoor items back in action.
Do not let a little wear and tear ruin your next camping trip or boating adventure. Grab a repair kit, follow these steps, and take pride in fixing it yourself!