

Tulle is a beautiful, delicate fabric we use for dresses, crafts, and home decor. But it rips easily, leaving you with a frustrating mess.
If you are wondering how to repair torn tulle, you are in the right place. I am here to help you fix it yourself.
You do not need special skills to handle this project. Fixing it at home saves you time, stress, and money.
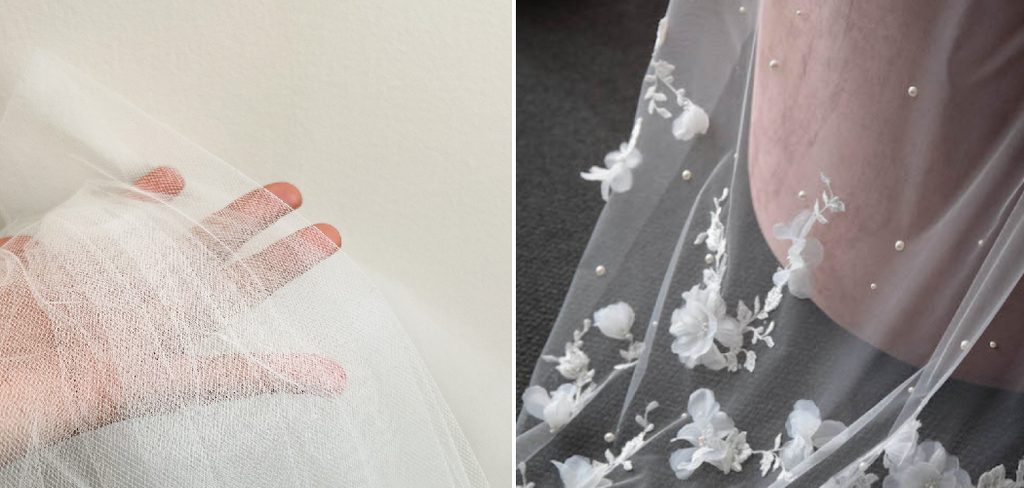
You get to keep your favorite items looking great without paying expensive tailor fees. Let’s get that fabric looking brand new again.
What Causes This Problem?
Tulle is incredibly fragile and prone to damage. Knowing what causes tears can help you prevent them in the future.
Here are the most common culprits behind tulle damage:
- Snagging on sharp objects: Jewelry, zippers, and rough furniture catch the fine mesh.
- Pet claws: Cats and dogs can accidentally rip the fabric while playing.
- Washing machine damage: Agitators and heavy spins tear the delicate threads.
- Stepping on hems: Long dresses and skirts often get trapped under heels.
- Age and dry rot: Older fabric becomes brittle and breaks under slight pressure.
Tools and Materials Needed
You only need a few basic supplies to fix your fabric. You might already have most of these in your house.
Here is exactly what you need before we begin:
- Clear nylon thread or color-matching thread
- A very fine sewing needle (size 9 or 10)
- Small, sharp embroidery scissors
- Clear fabric glue (flexible and washable)
- A clean, flat workspace
- Good lighting or a magnifying lamp
Your Step-by-Step Guide on How to Repair Torn Tulle
Ready to get to work? Follow these simple steps to learn how to repair torn tulle like a pro.
Take your time and do not rush the process. Patience is your best friend when working with delicate mesh.
Step 1: Prepare Your Workspace
Find a clean, flat surface to lay out your project. You need plenty of light to see the tiny mesh fibers.
A solid background helps the tear stand out. Place a piece of white paper under the fabric so you can see the hole clearly.
Smooth out the material gently with your hands. Do not stretch it, or you might make the rip bigger.
Read More: How to Repair Ripped Fabric.
Step 2: Trim the Jagged Edges
Look closely at the tear. You will likely see frayed threads and jagged edges.
Take your sharp embroidery scissors and carefully trim these loose bits. You want a clean edge before you start closing the hole.
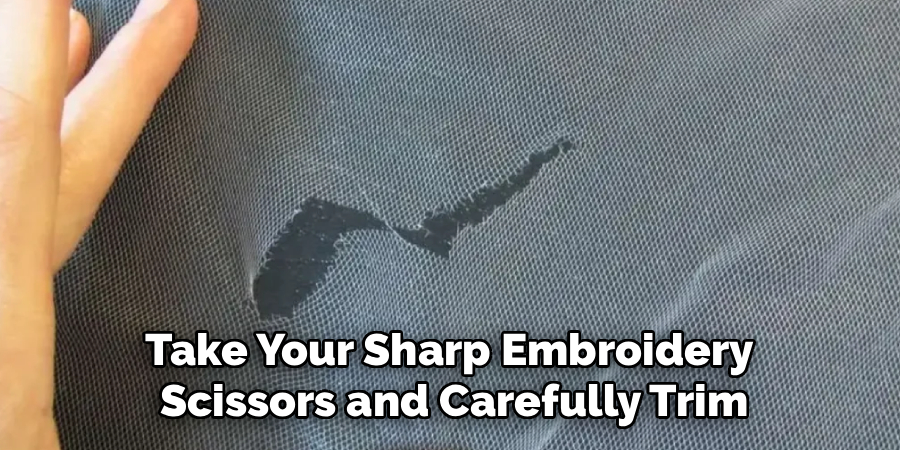
Be incredibly careful during this step. Only cut the frayed pieces so you do not widen the gap.
Step 3: Choose Your Repair Method
You have two main options for fixing the rip. You can either sew it or glue it.
Sewing works best for straight tears and offers a stronger hold. Gluing is perfect for jagged holes where sewing might cause puckering.
Pick the method that best matches your specific damage. We will cover how to do both below.
Step 4: The Sewing Method
Thread your fine needle with clear nylon thread. Tie a very small knot at the end.
Start slightly above the tear to anchor your thread. Weave the needle gently through the existing mesh holes.
Use a small whip stitch to pull the edges together. Do not pull the thread too tight, or the fabric will bunch up.
Tie off the thread neatly when you reach the end of the tear. Snip the excess thread close to the knot.
Read More: How to Repair Silk.
Step 5: The Glue Method
If you choose fabric glue, use a flexible, clear-drying brand. Apply a tiny dot of glue to a toothpick.
Gently dab the glue along the edges of the tear. Press the edges together flat against your paper backing.
Hold it still for a minute until the glue sets. Let it dry completely for 24 hours before moving the item.
Important Safety Warnings
Working with sewing tools requires a little caution. Keep these safety tips in mind.
Needles are sharp and easily lost. Always use a pincushion and count your needles when you finish.
Keep fabric glue away from your eyes and mouth. Work in a well-ventilated room if your glue has strong fumes.
Keep small tools and loose threads out of reach of pets and children.
When to Call a Professional
DIY repairs are fantastic, but they have limits. Sometimes, a job is just too big or too important.
If the tear is massive or missing a large chunk of fabric, you might need help. Professional tailors can replace entire panels of mesh.
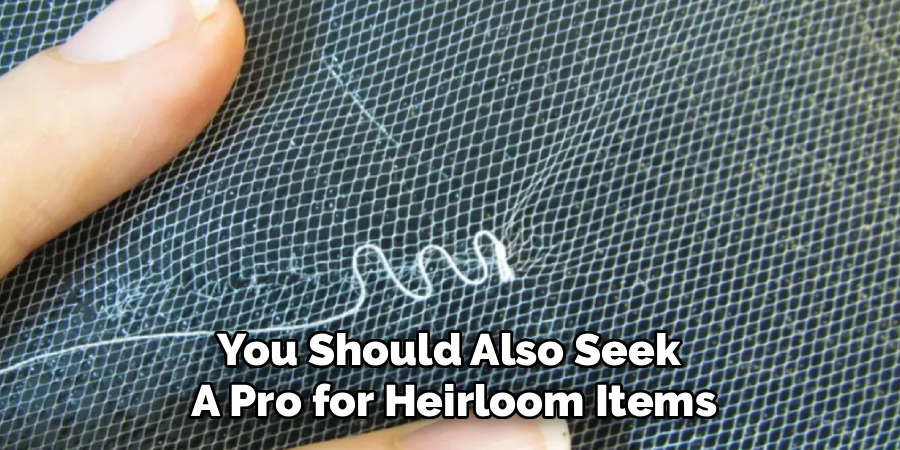
You should also seek a pro for heirloom items like vintage wedding dresses. A mistake on a family treasure can be heartbreaking.
Be honest with yourself about your comfort level. There is no shame in asking a professional tailor for help.
Cost Estimate: DIY vs. Pro Repair
Fixing things yourself keeps cash in your pocket. Let’s look at the numbers.
A DIY repair costs almost nothing. A spool of nylon thread and a needle usually cost under $5.
If you buy fabric glue, add another $5. Your total DIY cost stays well under $10.
A professional tailor charges for their time and expertise. Simple repairs might cost $20, while complex gown repairs can run $50 to $150 or more.
Doing it yourself is absolutely the budget-friendly choice.
Frequently Asked Questions
Can I iron tulle to smooth out the repair?
No, regular irons will melt the synthetic fibers instantly. Use a garment steamer on a low setting instead.
Will the repaired tear be visible?
If you use clear thread and take your time, the fix will be barely noticeable. It blends into the natural folds of the material.
Can I use super glue instead of fabric glue?
Never use super glue on soft fabrics. It dries hard, turns yellow, and will eventually crack the delicate mesh.
Should I wash the item before repairing it?
It is best to repair the tear first. Washing a damaged piece can cause the rip to grow much larger.
Conclusion
You do not need to panic when your delicate fabrics snag. Learning how to repair torn tulle is a practical skill that saves you money and stress.
By carefully trimming the edges and using the right thread or glue, you can make the damage practically vanish. Remember to take your time and work in a well-lit space.
You have the tools and the know-how to handle this like a pro. Your favorite dresses and decor will look gorgeous again in no time.
Grab your needle and thread today. Give this easy repair a try and rescue your favorite items!