

Finding a tear or snag in your favorite silk blouse or vintage pillowcase can feel heartbreaking. Silk is a gorgeous, luxurious fabric, but it can also be incredibly delicate.
When you discover damage, your first thought might be to throw the item away or pay a fortune to a tailor. But knowing how to repair silk yourself can save you serious money.

You do not need to be a master seamstress to fix common silk issues. With a little patience and the right tools, you can handle most minor repairs right at your kitchen table.
In this guide, we will walk you through everything you need to know about how to repair silk safely. Grab your sewing kit, take a deep breath, and let’s get that beautiful fabric looking fresh again!
What Causes Silk to Tear or Damage?
Before we dive into the fix, it helps to understand why your silk got damaged in the first place. Knowing the cause can help you prevent future fabric tragedies.
Here are the most common culprits behind silk damage:
- Friction and Snagging: Catching the fabric on sharp jewelry, rough chair edges, or even jagged fingernails.
- Stress and Tension: Wearing a silk garment that fits too tightly can pull the delicate seams apart over time.
- Moth Damage: Clothes moths love natural fibers and will happily chew tiny holes through your stored silk items.
- Sun Rot: Leaving silk exposed to direct sunlight weakens the fibers, making them brittle and prone to tearing.
- Chemical Exposure: Harsh detergents, perfumes, and deodorants can break down silk threads and cause holes.
Tools & Materials Needed for the Job
To fix your silk properly, you need the right supplies. Using heavy-duty tools on delicate fabric will only make the tear worse.
Gather these items before you start your repair:
- Silk thread or fine cotton thread: Match the color to your fabric exactly.
- Fine sewing needles: Look for “sharps” or fine beading needles (size 9 or 10).
- Fusible interfacing (lightweight): Crucial for backing small holes or weak spots.
- Fabric glue for delicate fabrics: Optional, but helpful for no-sew patches.
- Small, sharp embroidery scissors: You need precise cuts without fraying the edges.
- A warm iron and a pressing cloth: You must protect the silk from direct heat.
- Straight pins (super fine): To hold the fabric gently in place.
How to Repair Silk: Step-by-Step Fix Guide
Learning how to repair silk depends on the type of damage you are facing. We have broken this down into the most common issues you will encounter at home.
Follow these beginner-friendly steps to bring your fabric back to life.
Fixing a Clean Tear in Silk
A clean tear happens when the fabric rips in a straight line. This is the easiest type of damage to fix.
Step 1: Prep the Area
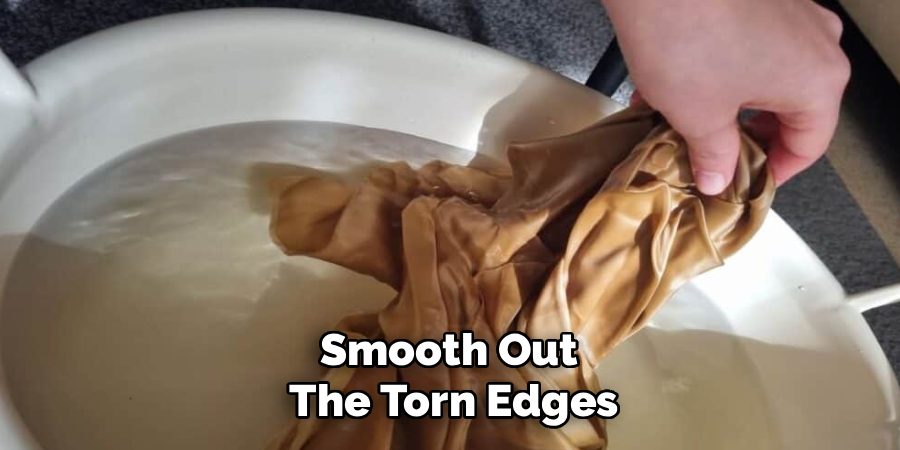
Lay your silk item flat on an ironing board. Smooth out the torn edges so they line up perfectly.
Step 2: Apply Interfacing
Cut a small strip of lightweight fusible interfacing. It should be slightly longer and wider than the tear itself.
Step 3: Position the Patch
Turn the silk garment inside out. Place the interfacing over the tear, sticky side down against the fabric.
Step 4: Press with Heat
Place your cotton pressing cloth over the interfacing. Press a warm (not hot) iron onto the cloth for about 10 seconds to fuse the patch to the silk.
Step 5: Stitch the Edges (Optional)
For extra strength, use your fine needle and silk thread to gently stitch along the tear. Use a small, tight zigzag stitch to catch both sides of the rip.
Read More: How to Repair Ripped Fabric.
Repairing Snags and Pulled Threads
Snags are frustrating but highly fixable. The golden rule here is simple: never cut a pulled thread!
Step 1: Stretch the Fabric
Gently pull the fabric around the snag in all directions. Sometimes, this simple action pulls the thread right back into the weave.
Step 2: Use a Snag Repair Tool
If pulling does not work, grab a snag repair needle. Push it through the fabric from the right side to the wrong side, directly next to the snag.
Step 3: Pull the Thread Through
Catch the loose thread in the textured end of the needle. Pull it all the way through to the inside of the garment.
Step 4: Secure the Thread
Once the thread is hidden on the inside, carefully dab a microscopic dot of clear fabric glue on the base of the thread. This stops it from unraveling further.
Read More: How to Repair Shoe Heel.
Patching a Hole in Silk
Holes caused by moths or chemical burns are trickier because the fabric is actually missing.
Step 1: Trim the Fraying Edges
Use your sharp embroidery scissors to carefully snip away any loose or frayed threads around the hole.
Step 2: Cut a Patch
Find a scrap piece of matching silk, or use a piece from a hidden seam allowance. Cut it slightly larger than the hole.
Step 3: Apply the Patch
Turn the garment inside out. Place the patch over the hole and pin it gently in place using your super-fine straight pins.
Step 4: Sew the Patch
Thread your needle and tie a tiny knot. Sew around the edges of the patch using a simple whipstitch or a tiny running stitch.
Step 5: Press the Area
Place your pressing cloth over the repaired area. Give it a gentle press with a warm iron to flatten the stitches and blend the repair.
Read More: How to Repair Solar Lights.
Important Safety Warnings for Silk Repair
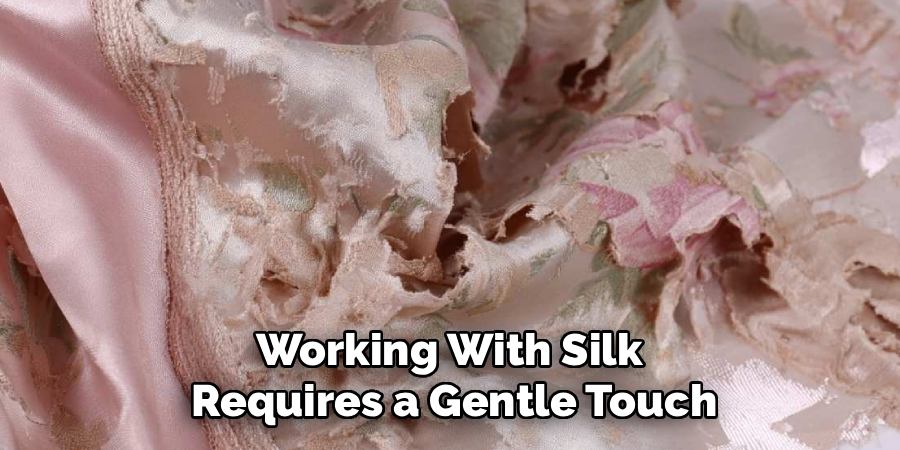
Working with silk requires a gentle touch. One wrong move can easily ruin the piece you are trying to save.
Keep these crucial safety tips in mind:
- Never use a hot iron. Silk burns easily. Always use the lowest heat setting and place a cotton pressing cloth between the iron and the fabric.
- Do not use thick needles. Heavy needles will punch permanent, visible holes in delicate silk weaves.
- Test chemicals first. If using fabric glue or seam sealant, test it on a hidden inside hem first to ensure it does not stain.
- Avoid stretching. Pulling too hard while stitching will cause the fabric to pucker permanently.
When to Call a Professional Tailor
While DIY repairs are great for saving money, some jobs are simply too big to tackle at home. Knowing your limits is a sign of a smart DIYer.
You should consider handing the job over to a professional if:
- The damage is on a highly visible area, like the center front of a formal dress.
- The garment is an irreplaceable family heirloom or an antique.
- The silk is completely shattered (dry, brittle, and ripping in multiple places).
- The tear is along a complex seam, like an armhole or a gathered waistline.
A professional tailor has specialized machines and advanced techniques to make invisible repairs. If you are nervous about ruining the piece, it is always best to ask an expert.
Cost Estimate: DIY vs. Professional Repair
Is fixing it yourself worth the effort? Let us break down the costs.
DIY Repair Cost: $10 – $20
If you need to buy a basic sewing kit, fine needles, and silk thread, you will spend under $20. Once you have the supplies, future repairs cost practically nothing.
Professional Repair Cost: $35 – $100+
Taking a silk item to a tailor or reweaving specialist can be pricey. Simple seam repairs might cost $35, but complex patching or invisible mending on silk can easily exceed $100.
By taking the time to learn this skill, you keep your money in your pocket and extend the life of your wardrobe.
Frequently Asked Questions
Here are some of the most common questions people ask when dealing with damaged delicate fabrics.
Can you use fabric glue on silk?
Yes, but you must use a glue specifically formulated for delicate fabrics. Apply it very sparingly, as heavy glue will dry stiff and ruin the drape of the silk.
How do you fix a pulled thread on a silk tie?
Never cut the thread. Gently stretch the tie diagonally to see if the thread goes back in. If not, use a fine needle to pull the snag through to the back of the tie.
Is a ripped silk dress ruined?
Not necessarily! A clean tear along a seam is highly repairable. Even holes can be saved with interfacing or a clever patch, depending on where the damage is located.
Can iron-on patches be used to repair silk?
Traditional heavy iron-on patches are too stiff for silk and require too much heat. Instead, use a very lightweight fusible interfacing designed for sheer fabrics.
Conclusion
Figuring out how to repair silk might seem intimidating at first glance, but it is entirely manageable. By taking your time and using the proper fine tools, you can easily save your delicate fabrics from the trash bin.
Remember to match your thread carefully, use a pressing cloth to protect the fabric from heat, and never try to yank or cut a snag.
Minor tears and pulls happen to the best of us. With this guide, you now have the knowledge and confidence to fix them right at home. You will save money, reduce textile waste, and keep your favorite garments looking gorgeous for years to come.
Ready to tackle more home fixes? Grab your sewing kit and start practicing on an old garment today! Keep exploring our site for more practical, neighborly advice on fixing things around your house.