

We all have that one favorite book that has seen better days. Maybe a page snagged while you were turning it, or a child got a little too enthusiastic during storytime.
A torn page can feel like a disaster, especially if it is a beloved novel, a rare find, or an expensive textbook.
You might think you need to throw it away or pay a professional for expensive restoration work. But learning how to repair torn pages in a book is easier than you think.

Fixing it yourself saves you a significant amount of money and keeps your favorite stories intact. You do not need a degree in bookbinding to get great results.
With a little patience and the right supplies, you can make that page look almost as good as new. Let us walk through the process together, step by step, so you can rescue your damaged books.
What Causes Book Pages to Tear?
Before we fix the problem, it helps to understand why it happens in the first place. Book pages are surprisingly delicate, and daily wear takes a toll.
Here are the most common reasons your book pages end up ripped:
- Aggressive page-turning: Flipping through a book too quickly often leads to accidental snags and rips.
- Improper storage: Shoving books tightly into a shelf can bend and weaken the delicate paper over time.
- Moisture damage: High humidity or spilled drinks weaken paper fibers, making them incredibly fragile and easy to tear.
- Age and acidic paper: Older books often contain acid that slowly breaks down paper, making it brittle and prone to cracking.
- Kids and pets: Toddlers learning to read and curious pets do not always handle fragile paper with the necessary care.
- Rough travels: Tossing a paperback loose into a backpack without protection is a guaranteed way to crease and rip pages.
Tools & Materials Needed for Book Repair
Gathering the right tools is the secret to a seamless repair. Do not reach for standard office supplies, as they can cause long-term damage.
You want materials that will preserve the book, not ruin it further. Here is exactly what you need to gather before you start.
Essential Supplies
Acid-Free Document Repair Tape: This is the most important item on your list. Standard cellophane tape turns yellow, shrinks, and oozes sticky residue over time. Acid-free tape stays clear and flexible forever.
A Bone Folder: This smooth, flat tool helps you press down the tape firmly. It removes air bubbles without scraping the paper. If you do not have one, the back of a plastic spoon works perfectly.
Small Scissors or a Craft Knife: You need something sharp to cut the repair tape cleanly. Blunt scissors will leave jagged, messy edges that snag.
Optional But Helpful Items
Wax Paper: Placing wax paper behind the torn page protects the underlying pages. It prevents any accidental sticking if your tape goes over the edge.
A Soft Brush: A clean, dry makeup brush or paintbrush is great for dusting off the page. You want a clean surface before applying any adhesive.
PVA Glue (For spine or hinge tears): If the page is tearing away from the binding, you will need a specialized, acid-free bookbinding glue.
Step-by-Step Guide: How to Repair Torn Pages in a Book
Now that you have your supplies, it is time to get to work. Fixing a tear requires a gentle touch and a bit of focus.
Take a deep breath, clear off a flat workspace, and let’s dive into the repair process.
Step 1: Prepare Your Workspace
Find a clean, well-lit table to work on. Wash and dry your hands thoroughly to remove any natural oils or dirt.
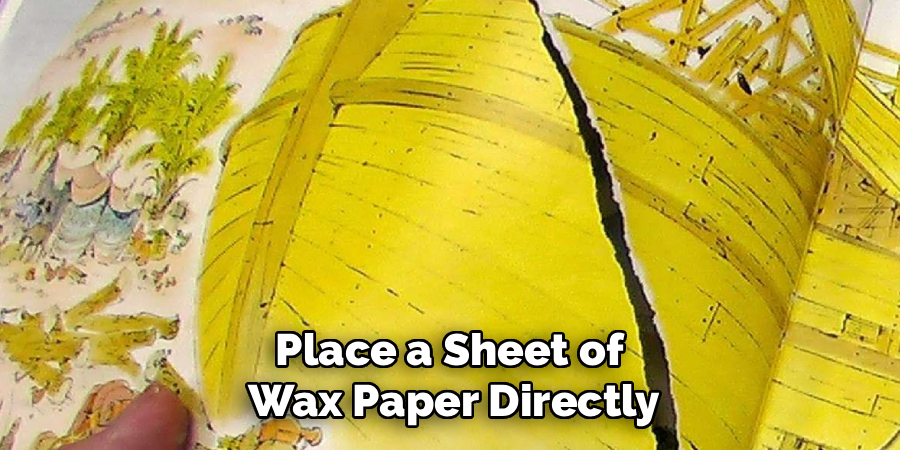
Open the book to the damaged page and lay it flat. Place a sheet of wax paper directly behind the torn page to protect the rest of the book.
Step 2: Clean the Torn Area
Gently brush away any dust or loose paper fibers using your soft brush. A clean surface ensures the repair tape will adhere properly.
Do not blow on the page, as moisture from your breath can warp the delicate paper.
Read More: How to Repair Torn Canvas.
Step 3: Align the Torn Edges
Carefully piece the torn edges back together like a puzzle. Paper tears usually leave a slightly beveled edge, meaning one side overlaps the other.
Gently nudge the fibers until the text and images line up perfectly. Take your time here; a well-aligned tear is practically invisible once taped.
Step 4: Measure and Cut the Tape
Unroll your acid-free document repair tape. Hold it over the tear to measure the exact length you need.
Cut the tape about a quarter-inch longer than the actual tear. This ensures the entire rip is securely covered from end to end.
Read More: How to Repair Torn Tulle.
Step 5: Apply the Repair Tape
Peel the backing off your precut tape. Center the tape directly over the tear, starting from the middle and working your way out.
Gently lay it down, ensuring the paper edges do not shift underneath. Only apply tape to one side of the page to keep the paper flexible.
Step 6: Smooth Out the Bubbles
Grab your bone folder or the back of your plastic spoon. Gently rub it over the newly applied tape.
Apply steady, even pressure to push out any trapped air bubbles. This step activates the adhesive and makes the tape blend into the paper.
Read More: How to Repair Spine of Book.
Step 7: Trim Any Excess Tape
If your tear goes all the way to the edge of the page, your tape might hang over the side. Do not fold it over the edge, as this makes the page stiff.
Instead, use your small scissors or craft knife to carefully trim the overhanging tape perfectly flush with the page edge.
Step 8: Let It Rest
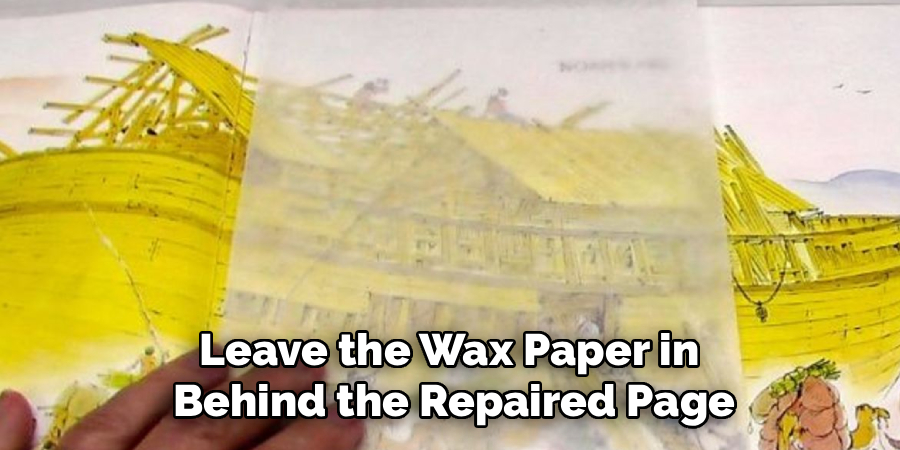
Leave the wax paper in place behind the repaired page. Close the book and place a heavy object, like another large book, on top of it.
Leave it alone for a few hours. This steady pressure helps the adhesive bond permanently to the paper fibers.
Safety Warnings to Keep in Mind
Fixing a book is generally very safe, but there are a few cautions to remember. The biggest risk is accidentally causing more damage to the book.
Never use standard household tape, duct tape, or masking tape on a book you care about. These tapes contain acidic adhesives that will literally eat through the paper over time.
If you are using a craft knife to trim edges, always cut away from your body. Protect your table with a cutting mat so you do not leave scratches on your furniture.
Finally, handle older, brittle books with extreme care. The paper might crumble if you press down too hard with your bone folder.
When to Call a Professional Bookbinder
DIY repairs are fantastic for everyday reading copies, cookbooks, and paperbacks. However, knowing your limits is crucial.
Some books simply require the touch of a professional conservator. If your book is a rare first edition, a historical artifact, or a valuable family heirloom, step away from the tape.
DIY repairs, even with acid-free materials, can lower the appraisal value of rare books. A professional has specialized tools and reversible adhesives designed specifically for preservation.
You should also seek a pro if the book has extensive water damage, black mold, or if the entire text block is separating from the spine.
Cost Estimate: DIY vs. Professional Repair
One of the best reasons to learn this skill is the money you will save. Professional book restoration is an art form, and the prices reflect that.
Hiring a professional bookbinder to fix torn pages or reattach a cover can cost anywhere from $75 to $300, depending on the damage.
On the other hand, a roll of archival document repair tape costs around $10 to $15. A bone folder will set you back about $5.
For less than $20, you can buy enough supplies to repair dozens of books. The DIY route is incredibly budget-friendly for standard wear and tear.
Frequently Asked Questions
Can I use regular clear tape to fix a torn page?
No, you should never use regular clear tape or scotch tape on a book. Standard tape is highly acidic, turns yellow, becomes brittle, and will eventually stain and destroy the paper. Always use acid-free document repair tape.
What is the best tape for repairing torn book pages?
The best tape is archival-quality, acid-free document repair tape. Brands like Filmoplast or Lineco make excellent, ultra-thin tapes that are nearly invisible and will not damage the paper fibers over time.
How do I fix a page that is completely detached?
If a page has fallen out completely, apply a very thin line of acid-free PVA glue along the inner edge of the page. Slide it back into the spine, press firmly, and let it dry under the weight of a heavy object.
Can a torn page be repaired invisibly?
While a tear is rarely 100% invisible, using ultra-thin, matte archival tape makes it very hard to notice. Properly aligning the torn fibers before taping is the key to achieving a nearly seamless repair.
Is it worth repairing a cheap paperback book?
Yes, it is definitely worth it if you plan to read it again or lend it to a friend. With a $10 roll of repair tape, fixing a tear takes just two minutes and extends the life of your book significantly.
Conclusion: Master How to Repair Torn Pages in a Book
There is a unique sense of satisfaction that comes from rescuing a damaged item with your own hands.
You do not have to toss your favorite novels just because they suffered a little accident. By learning how to repair torn pages in a book, you preserve your library and save money.
Remember to always use the right acid-free materials and take your time aligning those delicate paper fibers. Patience is your best tool.
Now that you know the secrets of DIY book repair, grab that damaged paperback and give it a try. Your books will thank you for the extra care!