

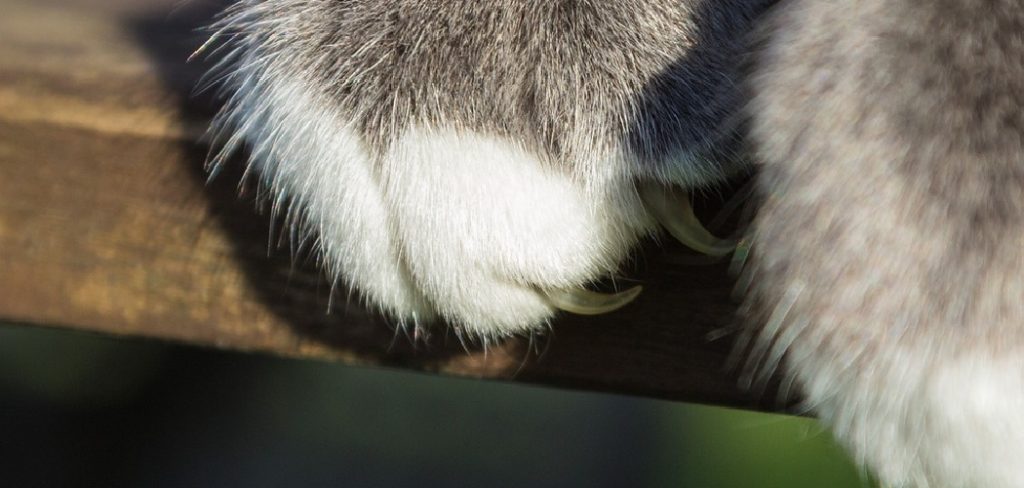
That favorite leather sofa looks amazing until your cat decides it makes the perfect scratching post. Suddenly you’re staring at thin claw lines, frayed patches, and maybe a few deep gouges that catch the light. Don’t panic. You don’t need to call a pro or replace the whole piece. Learning how to repair leather furniture with cat scratches is easier than most people think, and you can do it with a few affordable supplies and a little patience.
Whether you’re dealing with surface scuffs or deeper damage, the right approach makes a real difference. This guide walks you through everything, from surface prep to the final topcoat, so you can restore your leather and keep it looking great for years.
Why Repairing Cat-Scratched Leather Furniture Matters
Leather furniture isn’t cheap. A quality sofa or armchair can cost thousands, so tossing it out over a few scratches feels wasteful and painful for your wallet. Learning to fix it yourself saves serious money and extends the life of pieces you already love.
For renters, this skill is a lifesaver. Repairing damage before you move out can protect your deposit and keep your landlord happy. For homeowners and DIY beginners, every successful scratch repair builds confidence for bigger projects down the road.
There’s also the satisfaction factor. Bringing a tired, clawed-up cushion back to smooth, even leather feels genuinely rewarding. You’ll look at that couch and know you saved it. Plus, regular maintenance keeps small scratches from turning into big, expensive problems later.
Tools and Materials You’ll Need
Before you start, gather your supplies. Having everything ready keeps the job smooth and stops you from running to the store mid-repair. Here’s what you’ll want on hand:
- Leather filler for deeper scratches and gouges
- Leather colorant matched to your furniture’s shade
- Leather conditioner to soften and protect the surface
- Clear topcoat or finish to seal the repair
- Fine-grit sandpaper (around 600 grit) for smoothing
- Clean microfiber cloths for cleaning and buffing
- A small palette knife or spatula for applying filler
- Mild leather cleaner for surface prep
- Cotton swabs and a sponge for detailed touch-up work
Optional but handy: a heat gun or hair dryer to speed up drying time between coats. It’s not essential, but it makes the whole process faster and more convenient.
Step-by-Step Guide on How To Repair Leather Furniture With Cat Scratches
Step 1 – Inspect and assess the damage
Start by getting up close with the scratched area. Run your fingertip gently over each mark to feel how deep it goes. Light surface scratches catch your nail slightly, while deep gouges sink noticeably below the surface.
Good lighting matters here. Position a lamp at an angle so shadows reveal every claw line and frayed edge. Take a quick photo for reference if you want to track your progress.
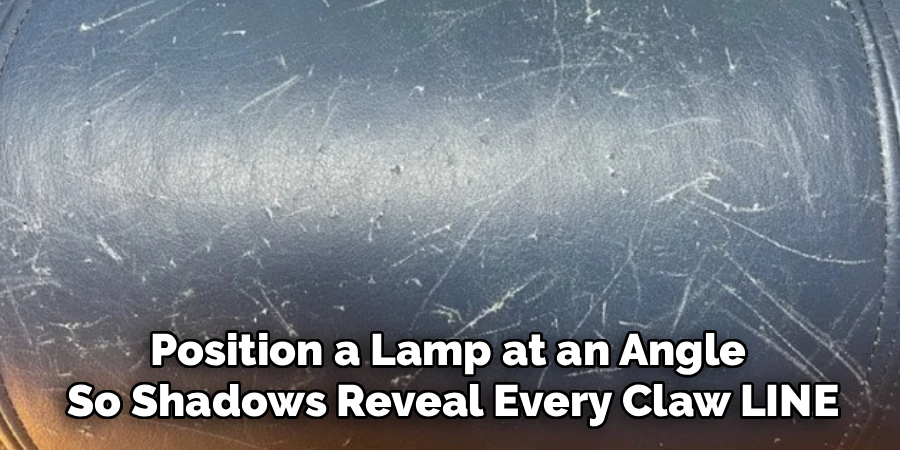
Knowing exactly what you’re dealing with shapes your whole approach. Shallow scratches might only need conditioner and buffing, while deep ones require filler and color. Spend a few minutes here, because skipping this step often leads to mismatched repairs that stand out later instead of blending in smoothly.
Step 2 – Clean the surface thoroughly
Now prep the area so your repair actually sticks. Dampen a microfiber cloth with mild leather cleaner and wipe the scratched zone in gentle circles. You’ll lift away oils, dust, and the invisible grime that builds up from daily use and curious paws.
Don’t soak the leather. A light, even pass is all you need. The surface should feel clean and slightly cool to the touch, not wet.
Let it dry completely before moving on, usually around fifteen to twenty minutes. This surface prep step is the foundation of how to repair leather furniture with cat scratches successfully. Filler and colorant bond far better to clean leather, and skipping this means your hard work could peel or flake within weeks.
Step 3 – Trim loose fibers and frayed edges
Cat scratches often leave behind tiny lifted fibers that stick up like fuzz. If you fill over them, they’ll create bumpy ridges that ruin the smooth finish you’re aiming for.
Grab small, sharp scissors or a fresh razor blade. Carefully snip away any loose strands flush with the surface. Work slowly and keep your hand steady, especially around deeper tears where the leather curls.
Run your finger across the area again. It should feel flatter and tidier now, with no rough threads catching your skin. This small step makes a huge visual difference. Clean edges let the filler sit evenly and help the repaired patch disappear into the surrounding grain texture once you finish.
Step 4 – Apply leather filler to deep scratches
For scratches you can feel with your nail, leather filler does the heavy lifting. Scoop a small amount onto your palette knife and spread it thinly across the damaged groove.
Use light, even strokes and press the filler down into the scratch. Wipe away excess so you only fill the gap, not the surrounding leather. Less is more here, since thin layers dry faster and crack less than thick globs.
The filler feels slightly tacky as it goes on and dulls as it sets. Let each coat dry fully, then add another if the scratch still dips below the surface. Deep gouges might need two or three thin passes. Patience now means a flat, seamless base for color later.
Step 5 – Sand the repaired area smooth
Once the filler dries completely, it’s time to smooth things out. Wrap your fine-grit sandpaper around a fingertip and gently sand the filled area using small circles.
Your goal is a flush, even surface that blends into the leather around it. Touch the spot often as you work. When it feels smooth and level with no raised edges, you’re done. Over-sanding thins the leather, so go easy.
Wipe away the fine dust with a clean, dry cloth. The area might look pale or matte now, which is completely normal before colorant goes on. This smooth base is what makes a quality scratch repair look professional instead of patchy. Don’t rush this part, because texture problems show through every later step.
Step 6 – Match and apply leather colorant
Color is where the magic happens. Test your leather colorant on a hidden spot first, like the back of the sofa, to confirm the shade matches your furniture.
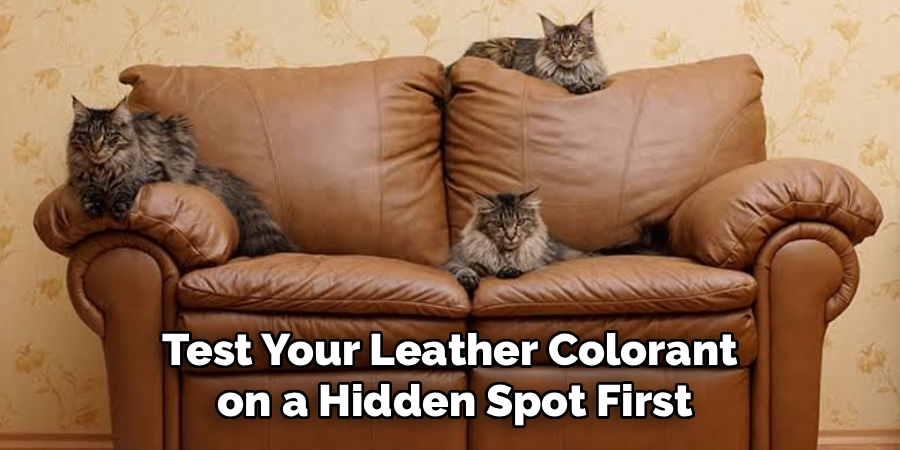
Once you’re happy, dab a small amount onto a sponge and pat it gently over the repaired area. Build color in thin layers rather than one heavy coat. This blends the patch into the surrounding leather naturally and keeps the grain texture looking real.
Let each layer dry before adding the next. After two or three light coats, the scratch should nearly vanish. Step back and check it under natural light. The repaired spot should melt into the original color, with no obvious line marking where the damage used to be.
Step 7 – Seal with a protective topcoat
A clear topcoat locks in your color and shields the repair from future wear. Apply a thin, even layer over the colored area using a clean sponge or cloth.
This finish does double duty. It protects the colorant from rubbing off and adds a subtle sheen that matches the rest of your furniture. Cover slightly beyond the repair so everything blends seamlessly.
Let the topcoat cure fully, often a few hours or overnight depending on the product. Resist the urge to sit down or test it early. A properly sealed repair resists scratches, spills, and curious claws far better. This protective layer is the final touch that makes your fix last for years instead of months.
Step 8 – Condition and buff the whole piece
Finish by treating the entire piece, not just the repair. Apply leather conditioner across the cushion or panel with a soft cloth, working it in with gentle circular motions.
Conditioner restores moisture, softens stiff areas, and helps the repaired spot match the supple feel of the rest of the leather. It also adds a healthy, low sheen that ties everything together.
Buff the surface with a clean, dry microfiber cloth until it feels smooth and looks evenly finished. Stand back and admire your work. The scratches are gone, the color blends, and the leather feels soft again. Regular conditioning from here on keeps the whole piece looking rich and prevents new cracks or dryness.
Critical Mistakes When Repairing Cat-Scratched Leather Furniture
Even careful beginners trip over a few common errors, so knowing them upfront saves frustration. The biggest mistake is skipping surface prep. When people rush past cleaning, oils and dust block the filler and colorant from bonding, and the repair flakes off within weeks. Always clean and dry the leather first.
Another frequent error is applying filler or color too thickly. It feels faster, but thick layers crack, peel, and dry unevenly. Thin coats always win, even though they take a little longer. Patience beats speed every time with leather work.
Color mismatch ruins otherwise solid repairs. Many folks grab a colorant that looks close in the bottle but dries far darker or lighter. Test on a hidden area first, and build color gradually so you can stop at the perfect shade.
Over-sanding is sneaky too. Pressing too hard or sanding too long thins the leather and creates dips that no amount of color can hide. Use a light touch and check often.
Finally, plenty of people forget the topcoat. Without that protective seal, fresh color rubs away fast, undoing all your effort.
Expert Cleaning Tips
Keeping your leather clean is the best way to make repairs last and prevent new damage. Wipe your furniture down weekly with a dry microfiber cloth to lift dust before it settles into the grain texture.
For deeper cleaning, use a dedicated leather cleaner rather than household sprays, which often contain harsh chemicals that dry out and crack the surface. Always test new products on a hidden spot first.
Condition your leather every few months to keep it soft and resistant to scratching. Dry leather tears far more easily under cat claws than well-moisturized leather does.
Finally, keep your furniture out of direct sunlight. UV rays fade color and weaken the surface over time, making future touch-up work harder and more noticeable.
Frequently Asked Questions
Can I fix deep cat scratches myself, or do I need a professional?
You can absolutely fix deep scratches at home with the right supplies. Leather filler, colorant, and a topcoat handle most damage, even gouges you can feel with your nail. The key is patience and thin layers. Professionals are worth it only for very large tears, antique pieces, or extremely valuable furniture where a mistake would be costly.
How do I match the leather colorant to my furniture?
Matching color takes a little testing. Here’s how to get it right:
- Clean a hidden area first, like the back or underside
- Apply a small dab of colorant and let it fully dry
- Compare it in natural daylight, not artificial light
- Adjust with a slightly lighter or darker shade if needed
Building color in thin layers also helps you stop at the perfect match.
Will the repaired area scratch again easily?
Not if you seal it properly. A clear topcoat protects the color and adds a layer that resists claws and daily wear. Conditioning the leather regularly also keeps it supple, and supple leather resists scratching far better than dry, brittle leather. To be safe, give your cat an appealing scratching post nearby to redirect that natural urge.
How long does a leather scratch repair take?
Most repairs take a few hours of active work, but drying time stretches the full project across a day. Filler, colorant, and topcoat each need time to cure between coats. Don’t rush it. Using a hair dryer on a low setting can speed up drying. Rushing usually causes cracking or peeling, so plan to let everything set overnight before regular use.
What if my leather is very light or white?
Light and white leather show repairs more easily, so precision matters even more. Use minimal filler, sand carefully, and build color in very thin coats to avoid a patchy look. Test your colorant thoroughly first, since white shades vary a lot. Finish with a matching topcoat and condition the whole piece so the sheen stays consistent across the surface.
Conclusion
Cat scratches don’t have to mean the end of your favorite leather piece. With a little time and the right approach, you can bring damaged cushions and panels back to smooth, even, great-looking leather. The process really comes down to a few key takeaways: clean thoroughly, work in thin layers, match your color carefully, and always seal with a protective topcoat.
Now that you know how to repair leather furniture with cat scratches, you’ve got a skill that saves money, protects your deposit, and keeps your furniture looking its best for years. Each repair you tackle builds confidence for the next one.
So grab your supplies, set aside an afternoon, and give that scratched-up sofa the fresh start it deserves. Take your time, follow the steps, and don’t forget to condition the whole piece when you finish. Your leather will thank you, and so will your wallet. Try this approach on your next scratch, and you’ll wonder why you ever considered replacing anything.