

You just looked down and saw it: a nasty scratch right across your favorite pair of boots. It is a frustrating moment for anyone who loves their footwear.
But do not throw them in the back of the closet just yet. Knowing exactly how to repair leather boots scratch issues like a pro is a skill every boot owner should have. It is much easier than you might think.
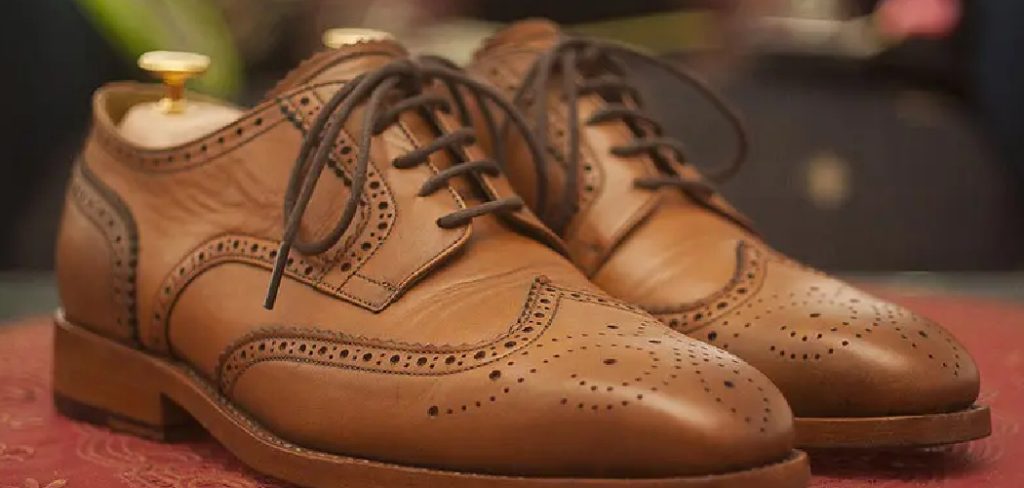
Fixing leather at home saves you a trip to the cobbler and keeps money in your pocket. Plus, there is a deep sense of pride that comes with restoring your own gear.
In this guide, we will walk through the entire process together. You will learn the exact steps to bring your boots back to life. Grab your supplies, clear off a workspace, and let’s get started on this easy repair.
What Causes Leather Boot Scratches?
Leather is tough, but it is not invincible. Daily wear and tear can quickly take a toll on your favorite footwear.
Understanding what causes these blemishes can actually help you prevent them in the future. Here are the most common culprits behind boot damage.
- Rough Terrain: Hiking over sharp rocks, gravel, and branches easily gouges leather surfaces.
- Everyday Clumsiness: Kicking stairs, catching your toe on a curb, or bumping into furniture.
- Pet Claws: Excited dogs and curious cats can easily leave scratch marks on soft leather.
- Improper Storage: Tossing boots into a crowded closet where they rub against harsh zippers or metal buckles.
- Dryness: Leather that lacks conditioning becomes brittle, making it much more susceptible to cracking and scratching.
Tools & Materials Needed for the Job
Before we dive into the fix, we need to gather our supplies. Having everything within arm’s reach makes the process smooth and stress-free.
You likely already have some of these items lying around the house. If not, they are cheap and easy to find at any local store.
Cleaning Supplies
You cannot fix a scratch on a dirty boot. You will need a horsehair brush to sweep away loose dirt and dust.
Next, grab some saddle soap or a gentle leather cleaner. You will also need a few soft microfiber cloths to wipe the surface down.
Repair Materials
For minor scuffs, a high-quality leather conditioner or leather oil is often all you need. White vinegar can also help swell the leather fibers for minor fixes.
For deeper gouges, you will need a specialized leather filler compound. A matching color leather dye or cream polish will help blend the repaired area.
Application Tools
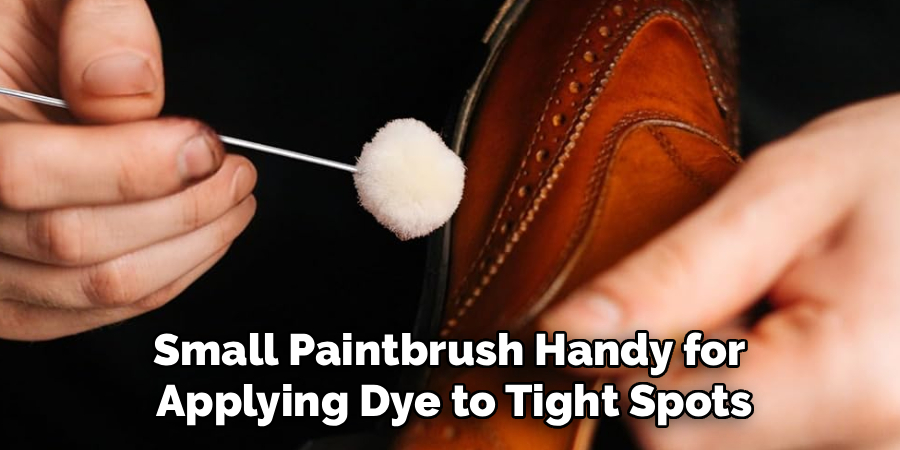
Keep a few cotton swabs or a small paintbrush handy for applying dye to tight spots. A soft buffing cloth is essential for the final shine.
If you are using leather filler, a small plastic palette knife or even a stiff piece of cardboard works perfectly for smoothing it out.
Step-by-Step Fix Guide: How to Repair Leather Boots Scratch Issues
Now, let’s get our hands dirty. We will start with light scuffs, which are the most common issue.
These superficial marks only affect the very top layer of the leather. They are incredibly easy to buff out with the right technique.
Step 1: Clean the Surface Thoroughly
Start by brushing your boots vigorously with the horsehair brush. Remove every trace of dried mud and dust from the seams.
Apply a small amount of saddle soap to a damp cloth and rub it in circles. Wipe away the lather and let the boot air dry completely.
Step 2: Apply the White Vinegar Trick
Take a cotton swab and dip it lightly into white vinegar. Gently dab the vinegar directly onto the scratched area.
The acidity causes the leather fibers to swell slightly. This natural reaction helps close the gap created by the scuff.
Step 3: Massage the Area
Once the vinegar dries, use your thumb to firmly rub the scratch. The heat and friction from your skin help blend the fibers back together.
You will often see the scratch begin to fade right before your eyes. It is a simple trick, but it works wonders on light blemishes.
Step 4: Apply Leather Conditioner
Apply a dime-sized amount of leather conditioner to a clean microfiber cloth. Work it into the scratched area using small, circular motions.
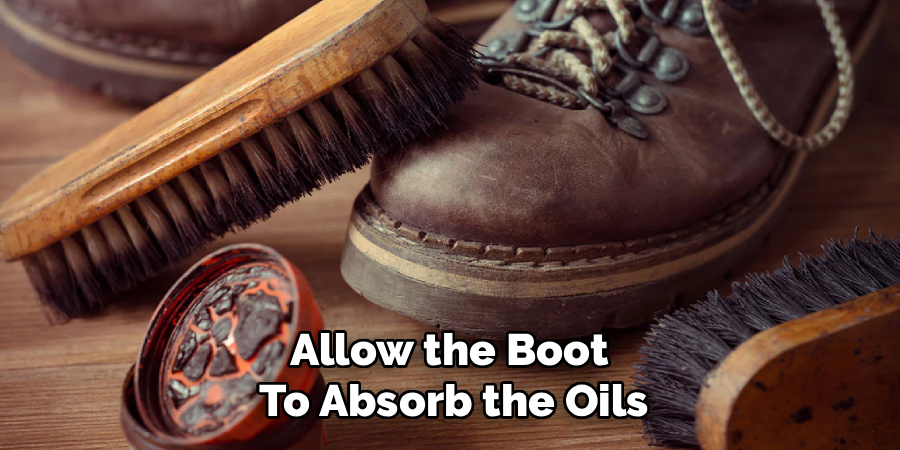
Conditioner hydrates the dry edges of the scratch, making it blend into the surrounding leather. Allow the boot to absorb the oils for about 20 minutes.
Step 5: Buff to a Shine
Take a dry horsehair brush and buff the entire boot briskly. This distributes the remaining conditioner evenly.
Finish by wiping the boot down with a clean, dry cloth. Your minor scratch should now be completely invisible.
Step-by-Step Fix Guide: Deep Scratches
Sometimes, a curb or a sharp rock leaves a deep, ugly gouge. This happens when the scratch tears through the top grain of the leather.
Do not panic. While this requires a bit more effort, you can absolutely fix it at home.
Step 1: Prep and Clean the Gouge
Just like before, start with a thoroughly clean boot. Pay special attention to the inside of the deep scratch.
Use a toothpick to gently pick out any dirt trapped inside the gouge. The repair will only hold if the area is completely free of debris.
Step 2: Trim Loose Fibers
Examine the deep scratch closely. You might notice tiny flaps of torn leather sticking up around the edges.
Take a pair of sharp cuticle scissors and carefully snip away these loose, frayed bits. You want the surface to be as smooth as possible before filling.
Step 3: Apply Leather Filler
Dip your plastic palette knife into the leather filler. Press a small amount directly into the deep scratch.
Smooth it out so it sits flush with the surrounding leather. Do not overfill; it is better to do multiple thin layers than one thick, messy glob.
Step 4: Let it Dry and Sand
Allow the filler to dry completely according to the package instructions. This usually takes a few hours.
Once dry, take a piece of ultra-fine sandpaper (around 600 grit). Gently sand the filled area until it feels perfectly smooth to the touch.
Step 5: Apply Color and Polish
The filler is usually white or gray, so you must color it to match your boot. Dab a matching leather dye over the repaired spot using a cotton swab.
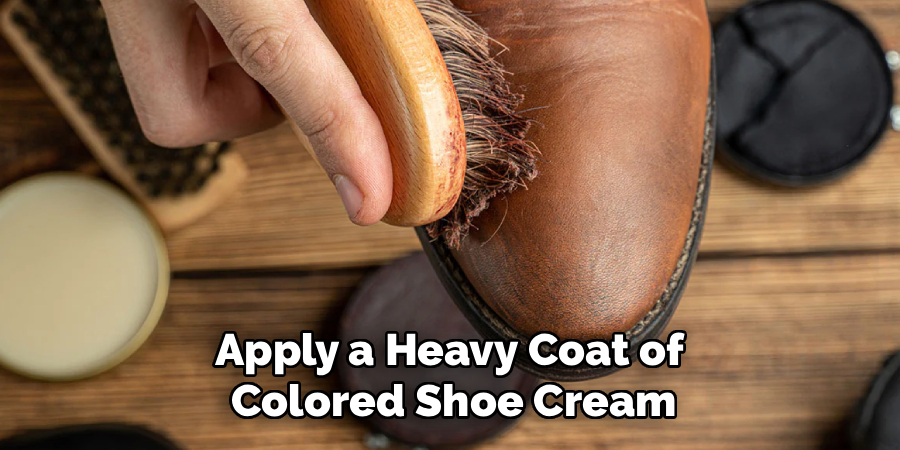
Let the dye dry completely. Finally, apply a heavy coat of colored shoe cream or wax polish over the entire boot to seamlessly blend your repair.
Important Safety Warnings
Fixing your boots is highly rewarding, but you need to stay safe. Many leather repair products contain strong chemicals and solvents.
Always work in a well-ventilated area, preferably outside or near an open window. Breathing in dye or filler fumes in a closed room can cause headaches.
Wear nitrile gloves when handling leather dyes. These pigments are designed to stain skin just as well as they stain boots, and they are tough to wash off.
Finally, always patch-test any new chemical. Apply a tiny amount of dye or cleaner to the boot’s tongue or heel to ensure it does not ruin the finish.
When to Call a Professional Cobbler
We love the DIY spirit, but some jobs are simply too big for the kitchen table. Knowing your limits saves you from permanently ruining expensive footwear.
If a cut goes entirely through the leather so you can see your sock, stop. Structural tears require professional stitching and interior patching.
If your boots are made from exotic materials like snake, alligator, or ostrich, leave them to the pros. These leathers require highly specialized care and chemicals.
Finally, if the scratch covers a massive surface area or spans across a critical seam, a cobbler is your best bet. They have industrial tools to safely resurface whole sections of leather.
Cost Estimate: DIY vs. Professional
Money is often the biggest factor when deciding how to handle a repair. Doing it yourself is almost always the more affordable route.
If you already own basic boot care supplies, fixing a scratch might cost you nothing. Even if you need to buy leather filler and dye, your total DIY cost will likely sit between $15 and $30.
Taking your boots to a professional cobbler is a different story. A basic scuff removal and conditioning service usually starts around $40.
For deep gouges requiring filler, sanding, and color matching, expect to pay between $75 and $120. If your boots are highly valuable, the professional cost is worth it, but for daily wearers, DIY is the clear winner.
Frequently Asked Questions
Can you fix a scratch on faux leather boots?
Yes, but the process is slightly different. Faux leather does not absorb conditioner like real leather does. You will need to rely strictly on vinyl repair kits and colored markers to hide blemishes on synthetic materials.
Does olive oil fix leather scratches?
We do not recommend it. While olive oil might temporarily darken a scratch and make it less visible, it can turn rancid over time. It may also permanently darken the leather in a splotchy pattern. Stick to proper leather conditioners.
How often should I condition my boots to prevent scratches?
Prevention is the best medicine. You should condition your boots every three to six months, depending on how often you wear them. Well-hydrated leather is flexible and naturally resists cracking and scratching.
Will a magic eraser remove boot scuffs?
Do not use a magic eraser on good leather. Magic erasers are essentially micro-sandpaper. They will remove the scuff, but they will also strip away the leather’s protective finish and dye, leaving a dull, rough spot.
What is the fastest way to learn how to repair leather boots scratch marks?
Practice on an old, cheap pair of shoes first. Testing your cleaning, filling, and dyeing techniques on a thrift store find builds your confidence before you tackle your expensive everyday boots.
Conclusion
Fixing up your footwear does not have to be an intimidating chore. Now that you know exactly how to repair leather boots scratch issues, you can keep your favorite pairs in heavy rotation for years to come.
Remember, patience is your best tool. Take your time cleaning the area, apply products in thin layers, and never rush the drying process.
By treating your gear with a little respect and elbow grease, you save money and build lasting practical skills. You are now fully equipped to handle whatever the pavement throws at you.
Do you have a friend walking around in scuffed-up shoes? Share this guide with them, and check out our other easy home repair tutorials to keep all your gear in top shape!