

Baseboards take a beating. They sit right at foot level, quietly protecting your walls while absorbing every impact.
Eventually, those minor scuffs, deep gouges, and water stains become an eyesore. You might look at the damage and assume you need to hire a costly carpenter.
Fortunately, learning how to repair baseboards is completely achievable for anyone. It requires basic tools, a little patience, and a free afternoon.
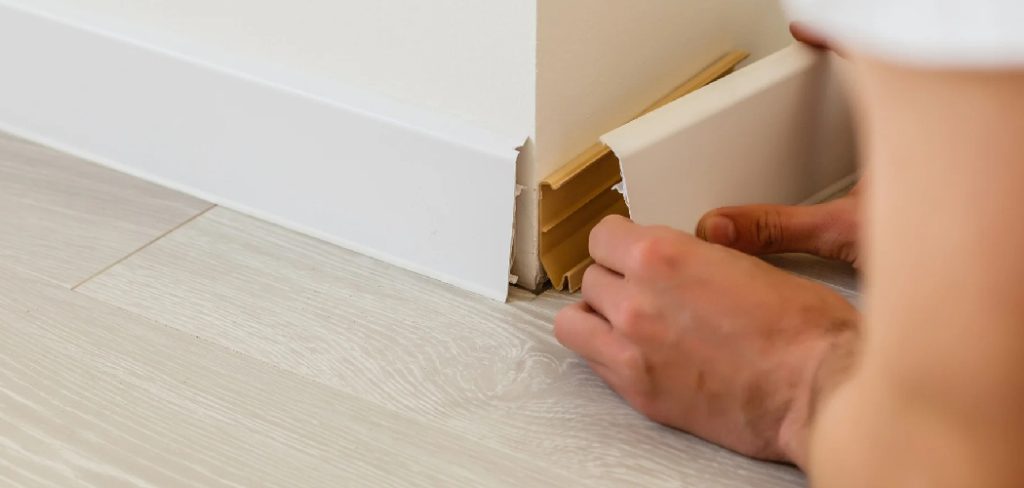
Fixing this trim yourself saves a significant amount of money. You skip the hefty labor fees and material markups charged by professionals.
Plus, restoring your trim instantly refreshes the look of an entire room. Clean, sharp trim makes your home feel brand new again.
Grab your tools, and let us dive into the best ways to get those boards looking flawless.
What Causes Baseboard Damage?
Understanding why your trim gets damaged helps you prevent future issues. Most homes experience the same common hazards.
Here are the most frequent culprits behind trim damage:
- Vacuum Cleaner Collisions: We all rush through chores. Banging the hard plastic of a vacuum head into wood trim causes scuffs and gradual paint chipping.
- Pet Chewing and Scratching: Puppies and anxious pets love to chew on corners. Their sharp claws and teeth leave deep, splintered gouges in the wood or MDF.
- Furniture Impacts: Moving a heavy couch or sliding a chair often leads to accidental bumps. These heavy impacts can crack the wood or snap off decorative edges.
- Water and Moisture: Spilled drinks, mopping with too much water, or minor plumbing leaks spell disaster. Water causes MDF to swell and real wood to warp or rot.
- House Settling: Homes naturally shift over time. This movement pulls trim away from the wall, cracking the caulking and leaving ugly gaps.
- Children’s Toys: Indoor play easily leads to damage. Hard plastic toys, indoor skateboards, and thrown objects leave dents in soft pine and MDF.
Tools and Materials Needed
Preparation is the secret to a perfect finish. Gathering everything beforehand keeps your project moving smoothly.
Here is exactly what you need to stock up on:
For Preparation:
- Drop cloths or old towels (to protect your floors)
- Painter’s tape
- A bucket of warm water and a few drops of dish soap
- A heavy-duty sponge or rag
For the Repair:
- High-quality wood filler (for wood) or spackle (for minor drywall/MDF scuffs)
- A metal or plastic putty knife (1-inch or 2-inch width)
- Medium-grit sandpaper (120-grit)
- Fine-grit sandpaper (220-grit)
- A sanding block
- Paintable acrylic latex caulk and a caulking gun
For the Finish:
- Stain-blocking primer
- Matching interior trim paint (usually semi-gloss or satin)
- A high-quality angled paintbrush (1.5 or 2-inch)
- A damp rag for immediate cleanup
The Step-by-Step Guide on How to Repair Baseboards
Tackling this project methodically guarantees great results. Follow these beginner-friendly steps to restore your trim.
We will cover the exact techniques for fixing both minor scuffs and deeper gouges.
Step 1: Assess the Scope of the Damage
Before opening any paint cans, take a close look at your trim. You need to know exactly what kind of damage you are facing.
Run your hand along the board. Is it just a surface scratch in the paint, or is the wood physically dented?
If the board feels soft, spongy, or is bubbling, you likely have water damage. We will cover water damage in a later section, as it requires removal.
For scuffs, scratches, dents, and dog bites, a simple surface patch is all you need. Mark the damaged spots with a small piece of painter’s tape so you do not miss any.
Step 2: Clean and Prep the Area
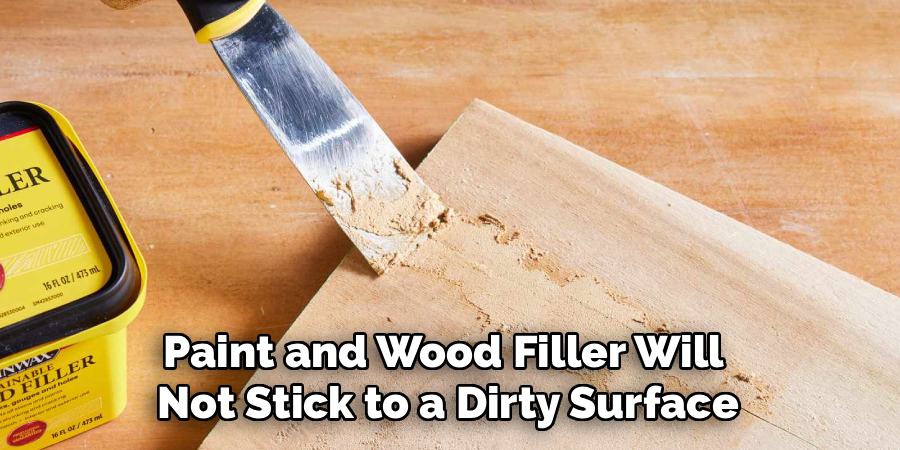
Paint and wood filler will not stick to a dirty surface. Baseboards collect an incredible amount of dust, dirt, and pet hair.
Lay down your drop cloth to protect your carpet or hardwood floors. Slide painter’s tape exactly where the floor meets the trim.
Mix a few drops of mild dish soap into a bucket of warm water. Scrub the damaged area and the surrounding wood thoroughly with your sponge.
Wipe it completely dry with a clean rag. Make sure no soapy residue is left behind, as this prevents primer from adhering properly.
Step 3: Sand Down the Rough Edges
You cannot fill a jagged hole and expect a smooth result. You must create a stable surface for the filler.
Take your 120-grit sandpaper and gently sand the damaged area. Focus on smoothing out any splintered wood, flaking paint, or raised edges around the dent.
If your dog chewed the corner, sand it until no loose fibers remain. The goal is to create a slight depression that securely holds the wood filler.
Once you finish sanding, wipe away all the dust with a damp rag or a tack cloth.
Read More: How to Repair Water Damaged Drywall.
Step 4: Apply the Wood Filler
Now it is time to rebuild the missing material. Open your wood filler and scoop a small amount onto your putty knife.
Press the filler firmly into the gouge, scratch, or dent. You want to push it deep into the hole so there are no hidden air pockets.
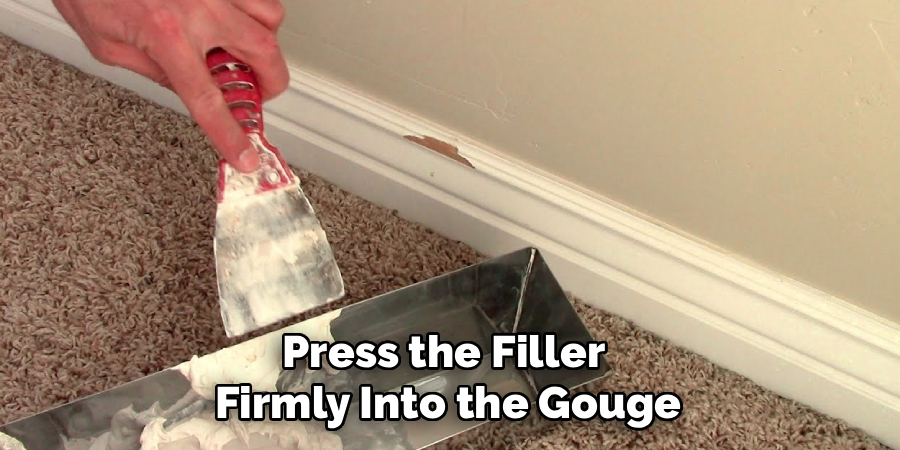
Overfill the hole slightly. Wood filler shrinks as it dries, so a small mound ensures you have enough material to sand down later.
Smooth the top of the filler with your putty knife, matching the shape of the trim. Let it dry completely according to the manufacturer’s instructions.
Step 5: Sand for a Flawless Finish
Once the filler is rock hard, grab your 220-grit fine sandpaper. Wrap it around a sanding block for flat surfaces, or use your fingers for curved details.
Sand the dried filler using light, even pressure. Blend the edges of the patch into the surrounding, undamaged wood.
Run your fingertips over the repaired spot. If you can feel a ridge or a bump, keep sanding.
Your finger is a better tool than your eye for detecting imperfections. Once it feels completely smooth and flush, wipe away the dust.
Step 6: Recaulk Gaps (If Necessary)
Sometimes the damage includes gaps where the trim meets the wall. House settling often breaks this seal.
Cut the tip of your paintable caulk at a 45-degree angle. Keep the opening very small for better control.
Run a thin bead of caulk along the gap. Wet your finger and drag it smoothly over the wet caulk to press it into the seam.
Wipe away any excess caulk immediately with a damp rag. Let the caulk dry completely before moving to the next step.
Read More: How to Repair Dog Chewed Wood Like a Pro.
Step 7: Prime the Repaired Spot
Never skip the primer. Wood filler absorbs paint differently than wood, which leads to a patchy, uneven finish.
Dip your angled brush into the stain-blocking primer. Apply a light, even coat over the patched area and let it dry.
Primer also helps hide dark stains, ink marks, or water discoloration that might bleed through your topcoat.
Check the drying time on your primer can. Most quality primers dry within an hour or two.

Step 8: Paint to Match
You are finally ready for the finishing touch. Stir your trim paint thoroughly to ensure an even color and sheen.
Using your angled brush, apply a light coat of paint over the primed area. Feather the edges by brushing lightly outward, blending the new paint with the old.
Avoid overloading the brush, as this causes ugly drips and sags. It is always better to apply two thin coats rather than one thick, messy coat.
Let the first coat dry, apply a second if needed, and carefully remove your painter’s tape before the paint fully cures.
Advanced Tactics on How to Repair Baseboards with Water Damage
Water damage requires a different approach. You cannot simply patch over rotten wood or swollen MDF.
MDF (Medium Density Fiberboard) acts like a sponge. When it gets wet, it expands, bubbles, and loses all structural integrity.
For water damage, you must cut out the ruined section. Use a utility knife to slice through the caulk at the top of the trim.
Use a pry bar to gently pull the damaged section away from the wall. Cut out the swollen piece using a miter saw or a hand saw.
Measure the gap and cut a replacement piece of identical trim. Nail the new piece into the wall studs using finishing nails.
Fill the nail holes, caulk the seams, prime, and paint just like you would for a standard surface repair.
Essential Safety Warnings for DIY Baseboard Repair
Working on home repairs always carries some risk. Protecting yourself ensures the project stays fun and stress-free.
Always wear a high-quality dust mask or N95 respirator when sanding. Inhaling wood dust and dried paint particles irritates your lungs.
If your home was built before 1978, test your trim for lead paint before sanding. Lead paint requires specialized, professional removal techniques.
Keep the room well-ventilated when using primers, paints, and chemical solvents. Open a window or use a fan to keep fresh air circulating.
Use extreme caution with sharp tools like utility knives and putty knives. Always cut away from your body and keep your free hand clear of the blade.
When to Call a Professional
DIY is empowering, but knowing your limits is equally important. Some situations demand professional expertise.
Call a carpenter if your home has extensive termite damage. Pests compromise the structural framing behind the walls, which a simple patch will not fix.
Hire a professional if you discover black mold growing behind water-damaged trim. Mold remediation requires specialized safety gear and chemicals.
If you own historic, intricately carved hardwood trim that cannot be easily replaced, consider a professional restoration expert.
Finally, if the damage spans entire rooms and you simply lack the time, hiring a local handyman is a perfectly valid choice.
Cost Estimate: DIY vs. Professional Repair
Money is the biggest motivator for learning home repair. The savings on this project are substantial.
A DIY repair for scuffs and gouges usually costs under $40. You only need to purchase wood filler, sandpaper, and perhaps a quart of paint.
Replacing a water-damaged section yourself might cost $50 to $70, factoring in the price of new trim and nails.
In contrast, hiring a professional handyman typically costs between $50 and $100 per hour. Most have minimum call-out fees of at least $150.
For extensive trim replacement, professional carpenters often charge between $5 and $10 per linear foot. Fixing an entire room can easily exceed $400.
Doing it yourself keeps that money squarely in your wallet.
Frequently Asked Questions
Can I use caulk instead of wood filler for dents?
No, caulk is flexible and cannot be sanded smooth. You must use wood filler or spackle for dents, as it dries hard and sands perfectly flat. Caulk is only for sealing seams and corners.
Do I need to remove the baseboard to fix a scratch?
Absolutely not. Minor scratches, scuffs, and gouges can all be fixed while the trim is attached to the wall. Only remove the board if it is rotting or severely water-damaged.
What is the best paint finish for trim?
Semi-gloss or satin finishes are the industry standard. They reflect light beautifully and are much easier to wipe clean than flat or matte paints.
How do you fix MDF baseboards specifically?
For minor dents in MDF, use standard wood filler. However, if MDF gets wet and swells, it cannot be sanded down successfully. You must cut out and replace the swollen section.
How long does this repair take?
The active working time is only about 30 to 45 minutes for a minor patch. However, you must account for drying times. Expect the total process to span a few hours or a full weekend afternoon.
Conclusion: Ready to Fix Your Baseboards?
You now know exactly how to repair baseboards like a seasoned DIY veteran. It is a straightforward process that instantly elevates the look of your home.
By taking the time to clean, patch, sand, and paint, you protect your home’s value and save a ton of money on contractor fees.
Do not let those dog chews and vacuum scuffs ruin your decor any longer. Gather your supplies and tackle that weekend project with confidence.
Have you successfully fixed your trim using this guide? Share your before-and-after photos with us, or check out our other guides for more easy home upgrades!