

You walk into your bathroom or hallway, ready to start the day, and you spot it. A tiny, annoying chip in your favorite mirror.
It catches the light, distorts your reflection, and ruins the smooth surface. You might assume the whole piece is ruined. You might even think you have to throw it away and buy a new one.

But hold on. Learning how to repair a chipped mirror is surprisingly simple. You do not need a degree in glasswork to fix this problem.
By tackling this project yourself, you can save a significant amount of money. Buying replacement mirrors is expensive, and hiring a professional glass technician costs even more.
With a few basic tools and a little patience, you can make that ugly blemish disappear. Let us walk you through the entire process, step by step, so you can restore your mirror to its former glory.
What Causes Mirror Chips in the First Place?
Mirrors are fragile. Even if you are careful, accidents happen. Understanding why your mirror chipped can help you prevent future damage.
Here are five common causes of chipped mirrors:
- Accidental Impact: Hitting the glass with a hairbrush, perfume bottle, or heavy object is the most common culprit.
- Improper Installation: If clips or screws are too tight, they put stress on the edges of the glass, leading to chips.
- Slamming Doors: Mirrors mounted on doors take a beating. The constant vibration can easily cause edge damage over time.
- Temperature Fluctuations: Rapid changes from hot steam to cold air can cause glass to expand and contract, creating weak points.
- Poor Handling During Moves: Moving a mirror without proper padding often results in bumped corners and chipped edges.
Tools & Materials Needed for the Job
Before you start fixing your mirror, you need the right supplies. Gathering everything beforehand makes the process smooth and stress-free.
Most of these items are cheap and easy to find at your local hardware or auto parts store. We highly recommend using a standard windshield repair kit for this project.
Here is exactly what you need to gather:
- Windshield Repair Kit: This kit contains clear acrylic resin, an applicator syringe, and curing strips. It works perfectly on mirror glass.
- Glass Cleaner: Choose an ammonia-free cleaner. You need a spotless surface for the resin to stick properly.
- Microfiber Cloths: These are essential for wiping down the glass without leaving tiny lint fibers behind.
- Razor Blades: A single-edge razor blade will help you scrape away any excess, dried resin at the very end.
- Rubbing Alcohol: This helps strip away any stubborn oils or grease from the chipped area.
- Cotton Swabs: Perfect for precise cleaning inside the actual chip itself.
- Painter’s Tape: Use this to protect the frame of your mirror from any stray resin drips.
- Hairdryer: A quick blast of warm air helps dry the chip completely before you apply the filler.
Step-by-Step Guide: How to Repair a Chipped Mirror
Now that you have your tools, it is time to get to work. Take your time with these steps. Patience is your best friend when working with glass resin.
Follow this beginner-friendly guide to fix your mirror.
Step 1: Prep and Clean the Area
First, you need a perfectly clean surface. If there is dust or oil inside the chip, the resin will not bond properly.
Spray your glass cleaner onto a microfiber cloth, not directly onto the mirror. Wipe the entire area around the damage.
Next, dip a cotton swab in rubbing alcohol. Carefully dab the inside of the chip to remove any hidden dirt.
Finally, use your hairdryer on a low, warm setting for a few seconds. This guarantees no moisture is hiding inside the crack.
Step 2: Set Up the Bridge Applicator
Most repair kits come with a suction-cup bridge. This tool holds the resin injector perfectly still over the damage.
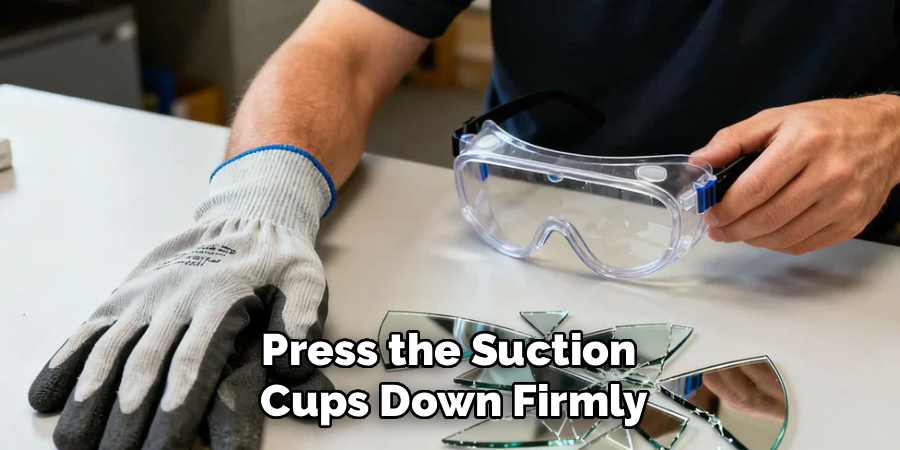
Center the opening of the bridge exactly over the chip. Press the suction cups down firmly so it does not slide around.
Take a close look from the side. You want to make sure the injector tube sits flush against the glass.
If it is loose, the resin will leak out the sides instead of going into the chip.
Step 3: Inject the Repair Resin
Now comes the fun part. Take your tube of clear resin and snip off the tip.
Squeeze the recommended amount of resin into the injector tube. Usually, this is just five to ten drops.
Insert the plunger into the tube and push down slowly. This forces the resin deep into the chip.
You might see tiny air bubbles escaping. That is exactly what you want. Pull the plunger back up to create a vacuum, then push it down again. Repeat this twice to remove all the trapped air.
Read More: How to Repair Mirror Backing.
Step 4: Apply the Curing Film
Once the chip is filled, carefully remove the suction cup bridge. Be ready with your curing strip (a small square of clear plastic included in the kit).
Place the curing strip directly over the wet resin. Do not press down hard. Just let it rest on top.
Take your razor blade and gently smooth the strip out. You want to push any remaining air bubbles out to the edges.
The plastic strip holds the resin flat and level with the surface of your mirror.
Step 5: Cure the Resin with Light
Resin needs ultraviolet (UV) light to harden. If your mirror is portable, simply carry it outside into direct sunlight.
Leave it in the sun for about 15 to 20 minutes. The UV rays will turn the liquid resin into solid acrylic.
If your mirror is stuck to a bathroom wall, sunlight will not reach it. You will need a UV flashlight or a UV curing lamp.
Shine the UV light directly onto the patch for about 10 minutes until it is rock solid.
Step 6: Scrape, Clean, and Polish
Once the resin is totally dry, peel off the plastic curing strip. You will notice a small bump of dried resin left behind.
Take your single-edge razor blade. Hold it at a 90-degree angle to the glass.
Gently scrape back and forth over the patch. The excess resin will shave off like white powder.
Do not worry about scratching the glass. As long as you hold the blade straight, the mirror will be fine. Once it is smooth, wipe the mirror down with glass cleaner for a flawless finish.
Read More: How to Repair a Broken Glass.
Essential Safety Warnings for Glass Repair
Safety must always come first. Working with damaged glass is unpredictable, and tiny shards can cause serious injury.
Always wear safety glasses when repairing a mirror. If you press too hard on a weak spot, the glass could splinter toward your face.
We also highly recommend wearing thin nitrile or latex gloves. The clear resin is a chemical adhesive. It can irritate your skin and is very difficult to wash off.
Work in a well-ventilated area if possible. The resin has a distinct chemical smell that can give you a headache in a small, closed bathroom.
Finally, clean up thoroughly. Sweep the floor below your workspace to catch any microscopic glass dust that may have fallen.
When to Call a Professional vs. DIY
DIY repairs are incredibly rewarding, but they are not always the right choice. Knowing your limits is crucial for home maintenance.
You should definitely DIY the repair if the chip is smaller than a quarter. If the damage is shallow and the mirror is a standard, inexpensive piece, grab a kit and fix it yourself.
However, there are times when you must call a professional glass technician.
If the chip has long cracks spider-webbing outward, a simple resin kit will not stop the damage from spreading. Large cracks compromise the structural integrity of the mirror.
You should also skip the DIY route if the mirror is a priceless family heirloom or an expensive antique. Professionals have specialized tools to polish and restore vintage silvering that a DIY kit cannot fix.
Cost Estimate: DIY vs. Pro Repair
One of the biggest reasons to learn this skill is the money you will save. Let us break down the rough numbers.
If you choose the DIY route, a standard windshield repair kit costs between $10 and $20. Add another $10 for cleaner, razor blades, and alcohol if you do not already have them. Your total DIY cost is around $15 to $30.
Hiring a professional glass repair service is much pricier. Technicians charge for travel time, labor, and materials.
A standard service call to fix a mirror blemish will easily cost between $100 and $250. If the damage is severe, they will likely advise you to replace the entire mirror, which can cost hundreds more.
How to Repair a Chipped Mirror FAQs
You likely still have a few questions before you begin. Here are quick answers to the most common queries we receive.
Can I use super glue instead of a repair kit?
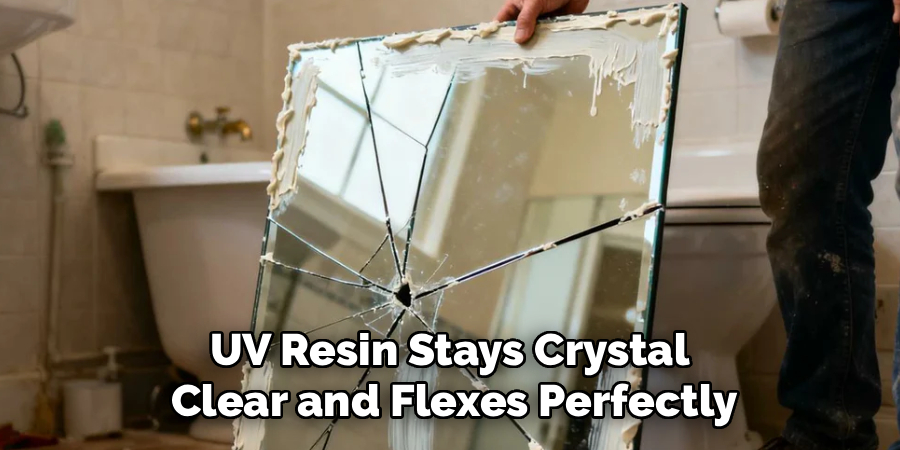
No, we do not recommend super glue. Super glue dries cloudy, turns yellow over time, and shrinks as it cures. UV resin stays crystal clear and flexes perfectly with the glass.
Will the mirror look completely brand new?
The repair will significantly improve the mirror’s appearance, hiding about 80% to 90% of the damage. However, if you look very closely from certain angles, you may still see a faint outline of the chip.
Does the windshield repair kit fix the reflective silver backing?
No, the repair kit only fills the clear glass layer. If the chip went deep enough to scratch the silver backing, the resin will smooth the glass, but the dark scratch behind it will remain visible.
How long does the entire repair process take?
The actual hands-on work takes less than 15 minutes. However, you must factor in the curing time. Expect the entire project to take about 45 minutes from start to finish.
Can I fix a chipped mirror edge?
Edge chips are harder to fix than surface chips. The suction cup bridge often cannot grip the edge. You can manually apply the resin and use the plastic strip to mold the corner, but the results may be uneven.
Conclusion
A damaged mirror does not have to ruin your room’s aesthetic or drain your wallet.
By taking the time to understand the causes, gathering the right materials, and following careful safety protocols, you can easily tackle this project.
Remember, the secret to success lies in proper cleaning, removing trapped air, and letting the UV resin fully cure.
Now that you know exactly how to repair a chipped mirror, you have a valuable new skill in your home maintenance toolkit.
Do not let that ugly blemish bother you for another day. Grab a repair kit, follow our simple steps, and enjoy your perfectly smooth, clear reflection once again!