

Marble countertops bring a touch of luxury to any kitchen or bathroom. They look stunning, but they are surprisingly delicate.
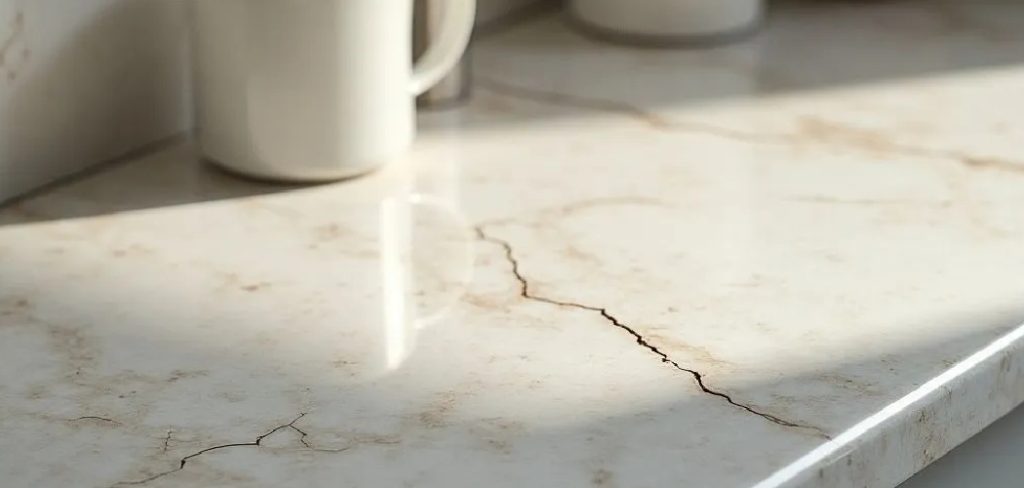
If you dropped a heavy pan and now have a jagged edge, do not panic. Figuring out how to repair a chip in marble countertop is entirely possible. Homeowners and renters face this issue all the time.
You might think you need to hire an expensive stone specialist. Luckily, fixing it yourself is easier than you think. You can save hundreds of dollars by tackling this simple DIY project.
All you need is patience and the right supplies. Let’s walk through the process together so you can get your kitchen looking flawless again.
What Causes This Problem?
Marble is a porous, relatively soft stone compared to granite or quartz. This makes it vulnerable to everyday wear and tear.
Even if you practice great stone maintenance, accidents happen. Here are the most common reasons you might need a chip repair:
- Dropping heavy objects: Cast iron skillets or thick glass jars easily chip the edge of soft stone.
- Accidental impacts: Banging a heavy belt buckle or tool against the counter edge can leave a mark.
- Structural stress: Natural weak points in the stone’s veining can flake off under pressure.
- Improper installation: If the countertop overhang is unsupported, the edges become brittle and prone to breaking.
- Harsh chemical damage: Acidic cleaners can eat away at the surface, weakening the stone over time.
Tools & Materials Needed
Before we start, gather your supplies. Having everything within reach makes the chip repair process smooth and stress-free.
You can find these items at most local hardware stores.
- Clear epoxy resin or marble filler: Choose a high-quality, two-part epoxy designed for stone.
- Rubbing alcohol (isopropyl): Essential for cleaning the damaged area before applying the filler.
- Clean microfiber cloths: Use these to wipe away dust and debris safely.
- Masking tape or painter’s tape: This protects the surrounding healthy marble from excess epoxy.
- Toothpicks or small wooden sticks: Perfect for mixing the epoxy and applying it to small chips.
- Razor blade: You need a single-edge razor to scrape away the hardened, excess resin.
- Fine-grit sandpaper: Look for wet/dry sandpaper in 400, 600, and 1000 grit for honing.
- Marble polishing powder or compound: This restores the glossy finish to the repaired spot.
- Safety gear: Grab a pair of disposable gloves and safety glasses.
Step-by-Step Fix Guide: How to Repair a Chip in Marble Countertop
Ready to get to work? This guide breaks down the process into easy, manageable chunks.
Take your time with each step. Patience is the secret to an invisible repair.
Step 1: Clean the Damaged Area
First, you must prepare the surface. The marble filler will not stick to a dirty or greasy countertop.
Take a clean microfiber cloth and wipe away any loose stone dust.
Next, apply rubbing alcohol to the cloth. Rub the chipped area vigorously.
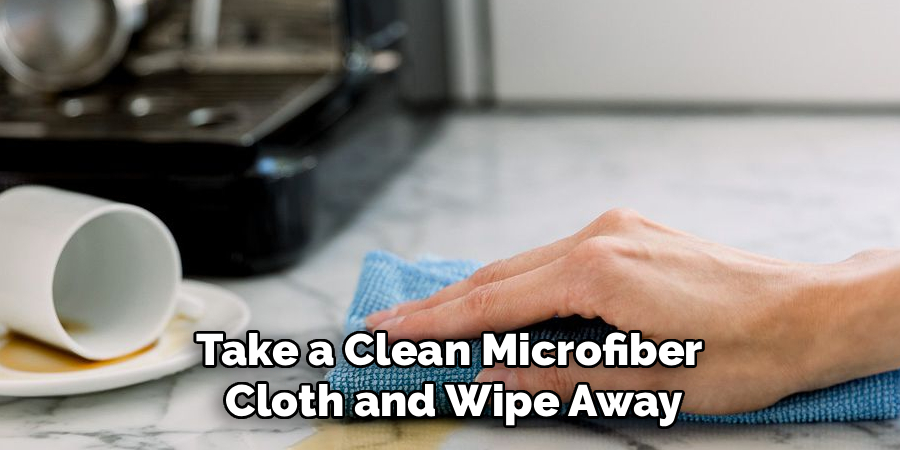
This removes cooking oils, soap scum, and everyday grime. Let the area air dry completely for about ten minutes.
Step 2: Tape Off the Surrounding Stone
You want to protect the smooth, undamaged marble around the chip.
Take your masking tape and carefully outline the chipped area.
Place the tape as close to the jagged edge as possible. This creates a small boundary for your epoxy resin.
It also limits how much scraping you have to do later.
Step 3: Mix the Epoxy Resin
Put on your disposable gloves and safety glasses. Now, it is time to prepare the clear epoxy resin.
Follow the manufacturer instructions on the package strictly. Most stone epoxies use a simple 1:1 ratio.
Squeeze equal parts of the resin and the hardener onto a disposable surface. A scrap piece of cardboard works perfectly.
Use a toothpick or a small wooden stick to blend them thoroughly. Mix until the color is completely uniform.
Read More: How to Repair Pitted Concrete Garage Floor.
Step 4: Add Color (Optional)
If your marble is pure white, clear epoxy might dry a little too transparent.
You can add a tiny drop of stone pigment to the mixture.
Match the color to the base color of your countertop. Use a toothpick to swirl the pigment into the resin.
Do not overdo it. A tiny speck of color goes a very long way.
Step 5: Apply the Marble Filler
Now, scoop up a small amount of the mixed epoxy with your wooden stick.
Press it firmly into the chip. You want to make sure there are no air bubbles trapped underneath.
Overfill the chip slightly. The epoxy shrinks just a tiny bit as it cures.
Smooth the top as best as you can, leaving a small mound above the tape line.
Step 6: Let the Epoxy Cure
This is the easiest part, but the hardest to wait for. Leave the epoxy alone to dry.
Check your product instructions for specific curing times. Most fast-setting epoxies cure in 15 to 30 minutes.
However, letting it sit for a full 24 hours yields the strongest result.
Keep kids and pets away from the counter while it hardens. Do not touch it to see if it is dry.
Step 7: Shave Down the Excess
Once the epoxy is rock solid, remove the masking tape carefully.
Take your single-edge razor blade. Hold it at a low angle, almost flat against the countertop.
Gently slide the blade over the hardened bump to shave it down.
Use light, short strokes. You want to bring the epoxy level with the surrounding stone without scratching the marble.
Step 8: Sanding and Honing
After shaving, the patch might feel a bit rough. It is time for some light honing.
Take your 400-grit wet/dry sandpaper. Dip it in a little water.
Rub the patched area gently in circular motions.
Wipe away the dust, then switch to the 600-grit, and finally the 1000-grit. The surface should feel incredibly smooth.
Step 9: Final Polishing
The repaired spot will look dull compared to the rest of the counter.
Apply a small amount of marble polishing compound to the patch.
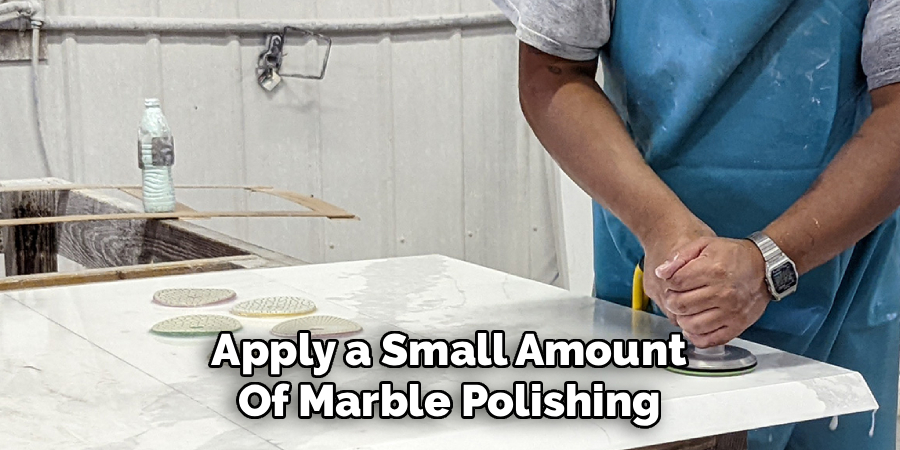
Use a clean, damp microfiber cloth to rub the compound into the stone.
Buff it out firmly until the glossy shine matches the rest of your beautiful countertop.
Safety Warnings for DIY Stone Repair
Fixing a countertop is safe when you take the right precautions. Always prioritize your health over the project.
Epoxy resin emits strong fumes when mixed. Open your kitchen windows to ensure good ventilation.
Always wear disposable gloves. Uncured epoxy can irritate your skin and is difficult to wash off.
Wear safety glasses, especially during the shaving and sanding steps. You do not want tiny cured resin shards flying into your eyes.
Finally, handle the razor blade with extreme care. Keep your fingers out of the blade’s path.
When to Call a Professional
DIY is great, but it has its limits. Knowing when to step back is a vital part of stone maintenance.
If the chip is larger than a quarter, a DIY kit might not hold up to daily use.
If the damage is on a heavily used corner, structural integrity becomes an issue.
Furthermore, if your marble has intricate, high-contrast veining right where the chip is, blending it perfectly is very hard.
In these cases, hiring a stone restoration expert is your best bet. They have industrial-grade tools to make large damages disappear.
Cost Estimate: DIY vs. Professional
Money is a big factor in deciding how to handle home repairs. Let’s look at the numbers.
Fixing this yourself is very budget-friendly. A good marble repair kit or high-quality epoxy resin costs between $25 and $45.
Add another $15 for sandpaper, tape, and a razor blade if you do not have them. Your total DIY cost sits around $40 to $60.
Calling a professional tells a different story. A basic service call for stone repair usually starts at $200.
Depending on your location and the damage size, a pro fix can cost between $250 and $500. Doing it yourself keeps a lot of cash in your pocket.
Frequently Asked Questions
Can I use super glue instead of epoxy resin?
No, super glue is not a long-term solution. It dries brittle and will flake out quickly. Clear epoxy resin bonds securely to the stone and handles daily wear.
Does the repaired spot look obvious?
If you take your time, the repair blends in beautifully. Using clear epoxy allows the natural stone depth to show through. Proper sanding and polishing make the patch nearly invisible.
How do I maintain my marble after the repair?
Good stone maintenance prevents future damage. Always use cutting boards and trivets. Clean spills immediately, and apply a quality stone sealer every six to twelve months.
Can I fix a crack using this same method?
Small hairline cracks can be filled with very thin epoxy. However, deep cracks that threaten the stone’s structure require professional attention.
How long does a DIY chip repair last?
A well-done epoxy patch can last for years. As long as you do not strike that exact spot with a heavy object again, the repair should hold up wonderfully.
Conclusion
Learning how to repair a chip in marble countertop is a fantastic skill for any homeowner. It proves you do not always need to rely on expensive professionals for high-end home maintenance.
By carefully cleaning, filling, and polishing the damaged spot, you can restore your kitchen’s beauty in an afternoon. Just remember to take your time and follow the safety steps closely.
With a little patience and the right marble filler, your counters will look as good as new.
Ready to tackle more home improvements? Check out our other DIY repair guides and start checking off that weekend to-do list!