

Marble surfaces add instant elegance to any home. They look stunning in kitchens, bathrooms, and on floors.
But seeing a sudden chip in your beautiful stone can break your heart. You might think it is ruined forever.
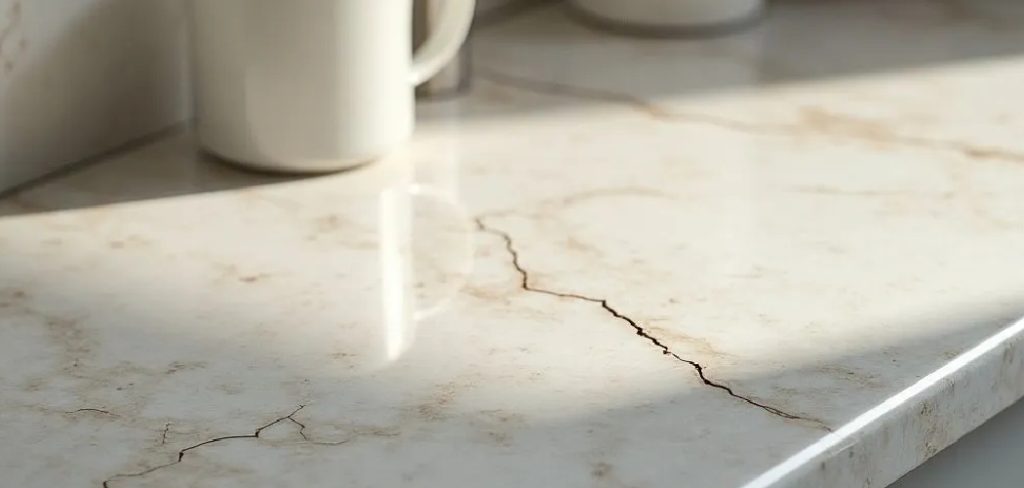
Do not panic just yet. You do not always need to replace the entire slab.
Learning how to repair chipped marble is easier than you might think. Many homeowners tackle this project over a single weekend.
Fixing it yourself saves a massive amount of money. You avoid expensive contractor fees and long wait times.
We will walk through the entire process together. You will have your stone looking pristine again in no time.
Understanding the Problem: Why Does Marble Chip?
Marble is a relatively soft natural stone. It is highly porous and vulnerable to physical impacts.
Even the most careful homeowners deal with damaged countertops or floors. Daily life simply takes a toll on natural surfaces.
Here are the most common reasons you might need to fix a chip:
- Dropped Heavy Objects: Pots, pans, or heavy glass jars easily chip edges when dropped. Kitchen countertops see this damage most often.
- Dragging Appliances: Sliding heavy stand mixers or coffee makers across the counter catches the natural faults in the stone.
- Accidental Tool Impacts: Dropping a wrench or hammer during another home repair project can instantly damage your floor or vanity.
- Structural Settling: As houses settle, floors shift. This tension causes rigid marble floor tiles to crack or chip at the edges.
- Belt Buckles and Buttons: Leaning against the edge of your bathroom vanity or kitchen island repeatedly can cause micro-chips over time.
Tools and Materials Needed for the Job
Before figuring out how to repair chipped marble, you need the right supplies. Gathering everything first makes the process smooth and stress-free.
You can find all these items at your local hardware store. Most are inexpensive and easy to locate.
Here is your essential shopping list:
- Clear Epoxy Resin: Choose a high-quality, two-part clear epoxy. This acts as the filler for the chip.
- Marble Dust or Color Pigment: If your marble is not pure white, you need tint. This helps blend the epoxy with your stone’s natural veining.
- Acetone: You need this powerful solvent to clean the damaged area perfectly.
- Masking Tape: Standard painter’s tape works best. It protects the surrounding undamaged stone.
- Razor Blades: A sharp, single-edge razor blade helps level the epoxy once it cures.
- Sandpaper: Get wet/dry sandpaper in various grits. You will need 200, 400, 800, and 1200 grit for a smooth finish.
- Wooden Craft Sticks: Popsicle sticks are perfect for mixing the two-part epoxy.
- Small Disposable Cup: Use this to mix your resin and hardener safely.
- Soft Microfiber Cloth: For cleaning up dust and applying the final polish.
- Marble Polish: A commercial stone polish brings back the natural shine.
Step-by-Step Fix Guide: How to Repair Chipped Marble Perfectly
Are you ready to fix that annoying chip? Just take a deep breath and take your time.
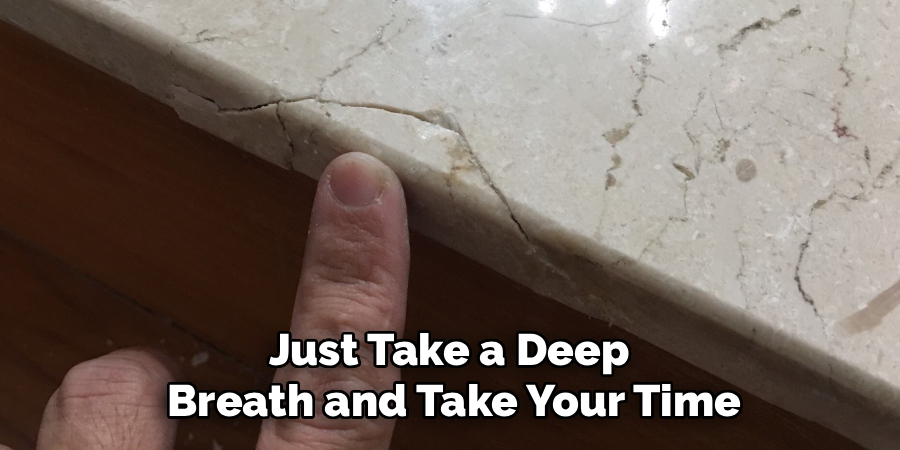
Follow these simple, beginner-friendly steps. We will go slow and make sure you get it right.
Step 1: Clean the Damaged Area Thoroughly
You cannot apply epoxy to a dirty surface. The filler will simply fall out later.
First, wipe away any loose stone dust or food crumbs from the chip.
Next, dampen a clean cloth with acetone. Scrub the chipped hole thoroughly.
The acetone removes natural oils, grease, and old sealants. Let the area dry completely for at least ten minutes.
Step 2: Tape Off the Surrounding Stone
You only want epoxy inside the chip. You do not want it ruining your good marble.
Take your painter’s tape and frame the hole perfectly. Press the tape down firmly to seal the edges.
If the chip is on a countertop edge, fold the tape underneath. Create a small “dam” to stop the liquid epoxy from dripping down.
Step 3: Mix Your Two-Part Epoxy
Read the instructions on your specific epoxy brand. Most require a strict one-to-one ratio of resin and hardener.
Squeeze equal amounts into your small disposable cup. Use a wooden craft stick to stir them together.
Stir slowly and steadily for about two minutes. Stirring too fast creates unwanted air bubbles in the mixture.
Step 4: Add Color Pigment (Optional)
If your stone is colored, pure clear epoxy will look like a glass puddle. You need to match the tint.
Dip the tip of a clean craft stick into your color pigment. Add a tiny amount to your mixed epoxy.
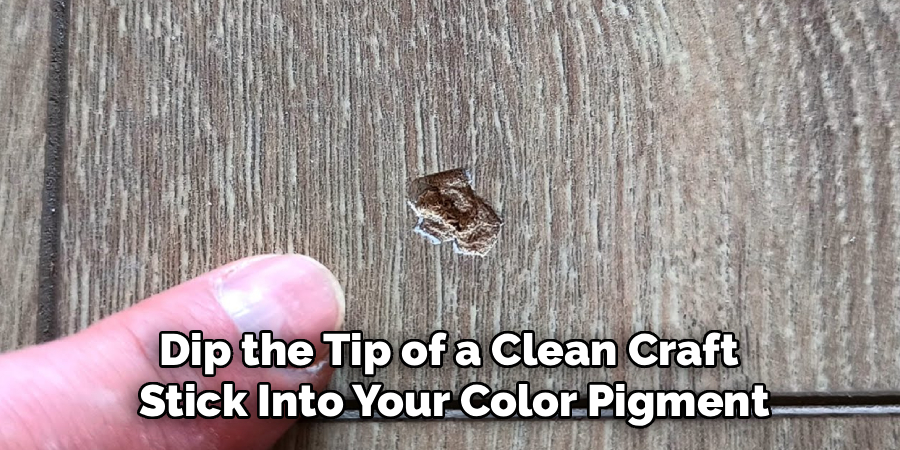
Stir it in completely before adding more. It is always easier to darken the mix than to lighten it.
If your marble has heavy veining, aim for the primary background color. Do not try to recreate complex veins on your first try.
Step 5: Fill the Chip Completely
Use your craft stick to scoop up a small amount of the mixed epoxy.
Press it firmly into the damaged area. Make sure you push it deep into all the tiny crevices.
Slightly overfill the hole. Epoxy often shrinks just a tiny bit as it dries.
You want a small mound of epoxy sitting slightly higher than the tape. We will shave this down later.
Step 6: Let the Epoxy Cure
Patience is incredibly important right now. Do not rush the drying process.
Check your epoxy packaging for curing times. Some take five minutes, while others take 24 hours.
Wait until the epoxy is completely rock hard. If you press it with a fingernail and it dents, it is not ready.
Step 7: Shave Down the Excess Filler
Once the patch is fully hardened, carefully remove the painter’s tape.
Take a fresh, sharp razor blade. Hold it at a slight angle against the stone.
Gently scrape the top of the epoxy mound. Use light, back-and-forth motions to shave it down level with the marble.
Never gouge downward. Let the blade glide smoothly across the flat surface.
Step 8: Sand the Patched Area
The patch is level, but it probably looks dull and scratched. We need to smooth it out.
Start with your wet 200-grit sandpaper. Rub gently over the patch in small circles.
Wipe away the dust. Move up to the 400-grit, then 800-grit, and finally the 1200-grit.
Keep the sandpaper slightly wet. This prevents dust buildup and creates a smoother finish.
Step 9: Polish the Repair
You are almost done! The final step is restoring that beautiful, glossy shine.
Apply a small dab of commercial marble polish to your microfiber cloth.
Rub it firmly into the patched area using circular motions.
Buff the area until the patch blends perfectly with the rest of the stone. Step back and admire your hard work.
Important Safety Warnings for DIY Marble Repair
Safety should always come first when tackling home repairs. Working with chemicals and sharp tools requires caution.
Always wear protective nitrile gloves when handling epoxy and acetone. These chemicals cause skin irritation.
Work in a well-ventilated area. Open nearby windows or turn on exhaust fans to clear chemical fumes.
Wear safety glasses when scraping with razor blades. Tiny chips of dried epoxy can easily flick into your eyes.
Dispose of leftover epoxy properly. Let it harden completely in the cup before throwing it in the household trash.
When to Call a Professional for Marble Damage
Learning how to repair chipped marble is a great skill. However, DIY has its limits.
Some damage is simply too severe for a weekend project. Be honest about your comfort level.
Call a stone professional if the chip is larger than a quarter. Large repairs require commercial-grade fillers.
If your marble has intricate, high-contrast veining right where the chip is, call a pro. Matching complex patterns takes artistic training.
If the damage is an actual structural crack running through the whole slab, stop immediately. Epoxy will not fix a broken slab.
A professional fabricator can stabilize cracks and prevent your countertop from collapsing.
Cost Estimate: DIY Repair vs. Professional Service
Fixing things yourself is all about keeping money in your wallet. Let’s look at the numbers.
A complete DIY kit or buying the supplies separately costs between $30 and $60.
You will likely have leftover supplies for future fixes, making it even more cost-effective.
Hiring a professional stone restorer is significantly more expensive. They charge for travel, expertise, and labor.
A basic professional service call usually starts around $200 to $300.
For complex color matching or multiple chips, professional repairs can easily exceed $500.
Investing a little time and $40 into a DIY repair makes a lot of financial sense for minor damage.
Frequently Asked Questions
People usually have a few common questions before starting this project. Here are some quick, helpful answers.
Can I use super glue instead of epoxy?
No, super glue is not a lasting solution. It shrinks over time, turns yellow when exposed to UV light, and lacks the structural strength needed for heavy-use areas.
How do I color match white marble perfectly?
White is tricky because it has many undertones. Buy a dedicated white marble repair kit that comes with subtle gray, yellow, and bright white tints to mix your perfect match.
Is the repaired area food safe?
Once high-quality, clear epoxy is fully cured (usually after 24 to 48 hours), it is generally considered safe for incidental food contact on kitchen countertops.
Can I fix a chip on a sharp corner edge?
Yes, but corner repairs take more patience. You must build a strong “dam” using multiple layers of tape to hold the liquid epoxy in place while it hardens.
How often should I seal my marble after repairing it?
You should seal your marble countertops and floors every six to twelve months. Regular sealing protects against stains, though it will not prevent physical impact chips.
Conclusion: You Can Do This!
Fixing damage around the house does not have to be intimidating. You now have the knowledge you need.
Knowing exactly how to repair chipped marble puts the power back in your hands. You can restore your beautiful stone surfaces without draining your savings account.
Take your time, follow the steps closely, and do not rush the curing process. You will be amazed at how invisible the final patch looks.
Your kitchen countertop or bathroom vanity will look luxurious and pristine once again.
Are you ready to tackle more home improvements? Check out our other DIY guides and subscribe to our weekly newsletter for more practical, neighborly repair tips!