

Your garage takes a beating over the years. You park heavy cars on it, drop heavy tools, and drag dirt inside. Over time, the surface breaks down. You start noticing ugly craters and crumbling spots.
This surface damage looks bad and creates a tripping hazard. It also sweeps dust constantly into your home. Knowing how to repair pitted concrete garage floor surfaces saves you serious cash. You do not need to hire an expensive contractor for surface damage.
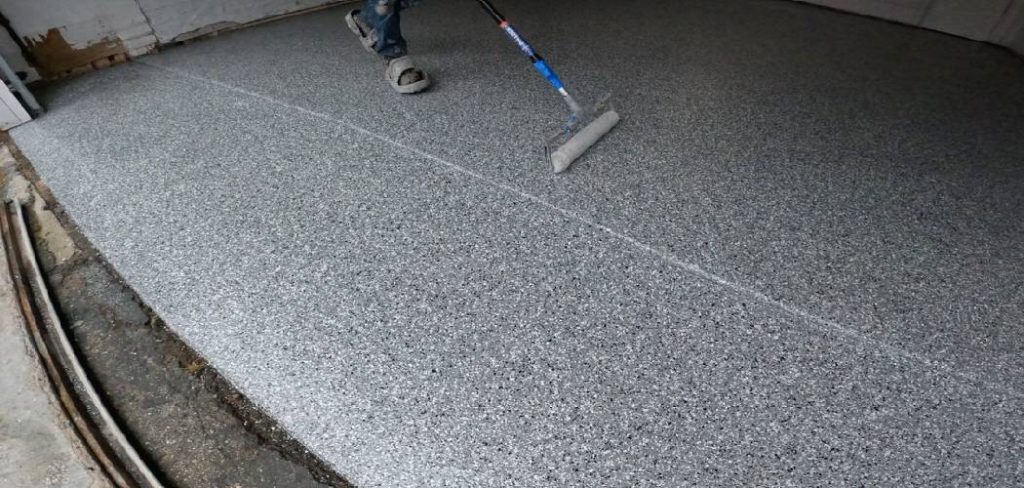
Many homeowners and DIY enthusiasts handle this project over a single weekend. You just need the right materials and a bit of elbow grease. Fixing it yourself keeps your hard-earned money in your pocket. Let us walk through exactly how to get your garage looking brand new again.
What Causes This Problem?
Garage floors face harsh conditions every single day. Understanding the root cause helps prevent future damage.
Here are the most common culprits behind concrete pitting:
- Freeze-Thaw Cycles: Moisture enters tiny cracks in the concrete. When it freezes, it expands and pops the top layer off.
- De-Icing Salts: Cars drag road salt into the garage during winter. Salt chemically attacks and weakens the concrete surface.
- Poor Original Pour: Sometimes the builder used a weak concrete mix. Adding too much water during the initial pour leads to a weak surface.
- Heavy Impacts: Dropping heavy tools or weights chips the top layer. Small chips eventually widen into large pits.
- Chemical Spills: Motor oil, brake fluid, and harsh cleaners break down concrete binders over time.
- Age and Wear: Standard wear and tear simply grinds down older concrete floors over the decades.
Tools & Materials Needed
Preparation is the secret to a perfect repair job. Gathering everything beforehand saves you trips to the hardware store mid-project.
You need standard cleaning supplies and specific concrete repair products. Do not skip the prep tools.
Here is exactly what you need to grab from your local home center:
Cleaning and Prep Tools
- Stiff bristle push broom: For sweeping out loose debris and scrubbing.
- Pressure washer or high-pressure hose nozzle: To blast away stubborn dirt.
- Wire brush: For scrubbing out individual pits and craters.
- Shop vacuum: To suck up fine dust before applying the patch.
- Concrete degreaser: To remove old oil stains so the patch sticks.
Repair Materials
- Polymer-modified concrete resurfacer or patching compound: This bonds better than standard concrete.
- Concrete bonding adhesive: A liquid primer that ensures the new patch sticks permanently.
- Clean water: For mixing the compound.
Application Tools
- Five-gallon plastic bucket: For mixing the patch material.
- Drill with a paddle mixer attachment: Saves your arms and ensures a smooth mix.
- Margin trowel: For scooping and applying material to small areas.
- Steel finishing trowel: For smoothing the patch flush with the floor.
- Concrete sealer: To protect your finished work.
Step-by-Step Fix Guide: How to Repair Pitted Concrete Garage Floor
You gathered your tools and materials. Now it is time to get your hands dirty. Take your time with the preparation steps. Good prep work guarantees the patch will not pop out next year. Follow these simple, beginner-friendly steps to restore your floor.
Step 1: Clean the Damaged Area Thoroughly
You cannot bond new concrete to dirty concrete. The area must be completely clean. Start by sweeping the entire garage floor. Remove all loose dirt, leaves, and cobwebs.
Take your wire brush to the pitted areas. Scrub aggressively to break loose any crumbling concrete. You want to reach solid, healthy concrete underneath. If a piece looks loose, chip it out.
Step 2: Wash and Degrease
Use your shop vac to vacuum out the dust from the craters. Next, apply your concrete degreaser to any oil or grease spots. Let it sit according to the bottle directions.
Scrub the stains with your stiff bristle brush. Rinse the area thoroughly with your pressure washer or hose. Let the floor dry completely. This usually takes at least 24 hours depending on the weather.
Step 3: Apply Concrete Bonding Adhesive
Your floor is now clean and dry. It is time to prime the surface. Pour some concrete bonding adhesive into a small paint tray.
Use an old paintbrush to coat the inside of every pit and crater. The adhesive acts like glue between the old floor and the new patch. Wait for it to become tacky.
Step 4: Mix the Patching Compound
Grab your five-gallon bucket and your drill with the mixing paddle. Pour the dry polymer-modified patching compound into the bucket.
Add water slowly while running the mixer. Follow the exact water ratio on the bag. You want a consistency like thick peanut butter. It should hold its shape on your trowel without dripping.
Step 5: Fill the Pits
Scoop up some mixed compound with your margin trowel. Press the compound firmly into the pitted area. Push down hard to eliminate any air pockets.
Slightly overfill the crater. The material settles just a tiny bit as you work. Work in small sections so the material does not dry out in the bucket.
Step 6: Smooth and Feather the Edges
Switch to your steel finishing trowel. Pull the flat edge of the trowel across the wet patch. Scrape it flush with the surrounding concrete.
Press firmly to feather the edges out. You want a seamless transition between old and new. Clean your trowel frequently with a damp rag. A clean blade gives you a much smoother finish.
Step 7: Cure and Seal the Floor
Let the patched areas cure completely. Read the bag, but most compounds require 24 to 48 hours. Keep cars and heavy foot traffic off the floor during this time.
Once completely cured, sweep the floor one last time. Apply a quality concrete sealer over the entire garage floor using a paint roller. This protects your hard work from future salt and water damage.
Safety Warnings
Concrete repair requires handling dusty materials and chemicals. Keep yourself safe during the process. Always wear a dust mask or respirator when mixing dry concrete. Inhaling silica dust damages your lungs permanently.
Wear heavy-duty rubber gloves. Wet concrete pulls moisture from your skin and causes severe chemical burns. Protect your eyes with safety goggles. Splashes happen easily when using a drill mixer.
Keep the garage door completely open. You need excellent ventilation when working with degreasers and sealers. Keep pets and children out of the garage until the floor cures completely.
When to Call a Professional
DIY repairs handle surface damage beautifully. However, some problems require a professional eye. If your concrete features cracks wider than half an inch, call a pro. This indicates a structural failure, not just surface wear.
Call an expert if one side of a crack sits higher than the other. Sinking slabs require mudjacking or replacement. If the entire floor is crumbling into gravel, a patch will not hold. You likely need a completely new slab poured.
Finally, call a pro if you discover major water pooling issues. A contractor can fix the underlying drainage problem.
Cost Estimate: DIY vs. Pro
One of the best reasons to learn this skill is the cost savings. The price difference between DIY and professional repair is massive.
Do It Yourself Costs
A bag of polymer-modified patching compound costs about $20 to $30. Concrete bonding adhesive runs about $15 per quart.
A good degreaser and a basic trowel set will cost another $30. If you already own basic tools like a drill and broom, your total DIY cost sits around $65 to $100.
Professional Repair Costs
Contractors charge heavily for their labor and expertise. A professional concrete resurfacing job generally costs $3 to $5 per square foot.
For a standard two-car garage, expect estimates between $1,200 and $2,000. Fixing it yourself keeps over a thousand dollars in your bank account.
Frequently Asked Questions
You might still have a few specific questions about your garage floor. Here are answers to common concerns.
Can I use regular concrete mix to patch pits?
No. Regular concrete chips right out of shallow pits. Always use a polymer-modified patching compound for a permanent bond.
How long does the patch take to dry?
Most fast-setting compounds handle foot traffic in 4 hours. Wait at least 48 hours before driving a car over the repairs.
Do I absolutely need to use a bonding adhesive?
Yes. Skipping the bonding adhesive is the number one reason DIY patches fail and pop out during winter.
Can I paint the floor after patching?
Yes, but wait at least 30 days. The patch must cure completely before applying epoxy or garage floor paint.
Is it better to patch pits or resurface the whole floor?
Patching works great for isolated craters. If the entire floor looks like a golf ball, resurfacing the whole slab is better.
Conclusion
Your garage floor does not have to remain an ugly, dusty mess. Taking action improves your home’s value and safety.
We covered the exact causes of surface damage, from winter salt to heavy impacts. You now have a complete shopping list of the correct tools and materials.
You know the step-by-step process to clean, prep, mix, and apply the patch. You understand the safety precautions and the massive cost savings involved.
Learning how to repair pitted concrete garage floor damage is a highly rewarding weekend project. You get immediate visual results and save a fortune on contractor fees.
Grab your tools, head to the hardware store, and reclaim your garage space this weekend. If you found this guide helpful, share it with a neighbor or leave a comment below about your own repair project!