

Taking an outdated recreational vehicle and turning it into a comfortable, modern home on wheels feels incredibly rewarding. Many outdoor enthusiasts buy older rigs specifically to customize them for unique travel needs. You might want a cozy weekend getaway cabin, a mobile hunting basecamp, or a full-time tiny home to travel the country. No matter your final goal, starting a renovation project requires careful planning and a clear vision.
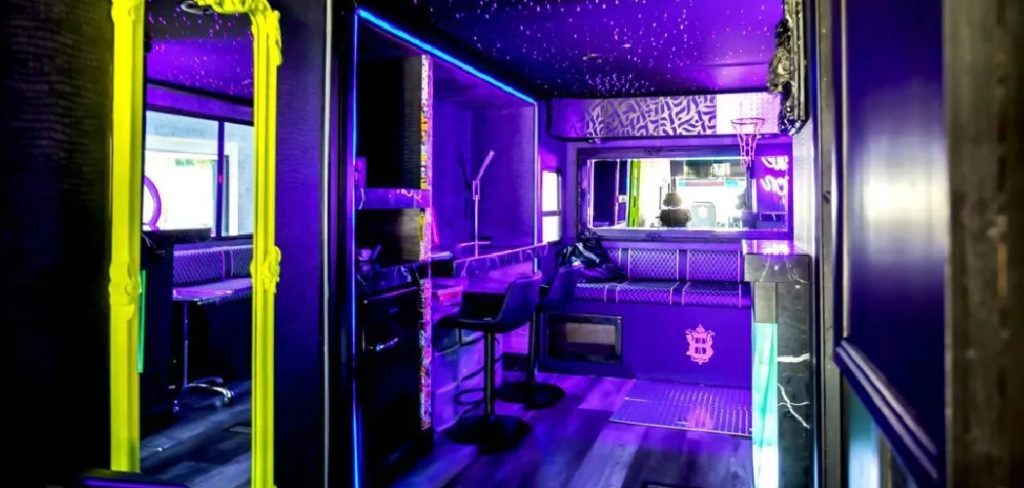
If you have ever wondered how to remodel a camper interior, you are in the right place. The process might seem overwhelming when you look at peeling wallpaper and worn-out cushions, but breaking the project down into manageable phases makes it highly achievable. You just need patience, a solid plan, and a willingness to learn basic hands-on skills. This expert beginner-friendly guide walks you through every essential phase of transforming your mobile living space into a beautiful, functional retreat.
Why Remodel Your Camper
Learning to customize your travel trailer offers massive benefits for outdoor beginners and seasoned campers alike. Factory layouts rarely fit exactly how you actually camp, often wasting valuable square footage on features you never use. Ripping out bulky dinettes or awkward factory furniture allows you to optimize the layout for your specific lifestyle.
Renovating an older unit also saves you significant money compared to buying a brand-new model off the dealership lot. You control the budget, choosing exactly where to save and where to splurge. Furthermore, tackling this project teaches you invaluable maintenance skills. When you rebuild the inside of your rig with your own two hands, you understand every system hidden behind the walls. This deep knowledge gives you incredible peace of mind when troubleshooting issues on remote campsites far away from professional repair shops.
Tools and Materials You’ll Need
Before swinging a hammer, you must gather the right supplies to keep your project moving smoothly. Having your gear organized prevents frustrating mid-project runs to the hardware store. Here are the essentials you need to assemble:
- Cordless power drill with a comprehensive set of drill bits
- Pry bars in various sizes for safe demolition
- Screwdriver set featuring square-drive bits
- High-quality safety gear including goggles, gloves, and a respirator mask
- Sandpaper assortment and liquid deglosser for cabinets
- Stain-blocking bonding primer and high-quality interior paint
- Caulking gun with exterior-grade RV sealant
- Tape measure, speed square, and a reliable level
- Optional for convenience: An oscillating multi-tool for making precise plunge cuts in tight spaces
Step-by-Step Guide on Remodeling a Camper
Step 1 – Demolish and Prep the Space
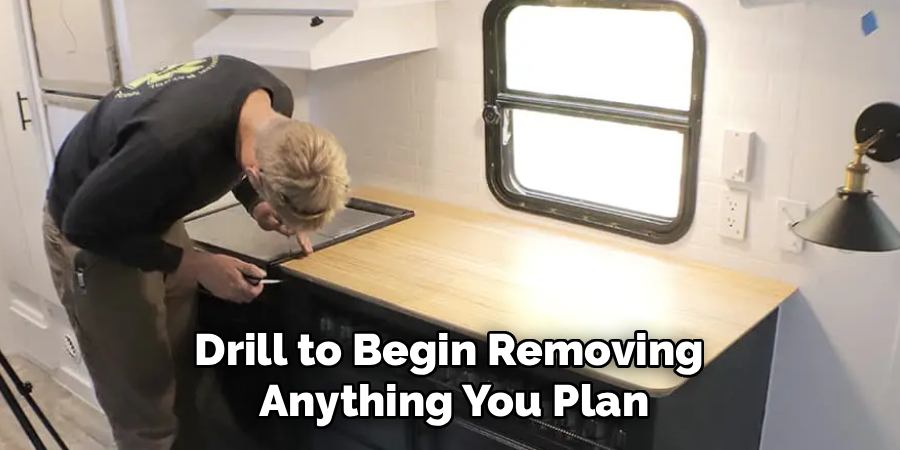
Careful demolition sets the foundation for your entire project. Grab your pry bar, screwdrivers, and drill to begin removing anything you plan to replace. Take your time during this phase to avoid damaging the underlying wall panels or structural supports. Campers use specific square-drive screws, so ensure you have the correct bits to back them out smoothly.
As you remove old window valances, broken blinds, and bulky factory furniture, keep a detailed record of where specific wires run. Taking photos before disconnecting anything saves you from massive headaches later. Once the space sits empty, clean every surface thoroughly. Wash down the walls and sweep the floors to reveal the true state of your rig. Understanding how to remodel a camper interior begins with a clean slate.
Step 2 – Inspect and Repair Water Damage
Water serves as the biggest enemy to any travel trailer or motorhome. Once your rig is empty, press firmly on the wall panels, especially around windows, roof vents, and corner seams. Soft, spongy spots indicate trapped moisture and rotting wood framing underneath. You must pull back these damaged panels to expose the structural framework.
Never paint over or cover up wet, rotting wood. You have to cut out the decayed material entirely and replace it with fresh, treated lumber. Treat the surrounding areas with a mold-killing solution to prevent future growth. Finally, head up to the roof and inspect the exterior seals. Apply fresh self-leveling lap sealant around all vents and seams to ensure your new interior stays completely dry.
Read More: How to Repair a Leaking Shower Pan.
Step 3 – Upgrade the Insulation and Wiring
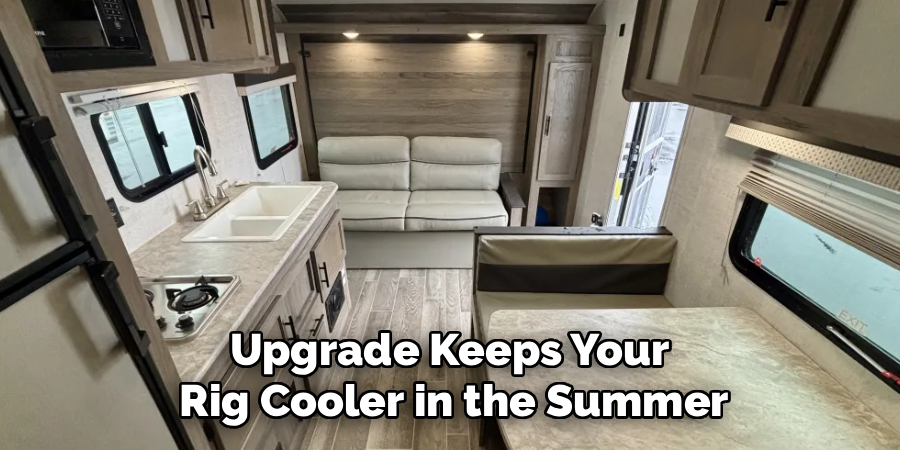
Campers notoriously lack adequate temperature control because factory builders use thin fiberglass insulation. If you removed wall panels during the repair phase, take this opportunity to install rigid foam board insulation. Cut the foam panels to fit snugly between the aluminum or wood studs. This simple upgrade keeps your rig cooler in the summer and warmer during crisp autumn nights.
While the walls remain open, evaluate your electrical needs. You might want extra outlets near the bed for charging phones or a dedicated circuit for a heavy-duty appliance. Run your new wiring now, securing it away from sharp edges where vibrations could cause shorts. Always use stranded copper wire rather than solid household wire, as stranded wire flexes safely while bouncing down the highway.
Step 4 – Paint the Walls and Cabinets
A fresh coat of paint provides the most dramatic visual transformation in any mobile space. Start by removing all cabinet doors, drawers, and hinges. Camper walls feature a slippery vinyl coating that regular paint cannot grip, so preparation is critical. Lightly sand all surfaces or apply a heavy-duty liquid deglosser to remove the shiny factory finish.
Next, apply two coats of a high-quality, stain-blocking bonding primer. Allow the primer to cure completely according to the manufacturer’s instructions. Once primed, use a foam roller to apply a durable interior acrylic latex paint. Light, airy colors like crisp white or soft gray make small quarters feel surprisingly spacious. Paint the cabinet doors flat on a worktable before reattaching them with updated, modern hardware.
Step 5 – Install New Flooring
Replacing old, stained carpet with modern flooring instantly elevates your living quarters. Luxury vinyl plank flooring stands out as the absolute best choice for mobile applications. It resists water, withstands heavy foot traffic, and expands or contracts safely with temperature changes.
Start your installation at the most visible wall, working your way backward toward the door. Score the vinyl planks with a sharp utility knife and snap them for clean, easy cuts. Leave a small expansion gap around the perimeter of the room to prevent the floor from buckling during extreme weather. To finish the look smoothly, install quarter-round molding along the baseboards. This simple trim piece hides the expansion gap and gives your flooring a professional, seamless edge.
Read More: How to Repair Kitchen Sink Drain Leaks and Clogs.
Step 6 – Update the Plumbing and Fixtures
Old plastic sinks and yellowed shower pans make a rig feel incredibly dated. Upgrading your fixtures requires surprisingly little effort but delivers massive aesthetic returns. Swap out the shallow factory kitchen sink for a deep, stainless steel basin. Pair it with a residential-style faucet featuring a pull-down sprayer to make washing dishes much easier.
Most modern rigs use PEX tubing for plumbing lines. If you need to reroute water lines for a new layout, purchase a PEX crimping tool and basic fittings. This system is highly forgiving for beginners and rarely leaks when crimped correctly. Do not forget to replace the old showerhead with an oxygenating model. These specialized showerheads increase water pressure while conserving your limited fresh water supply.
Step 7 – Build Custom Storage Solutions
Lack of storage plagues almost every factory-built travel trailer. Building custom shelves and cubbies allows you to utilize every awkward nook and cranny. Use lightweight materials like half-inch plywood to construct your new storage boxes, keeping your towing capacity in mind. Heavy solid woods look beautiful but add unnecessary strain to your vehicle’s axles.
Add deep slide-out drawers under the bed or bench seating to access heavy gear easily. Install sturdy tension rods inside the upper cabinets to prevent dishes from shifting during transit. You can also mount magnetic strips to the kitchen wall to hold your knives and spice jars securely. Creating designated spots for every item prevents clutter from accumulating on your limited counter space.
Step 8 – Upgrade the Lighting
Standard yellowish dome lights drain your battery and cast an unappealing, harsh glare. Upgrading to LED lighting fundamentally changes how your space feels after the sun sets. LED fixtures consume a fraction of the power, allowing you to camp off-grid for much longer periods without draining your battery bank.
Remove the outdated fixtures and splice in slim, modern LED puck lights. Choose lights with a warm white color temperature to create a cozy, residential atmosphere. Consider installing battery-powered motion sensor lights inside your deep cabinets and closets. Finally, mount a flexible reading light above the bed. These targeted lighting upgrades eliminate dark corners and make the entire environment feel warm and inviting.
Step 9 – Add Finishing Touches and Decor
The final styling phase brings your unique personality into the mobile space. Hang lightweight curtains or install modern roller shades to control light and ensure privacy. Replace the heavy factory dinette cushions with high-density foam wrapped in durable, easy-to-clean upholstery fabric.
Decorate your walls carefully to withstand constant movement. Skip heavy glass picture frames and instead use double-sided mounting tape to hang lightweight canvas prints or woven tapestries. Add plush throw pillows and textured blankets to soften the hard edges of the cabinetry. Throw down a washable runner rug to catch dirt at the entryway. Nailing these final aesthetic details shows you understand exactly how to remodel a camper interior for both comfort and style.
Common Mistakes When Remodeling a Camper
Diving into a renovation without understanding mobile-specific challenges often leads to costly failures. The most frequent mistake beginners make involves adding too much weight to the rig. Unlike a traditional house, every pound matters when towing. Using heavy residential building materials like ceramic tile, solid hardwood, or thick granite counters severely compromises your vehicle’s suspension and towing safety. You must consistently choose lightweight alternatives like luxury vinyl, hollow-core materials, and acrylics.
Another massive error is ignoring water damage during the demolition phase. Covering up soft spots with fresh paint or new flooring merely hides a growing catastrophe. The underlying rot will eventually destroy the frame and spread mold spores into your living space. Always fix leaks at the source before doing any cosmetic work.
Finally, beginners often use rigid materials that cannot handle the stress of the road. Standard household drywall mud, rigid pipe fittings, and brittle adhesives crack apart when the rig bounces down a bumpy highway. You must utilize flexible sealants, specialized RV caulking, and construction adhesives designed for constant movement to ensure your hard work stays intact.
Expert Tips
Achieving a professional-looking finish requires attention to tiny details that most beginners overlook. Always sand your surfaces meticulously before painting, as proper adhesion determines whether your paint chips off during your first camping trip. Invest in a high-quality paint sprayer instead of using brushes if you want a truly flawless, factory-smooth finish on your cabinets.
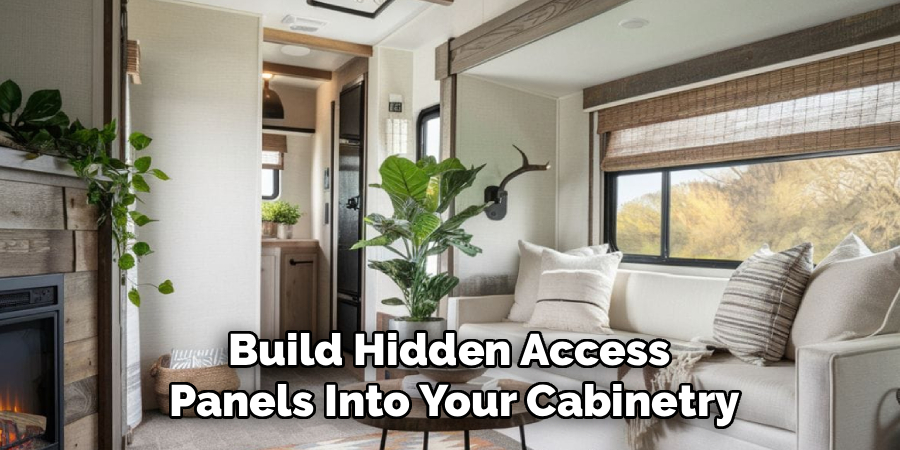
When planning your new layout, use painter’s tape on the floor to outline the dimensions of proposed furniture. Walk around these taped areas to test the physical flow of the space. You might realize a larger bed blocks the bathroom door or a new counter makes the hallway too tight. Furthermore, always keep your plumbing and electrical lines accessible. Build hidden access panels into your cabinetry so you never have to destroy your beautiful new woodwork just to fix a minor water leak.
Frequently Asked Questions
Do I need a permit to renovate my travel trailer?
You generally do not need a building permit to remodel the interior of a recreational vehicle. However, if you plan to park the rig permanently on a piece of land and connect it to municipal utilities, local zoning laws might apply. Always check your county regulations if you intend to use the unit as a stationary tiny home.
How much does a basic interior renovation cost?
A basic cosmetic update usually costs between one thousand and three thousand dollars. This budget covers fresh paint, new vinyl flooring, updated hardware, and modern lighting fixtures. Costs escalate quickly if you need to repair structural water damage, buy custom upholstery, or upgrade expensive electrical components like solar panels and lithium batteries.
Can I put regular household furniture in my rig?
You should avoid using heavy household furniture because it adds dangerous weight and shifts violently during travel. Traditional couches rarely fit through narrow doors and lack mechanisms to bolt them down securely. Instead, build lightweight custom seating or purchase modular furniture specifically designed to fit through narrow entryways and withstand constant road vibrations.
How do I stop my cabinet doors from opening while driving?
Factory cabinets use specialized catches designed to hold doors closed during movement. When you paint your cabinets, replace the old hardware with heavy-duty magnetic latches or positive-catch push buttons. For extra security on bumpy dirt roads, you can also string bungee cords through the handles to keep everything locked down tightly.
What is the best way to heat a renovated rig?
Relying solely on the factory propane furnace burns through fuel quickly and creates excessive condensation. Consider installing a diesel heater for efficient, dry heat during winter camping. For milder weather, a small electric space heater works perfectly if you have access to shore power, keeping the chill away without depleting your propane tanks.
Conclusion
Transforming an outdated, dark recreational vehicle into a bright and welcoming mobile sanctuary represents an incredible accomplishment. You completely change the way you experience the outdoors when you have a customized, comfortable basecamp waiting for you after a long day of hiking. While the project demands physical effort and a willingness to problem-solve, the financial savings and personal satisfaction make every hour of hard work absolutely worthwhile.
Do not let the scope of the demolition or the intricacies of 12-volt wiring intimidate you. By breaking the massive project down into smaller, logical steps, you avoid feeling overwhelmed. Focus on fixing structural issues first before diving into the fun cosmetic upgrades. Now that you know exactly how to remodel a camper interior, you can tackle this project with confidence. Grab your toolbelt, start sketching out your dream layout, and prepare to hit the open road in a beautiful rig built with your own two hands.