

Dealing with a soggy under-sink cabinet or standing water is frustrating. We all depend on our sinks daily, so a breakdown disrupts your entire routine.
You might feel tempted to call a plumber right away. However, learninghow to repair kitchen sink drain leaks and clogs is easier than you think.
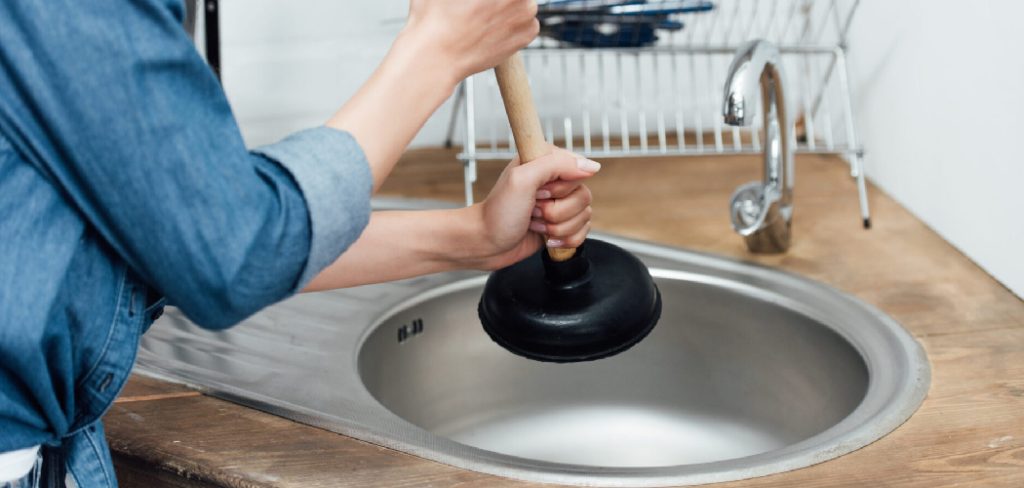
Homeowners and renters face this common nuisance constantly. The good news is that tackling this DIY project saves you significant money.
You do not need years of plumbing experience to fix a leak or clear a clog. We will walk you through the entire process together.
Grab a towel, roll up your sleeves, and let us get your sink working perfectly again.
What Causes This Problem?
Understanding why your sink failed helps you prevent future headaches. Kitchen plumbing takes a lot of daily abuse.
Here are the most common causes of sink drainage issues:
- Grease and Fat Buildup: Pouring cooking oils down the sink creates a sticky trap for food particles.
- Worn-Out Gaskets: The rubber seals connecting your pipes degrade over time, causing slow leaks.
- Loose Slip Nuts: Vibrations from garbage disposals can loosen the nuts holding your pipes together.
- Corroded Pipes: Older metal pipes rust and degrade, eventually cracking or springing a leak.
- Clogged P-Trap: The curved pipe beneath your sink catches heavy debris, leading to stubborn blockages.
Tools & Materials Needed
Before we dive into how to repair kitchen sink drain problems, you need the right gear. Preparation makes the job much smoother.
Head to your local hardware store and gather these basic items. You might already have most of them in your toolbox.
- Channel-lock pliers or a pipe wrench
- A medium-sized plastic bucket
- Old rags or towels
- Plumber’s putty
- Teflon tape (plumber’s tape)
- Replacement PVC P-trap kit (if pipes are cracked)
- Replacement rubber slip joint washers
- A flashlight
- Rubber gloves
Step-by-Step Fix Guide: How to Repair Kitchen Sink Drain Leaks and Clogs
Now we will break down the fix into manageable, beginner-friendly steps. Follow along carefully, and take your time.
Step 1: Clear the Work Area and Shut Off Water
First, pull everything out from under your sink. You need plenty of room to maneuver and inspect the pipes.
Turn off the water supply valves located on the wall beneath the sink. This prevents accidental flooding while you work.
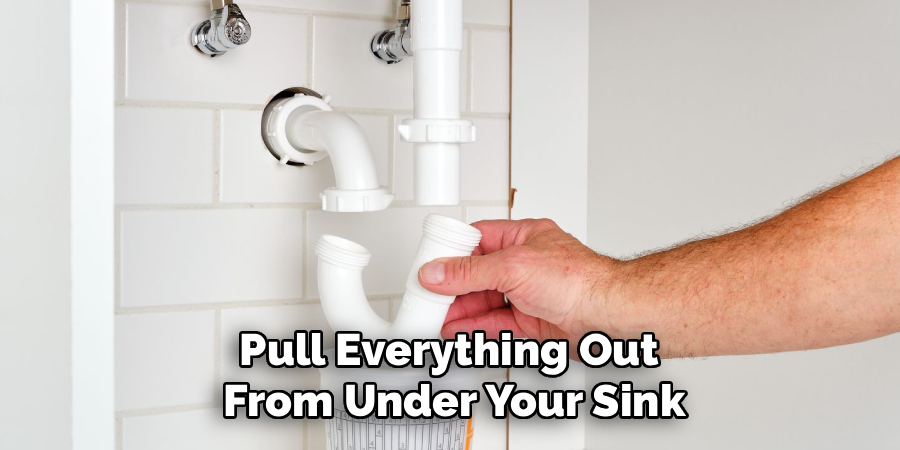
Place your plastic bucket directly under the curved pipe, known as the P-trap. Lay down some old towels to catch any stray drips.
Step 2: Inspect for the Source of the Leak
Use your flashlight to examine the plumbing carefully. Look for water stains, active drips, or dried white residue.
Run your hand along the bottom of the P-trap and the straight pipes. This helps you find moisture that is hard to see.
If the pipes are totally dry on the outside, your issue is likely an internal clog rather than a structural leak.
Step 3: Loosen the Slip Nuts
Put on your rubber gloves to protect your hands from grime. Locate the slip nuts connecting the P-trap to the wall and the sink tailpiece.
Try to loosen these nuts by turning them counterclockwise with your bare hands. PVC nuts are often hand-tightened.
If they are too tight, use your channel-lock pliers. Grip the nut gently to avoid cracking the plastic, and turn slowly.
Step 4: Remove and Empty the P-Trap
Once the nuts are loose, carefully slide them up and out of the way. Pull the P-trap straight down to detach it.
Water and gunk will immediately spill out, so make sure your bucket is positioned perfectly.
Take the P-trap outside or to another sink and wash it out completely. Use a wire brush to remove stuck-on food and grease.
Step 5: Replace Worn Washers
Examine the rubber washers located inside the slip nuts. These little rings create the watertight seal between your pipes.
If they look flat, cracked, or brittle, you must replace them. Old washers are the number one cause of under-sink leaks.
Slide the new washers onto the pipes. Ensure the beveled (slanted) edge faces the pipe connection for a proper seal.
Step 6: Apply Plumber’s Putty to the Drain Strainer
Sometimes the leak originates from the sink drain basket itself. If water drips from the very top, you need new putty.
Loosen the large locknut holding the strainer basket to the underside of the sink. Push the basket up and out from above.
Clean the old putty away, roll a new snake of plumber’s putty, and press it under the basket lip. Reinstall and tighten firmly.
Step 7: Reassemble the Plumbing
Now it is time to put everything back together. Slide the clean P-trap back into its proper position.
Hand-tighten the slip nuts securely over the new washers. Do not use your pliers for this step, as over-tightening ruins the threads.
Ensure the pipes line up straight. Crooked pipes will put pressure on the joints and cause new leaks eventually.
Step 8: Test Your Work
Remove your bucket and leave the dry towels in place. Turn the water supply valves back on.
Run the tap water for a few minutes. Watch the joints closely with your flashlight to spot any escaping moisture.
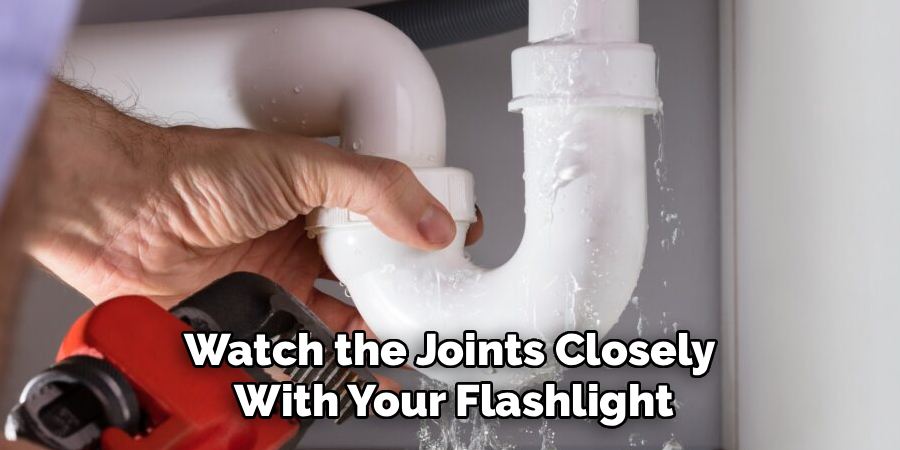
If you see a tiny drip, give the leaking slip nut one more quarter-turn by hand. Wipe it dry and test it again.
Safety Warnings to Keep in Mind
DIY plumbing is generally very safe, but you must respect the process. Always prioritize your physical safety.
Never mix different chemical drain cleaners. Doing so creates toxic fumes and can literally melt your PVC pipes.
Always shut off the water supply before loosening any nuts. A sudden burst of water can damage your cabinets and flooring.
Be gentle when using wrenches on plastic pipes. Brute force will crack the PVC, turning a simple fix into a major replacement.
When to Call a Professional
We believe in your ability to handle basic repairs. However, knowing your limits is a sign of a smart DIYer.
Call a professional plumber if the water backs up into both sinks simultaneously. This indicates a deep blockage in the main line.
You should also seek help if your home has very old galvanized steel pipes that have rusted shut.
If you reassemble the drain and it still leaks persistently, a pro can spot the hidden alignment issues.
Cost Estimate: DIY vs. Pro
One of the best parts of doing it yourself is keeping your hard-earned money.
A standard DIY repair costs between $10 and $30. This covers a new P-trap kit, replacement washers, and some plumber’s putty.
Hiring a professional plumber will cost you significantly more. Most charge a minimum call-out fee just to walk through the door.
You can expect to pay between $150 and $300 for a plumber to perform this exact same job.
Frequently Asked Questions
How long does it take to fix a kitchen sink drain?
For a beginner, the entire process takes about 30 to 45 minutes. Gathering your tools and clearing the cabinet often takes the longest.
Can I use Teflon tape on PVC slip joints?
You can, but it is rarely necessary. The rubber washers are designed to do all the sealing work on PVC plumbing.
Why does my kitchen sink smell bad?
Foul odors usually mean rotting food is stuck in your P-trap. Removing and cleaning the trap, as outlined above, cures the smell instantly.
Is a leaky sink an emergency?
It is not an emergency if you put a bucket underneath and limit sink usage. However, standing water ruins cabinet wood quickly, so fix it soon.
Conclusion
Tackling home plumbing issues feels intimidating at first. However, as you can see, the process is mostly just unscrewing and cleaning simple parts.
Knowing how to repair kitchen sink drain leaks gives you incredible confidence. You just saved yourself a hefty plumbing bill and protected your kitchen from water damage.
Keep your newly fixed sink running smoothly by scraping plates into the trash before washing them. Avoid pouring hot grease down the drain at all costs.
Ready to tackle another project? Check out our other home repair guides and keep transforming your house into an efficient, well-maintained home!