

Finding a puddle of water outside your shower is never a good way to start the day. Water damage is a serious issue that can ruin your floors and ceilings.
You might think you need to call a plumber right away. But learning how to repair a leaking shower pan like a pro yourself is easier than you might expect.
This issue is incredibly common for homeowners and renters alike. Over time, daily wear and tear takes a toll on your bathroom fixtures.
Taking on this project yourself will save you a massive plumbing bill. Professional repairs can easily cost hundreds of dollars in labor alone.
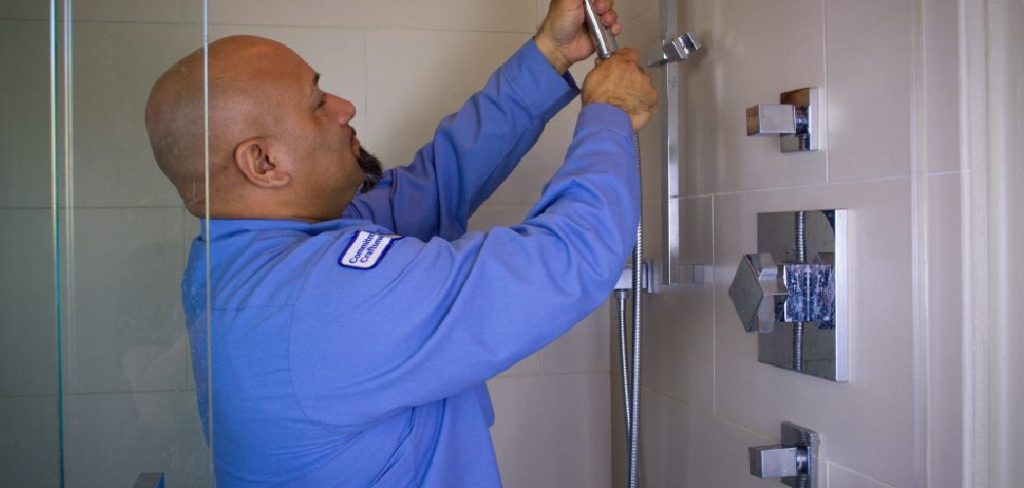
By following this guide, you can fix the problem for a fraction of the cost. You just need a free afternoon, some patience, and a few basic supplies.
Let’s roll up our sleeves and get your bathroom back in perfect working order. You have everything it takes to tackle this project successfully.
What Causes a Shower Pan to Leak?
Before you grab your tools, it helps to understand why this problem happens. Finding the root cause ensures you fix the right issue.
Here are the most common culprits behind a leaking shower base:
- Cracked fiberglass or acrylic: Heavy impact or simply aging can cause hairline cracks in the pan’s surface.
- Failing drain seal: The rubber gasket connecting the drain to the pan can dry out and shrink over time.
- Worn-out caulk: The sealant around the edges of the shower pan degrades, letting water slip behind the walls.
- A punctured waterproof liner: If your shower has a tile base, the hidden waterproof membrane underneath might be torn.
- House settling: As your home shifts naturally over the years, the movement can break the watertight seals in your bathroom.
Why Learn How to Repair a Leaking Shower Pan?
You might wonder if this DIY project is truly worth your time. The short answer is an absolute yes.
When you know how to repair a leaking shower pan, you protect your home from severe water damage. Mold and rot spread fast when leaks are ignored.
Taking control of this repair also builds your confidence as a homeowner. You will learn valuable maintenance skills that apply to other home projects.
Plus, keeping your money in your pocket is always a great feeling. You can put those saved repair funds toward something much more fun.
Tools & Materials Needed for the Job
Preparation is the secret to a stress-free DIY repair. Gathering your supplies beforehand prevents frustrating mid-project trips to the hardware store.
You will need the following tools to get the job done right:
- Utility knife or caulk removal tool
- Stiff bristle brush
- Putty knife
- Screwdriver (Phillips and flathead)
- Clean microfiber cloths or rags
You will also need to pick up these specific materials:
- Rubbing alcohol or mineral spirits
- High-quality silicone bathroom caulk
- Two-part waterproof epoxy or a fiberglass repair kit (if fixing a crack)
- Plumber’s putty
- A replacement rubber drain gasket (if your drain is the issue)
- Painter’s tape
Identifying the Source of the Leak
Before applying any fixes, you must locate the exact spot where the water escapes. Guessing will only waste your time and materials.
Start by cleaning the shower base completely. A clean surface makes it much easier to spot hairline cracks or missing grout.
Next, perform a simple water test. Plug the drain tightly with a rubber stopper or a washcloth wrapped in a plastic bag.
Use a bucket to pour water directly onto the shower pan. Do not use the showerhead, as you want to isolate the pan itself.
Let the water sit for about an hour. Check the surrounding floor and the ceiling below for any signs of dripping or new water spots.
If it leaks while the drain is plugged, you likely have a crack in the pan or a failed edge seal. If it only leaks when the water drains, your drain assembly is the culprit.
Step-by-Step Guide on How to Repair a Leaking Shower Pan
Now that you know where the problem lies, it is time to take action. This beginner-friendly guide will walk you through the process.
Follow these steps carefully, and do not rush the drying times. Patience is your best friend when working with waterproof sealants.
Step 1: Clean and Dry the Area
Water and new sealants do not mix well. Your shower pan must be bone dry before you apply any repairs.
Use your stiff bristle brush and a mild cleaner to scrub the damaged area. Remove all soap scum, dirt, and hard water stains.
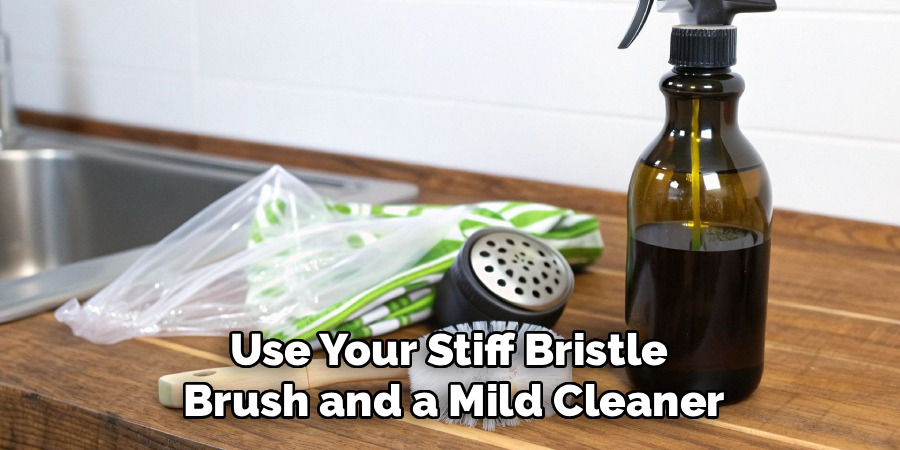
Rinse the area thoroughly with clean water. Then, wipe it down with rubbing alcohol to remove any lingering grease or invisible residue.
Let the shower air dry completely for at least 24 hours. You can use a hair dryer on a low setting to speed up this process if necessary.
Step 2: Remove Old, Failing Caulk
If the leak is coming from the edges of the pan, the old caulk must go. You cannot simply apply new caulk over the old layer.
Take your utility knife and carefully slice through the center of the old caulk bead. Scrape the remaining pieces away with your putty knife.
Be gentle to avoid scratching your shower pan or the surrounding wall tiles. Pull out any loose chunks with your fingers or needle-nose pliers.
Once the old caulk is gone, wipe the joint down with mineral spirits. This ensures a pristine surface for the new silicone to grip.
Step 3: Repair Cracks with Epoxy
If you found a crack in an acrylic or fiberglass pan, a two-part marine epoxy is your best fix. This creates a hard, waterproof patch.
Lightly sand the edges of the crack to roughen the surface. This gives the epoxy something to grab onto.
Mix the epoxy according to the package directions. Apply it over the crack using a clean putty knife.
Smooth the epoxy out so it sits flush with the rest of the shower pan. Let it cure fully, which usually takes about 24 hours.
Step 4: Fix a Leaking Drain Assembly
If your water test pointed to the drain, you need to replace the seal. This is easier than it sounds.
Unscrew the drain cover and set it aside. Use your screwdriver to loosen the compression nut holding the rubber gasket in place.
Pry out the old, dried-up gasket using a flathead screwdriver. Clean the inside of the drain pipe to remove any grime.
Slide your new rubber gasket over the pipe and push it down firmly. Tighten the compression nut back over the gasket to create a watertight seal.
Step 5: Apply Plumber’s Putty
Sometimes the leak occurs directly under the drain flange. Plumber’s putty is the traditional, reliable fix for this issue.
Roll a small piece of plumber’s putty between your hands until it forms a snake shape. Wrap this putty ring underneath the lip of the drain flange.
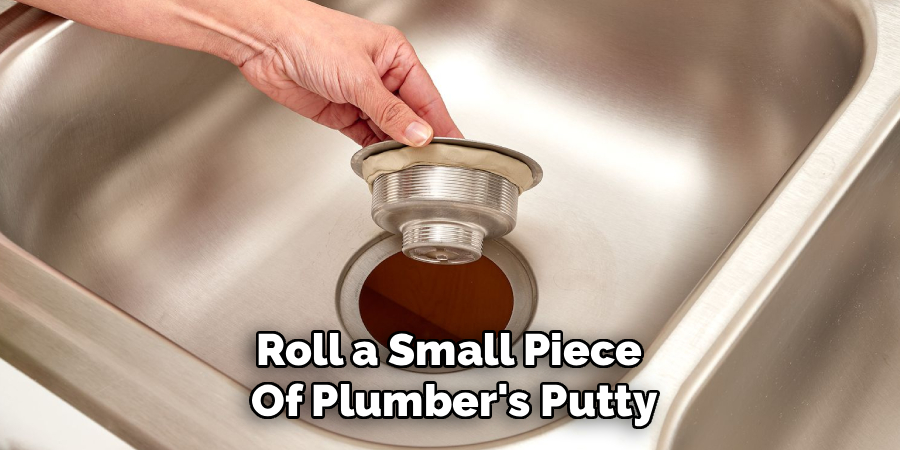
Press the flange firmly back into the drain hole. Wipe away any excess putty that squeezes out the sides.
Reattach your drain cover and secure the screws. This creates an impenetrable barrier against standing water.
Step 6: Recaulk the Shower Perimeter
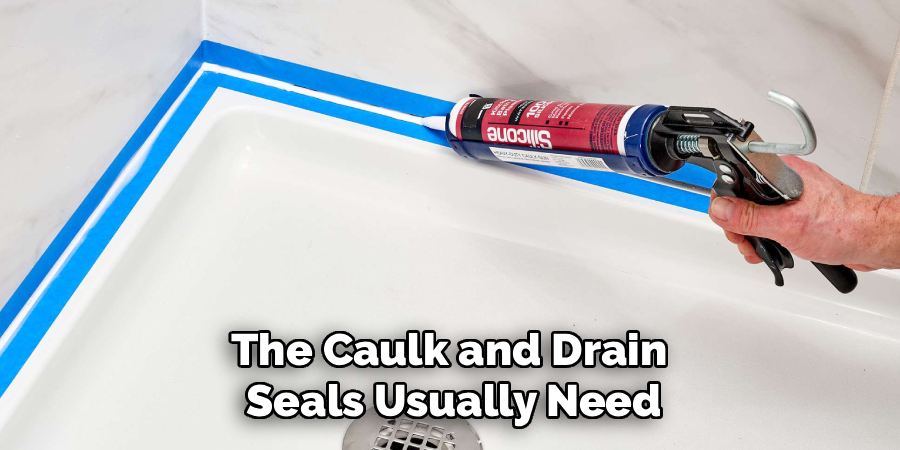
The final step is sealing the edges where the shower pan meets the wall. Use painter’s tape to tape off straight lines above and below the joint.
Load your silicone caulk into a caulking gun. Cut the tip of the tube at a 45-degree angle.
Apply a steady, even bead of caulk along the seam. Keep your hand moving at a consistent speed for a smooth finish.
Wet your finger slightly and run it along the fresh caulk to smooth it out. Carefully peel away the painter’s tape while the caulk is still wet.
Step 7: The Final Water Test
After all your patches, putty, and caulk have fully cured, you must test your work. Wait at least 48 hours before doing this.
Run the shower water directly into the pan for several minutes. Watch the repaired areas closely for any signs of moisture.
Check the surrounding floors and the ceiling below one more time. If everything remains perfectly dry, you have successfully fixed the leak!
Important Safety Warnings
Safety should always come first when doing home repairs. A bathroom environment presents a few unique hazards you should keep in mind.
Always keep the bathroom well-ventilated when working with mineral spirits, epoxy, or silicone. Open a window and turn on your exhaust fan.
Wear safety goggles when scraping away old caulk or sanding fiberglass. Tiny airborne particles can easily scratch your eyes.
Use chemical-resistant gloves to protect your hands from strong cleaners and adhesives. Epoxy can cause skin irritation if it makes direct contact.
Be extremely careful when stepping in and out of a dry shower pan with socks on. The surface can be incredibly slippery.
When to Call a Professional
DIY repairs are incredibly rewarding, but you must know your limits. Some shower pan issues are too severe for a quick home fix.
If the base of your shower feels soft or spongy when you step on it, call a pro. This means the subfloor beneath the pan has rotted away.
You should also hire a plumber if you suspect a leak in a tile shower pan liner. Replacing a membrane requires tearing up the tile, which is a massive structural job.
If you have tried patching a crack multiple times and it keeps reopening, the pan is structurally compromised. It will likely need a total replacement by a professional.
Never ignore signs of black mold spreading behind your walls. A mold remediation specialist should handle extensive fungal growth safely.
Estimating Your Repair Costs
Understanding the numbers highlights just how much money you save by doing this yourself. The financial difference is quite staggering.
A DIY shower pan repair is very budget-friendly. A tube of high-quality silicone caulk costs around $10.
A fiberglass repair kit or marine epoxy usually runs between $15 and $25. A new rubber drain gasket is incredibly cheap, often costing less than $5.
If you need to buy basic tools like a putty knife and caulking gun, add another $20. In total, your DIY repair will cost between $30 and $60.
Hiring a professional plumber tells a different story. Most plumbers charge between $75 and $150 per hour just for labor.
A professional minor repair will easily cost you $200 to $400. If they have to replace the entire shower pan, the bill can quickly jump past $1,000.
Frequently Asked Questions
Can I spray Flex Seal on a leaking shower pan?
While rubberized sprays can provide a temporary stop-gap, they are not a permanent solution. They peel away under constant water pressure. Epoxy and silicone caulk provide much stronger, longer-lasting results for shower surfaces.
How long does a shower pan usually last?
A high-quality acrylic or fiberglass shower pan can last 10 to 15 years with proper care. However, the caulk and drain seals usually need replacing every 5 to 7 years. Regular maintenance extends the lifespan of your fixtures.
Does homeowners insurance cover a leaking shower pan?
Insurance generally covers sudden and accidental water damage, like a burst pipe. However, they usually deny claims caused by gradual leaks or lack of maintenance. It is always best to catch and fix leaks early yourself.
Can you fix a cracked shower pan without replacing it?
Yes, minor hairline cracks can be permanently sealed using a fiberglass repair kit or two-part marine epoxy. But if the crack is larger than a few inches, structural integrity is lost. In that case, replacement is the safest option.
How do I know if the leak is the pan or the plumbing pipes?
If the ceiling below leaks all the time, it is likely a pressurized water pipe. If it only leaks during or immediately after a shower, the pan or the drain is the problem. A simple plugged-drain water test will confirm this.
Conclusion
Tackling a bathroom leak doesn’t have to be a stressful ordeal. You now have the knowledge and the game plan to handle this project with total confidence.
By taking the time to understand the problem, you have saved yourself a massive plumbing bill. You have also protected your home from devastating water damage.
Remember to take your time, prep the surface thoroughly, and let your sealants cure fully. Rushing the drying process is the only major mistake you can make.
We hope this guide on how to repair a leaking shower pan has empowered you to grab your tools and get to work.
Ready to tackle more home improvements? Check out our other DIY repair guides to keep your house in top shape all year round!