

Nothing ruins a quiet evening faster than the sound of rushing water inside your walls. A broken plumbing line is a stressful nightmare for homeowners and renters alike. It causes panic, property damage, and a sudden urge to call an expensive emergency plumber.
But take a deep breath. You can handle this. Learning how to repair a burst pipe is easier than you might think.
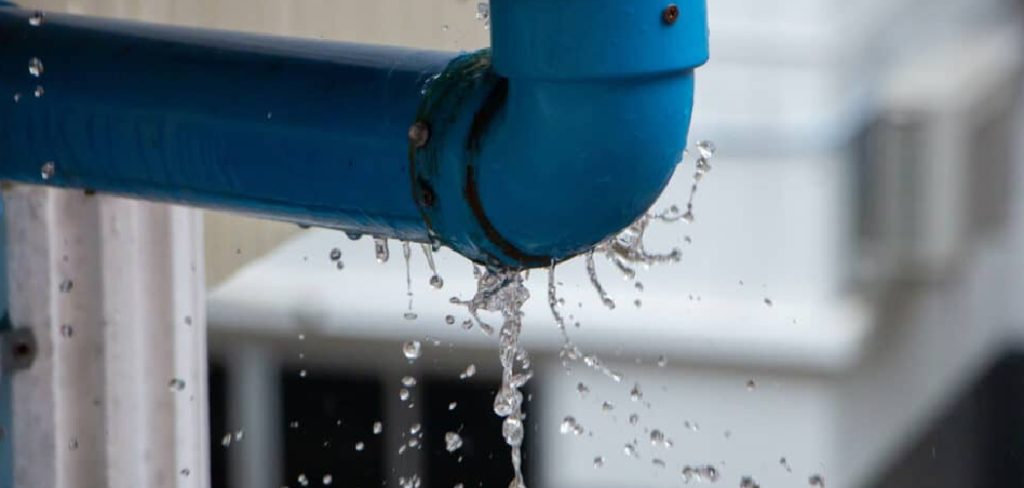
By tackling this plumbing issue yourself, you can save hundreds of dollars. Plumbers often charge premium rates for sudden emergencies. If you have a few basic tools and a bit of confidence, you can fix the problem fast.
We are going to walk you through the entire process. You will learn the causes, the tools you need, and the exact steps to stop the leak. Let us get your home dry and safe again.
Why Do Plumbing Lines Break? What Causes This Problem?
Before you learn how to repair a burst pipe, it helps to know why it happened. Understanding the root cause prevents future disasters.
Plumbing systems are tough, but they are not invincible. Here are the five most common reasons pipes fail.
Freezing Temperatures
Winter weather is the biggest enemy of your plumbing. When water freezes inside a line, it expands rapidly. This creates immense pressure that eventually tears the metal or plastic apart.
High Water Pressure
We all love a strong shower, but excessive pressure stresses your plumbing. If your water pressure exceeds 80 psi, it acts like a ticking time bomb. Over time, joints weaken and lines simply blow out.
Age and Corrosion
Nothing lasts forever, especially galvanized steel or copper plumbing. Years of water flowing through the system cause internal rust and corrosion. This thins the walls until they eventually give way.
Severe Clogs
A stubborn clog does more than stop your sink from draining. It forces water to back up, creating heavy localized pressure. Eventually, the line cannot handle the strain and ruptures.
Shifting Soil or Foundation
Your home settles over time, and the ground around it shifts. This movement pulls and bends underground water lines. The physical stress eventually snaps the connections or tears the pipe itself.
Tools & Materials Needed for the Fix
Preparation is the secret to a successful DIY repair. You do not want to be running to the hardware store while your basement is flooding.
Gather these essential items before you begin. Most are cheap and easily found at any home improvement store.
Essential Hand Tools
You will need a few basic instruments to get the job done right.
- Pipe cutter: This ensures a clean, straight cut on copper or PEX lines.
- Tape measure: Accuracy is crucial when cutting replacement pieces.
- Deburring tool: This removes sharp edges from inside the cut line.
- Bucket and towels: You will need these to catch leftover water and clean up the mess.
- Marker: A simple Sharpie helps you mark exactly where to cut.
Required Materials
The best material for a beginner is a push-to-connect fitting, often called a SharkBite fitting. It requires no soldering or special glue.
- Push-to-connect slip coupling: Make sure it matches the diameter of your plumbing (usually 1/2-inch or 3/4-inch).
- Emery cloth or sandpaper: You need this to clean and smooth the outside of a copper line.
- PEX tubing (optional): If a large section is damaged, you may need a small length of replacement tubing.
Step-by-Step Fix Guide: How to Repair a Burst Pipe
Now it is time to get your hands dirty. Do not worry if you have never done plumbing work before.
This guide is designed for beginners. Just follow these steps carefully, and you will have your water running again in no time.
Step 1: Shut Off the Main Water Supply
The very first thing you must do is stop the flow of water. Locate your home’s main water shut-off valve immediately.
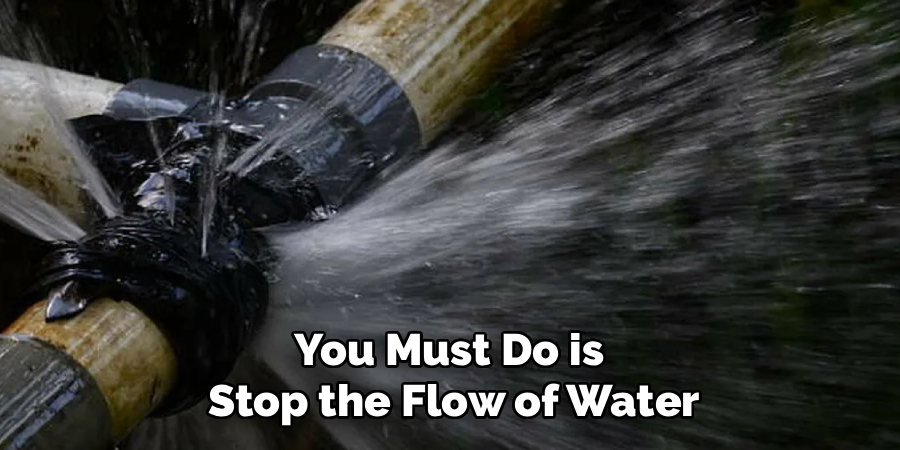
This valve is usually found in the basement, garage, or near the water meter outside. Turn the valve clockwise until it stops completely. If you have a lever-style valve, turn it so it is perpendicular to the pipe.
Step 2: Drain the Plumbing System
Even with the main valve off, water is still trapped in the lines. You need to drain this out to prevent a messy workspace.
Open the lowest faucet in your home, like a basement sink or outdoor hose bib. Then, open the highest faucet in your home to let air in. This allows gravity to pull the remaining water out of the system.
Step 3: Locate and Inspect the Damage
Find the exact spot where the rupture occurred. Wipe the area down with a dry towel so you can see the damage clearly.
Look for splits, bulges, or pinhole leaks. You need to determine how long the damaged section is. If the split is larger than two inches, you will need to cut out a larger section and use a replacement piece.
Read More: How to Repair Slab Leak.
Step 4: Mark the Cut Lines
Use your tape measure and marker to indicate where you will make your cuts. You want to remove the damaged area completely.
Make your marks about one inch past the damage on both sides. Ensure you have enough solid, straight pipe remaining to attach your new fitting.
Step 5: Cut Out the Damaged Section
Grab your pipe cutter and secure it around the line at your first mark. Tighten the blade slightly and rotate the tool completely around the pipe.
Tighten it a bit more and rotate again. Repeat this process until the metal cleanly snaps. Do the same thing on your second mark to remove the broken piece entirely.
Step 6: Clean and Prep the Pipe Ends
Your new fitting will only seal if the plumbing surface is perfectly smooth. Use your deburring tool to scrape away any rough metal inside the cut ends.
Next, take your emery cloth or sandpaper and rub the outside of the ends. Polish the metal until it is shiny and free of dirt, paint, or oxidation. Wipe it clean with a dry rag.
Read More: How to Repair Home Foundation Cracks.
Step 7: Measure for the Slip Coupling
A slip coupling is a brilliant invention for DIYers. One end slides deeply over the existing pipe, allowing you to pull it back onto the other side.
Use your tape measure to check the gap you just created. Ensure your slip coupling is long enough to bridge the gap while inserting fully into both sides.
Step 8: Mark the Insertion Depth
Push-to-connect fittings require the pipe to be pushed in to a specific depth to create a watertight seal. Check the manufacturer’s packaging for this measurement.
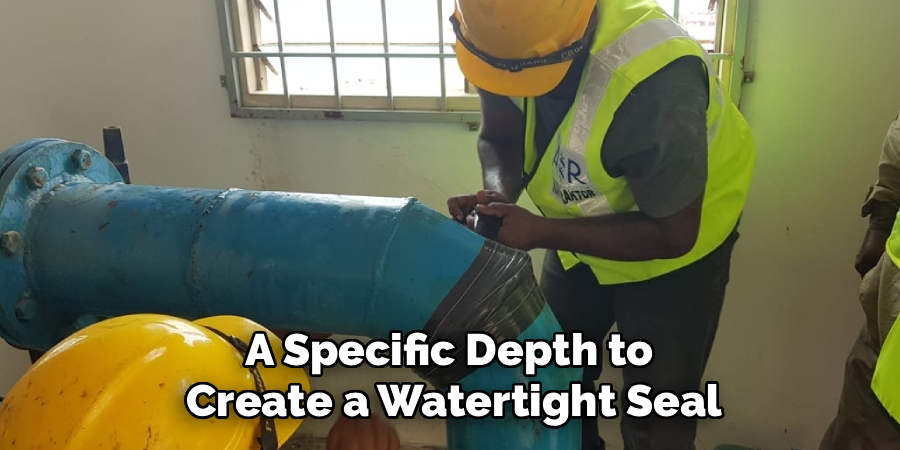
Usually, it is around one inch. Use your marker to draw a line on both pipe ends at this exact depth. This visual guide ensures you push the fitting in far enough.
Step 9: Install the Push-to-Connect Fitting
Slide the slip end of the coupling onto the first side of the pipe. Push it firmly until it reaches your depth mark.
Next, align the other end of the coupling with the opposite pipe. Use the special disconnect clip (often included with the fitting) to slide the coupling back onto the second pipe. Make sure it hits the depth mark on that side, too.
Step 10: Turn the Water Back On
Double-check your connections to ensure they are seated properly. Close all the faucets you opened in Step 2, except for one on the top floor.
Slowly turn the main water valve counterclockwise to restore the flow. Do this gradually to avoid a sudden shock of pressure to your new fitting.
Step 11: Inspect for Leaks
Walk back to your repair site and watch it closely. Run your dry hand around the new fitting to check for moisture.
If it is completely dry, congratulations! You have successfully completed the job. If you notice a tiny drip, the fitting may not be pushed in deeply enough.
Read More: How to Repair PVC Pipe Leak.
Safety Warnings You Must Know
Plumbing repairs seem straightforward, but they carry hidden risks. Your safety is much more important than saving a few dollars.
Keep these critical warnings in mind before you start swinging tools around.
Beware of Electrical Hazards
Water and electricity are a deadly combination. If the leak occurred near outlets, electrical panels, or exposed wiring, stop immediately.
Turn off the electricity to that specific room from your main breaker box. Never stand in a puddle of water while handling metal tools or touching appliances.
Protect Yourself from Mold
A serious leak introduces a lot of moisture into drywall and insulation. This creates the perfect breeding ground for toxic black mold.
Always wear a respirator and gloves if you are tearing into old, damp walls. Ensure the area is completely dried with fans and dehumidifiers after the repair is done.
Watch for Sharp Edges
Cut metal is incredibly sharp and will easily slice open your fingers. Always handle the freshly cut plumbing with extreme care.
Wear heavy-duty leather work gloves while cutting and deburring the lines.
When to Call a Professional
We believe in the power of DIY, but we also know when to admit defeat. Sometimes, learning how to repair a burst pipe on the fly is not the right move.
You should call a licensed plumber under a few specific circumstances.
The Main Water Line is Broken
If the rupture is on the main line coming into your house from the street, step away. This line is under massive pressure and often requires special city permits to repair.
The Damage is Inside a Concrete Slab
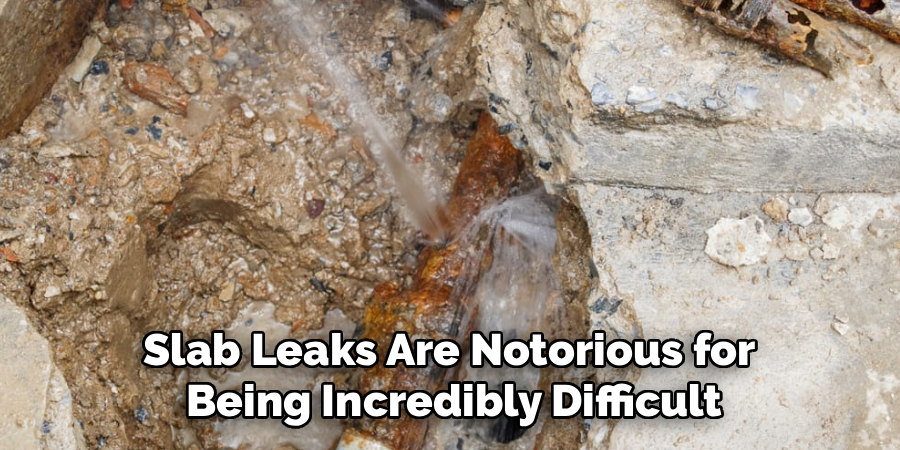
Slab leaks are notorious for being incredibly difficult to fix. If water is seeping up through your basement floor, you need heavy machinery. Jackhammering concrete is a job best left to the pros.
Widespread Freezing Damage
If a deep freeze hit your home, you might have dozens of broken lines hidden behind the walls. Fixing one will only reveal another leak down the line. A professional can pressure-test the entire system at once.
Cost Estimate: DIY vs. Professional
Money is usually the main reason people tackle home repairs themselves. Let us look at the financial breakdown of this project.
The savings are significant when you do the labor yourself.
The Cost of DIY Repair
If you need to buy a pipe cutter, deburring tool, and sandpaper, expect to spend about $30 to $40. The push-to-connect slip coupling itself costs around $15 to $20.
In total, a complete DIY fix will cost you between $45 and $60. If you already own the basic tools, you are only paying for the fitting.
The Cost of Hiring a Pro
Plumbers charge a premium, especially since pipe bursts usually happen at inconvenient times. An emergency call-out fee alone can cost $100 to $200.
Factoring in hourly labor rates and markup on parts, a professional repair ranges from $300 to $600. If the fix requires opening walls, the price climbs even higher. Doing it yourself keeps that money right in your pocket.
Frequently Asked Questions
Still have a few lingering concerns? We have gathered the most common questions from our readers.
Here are quick, straightforward answers to guide you.
Can I use tape to fix a broken plumbing line?
No, you cannot use standard tape to repair a burst pipe permanently. Plumber’s tape or epoxy putty can act as a temporary emergency patch, but the water pressure will eventually blow it out. You must replace the damaged section.
Will a SharkBite fitting last forever?
Push-to-connect fittings are approved for permanent installation behind walls. While traditional copper soldering lasts longer, a properly installed push fitting will easily last 20 to 25 years without leaking.
How do I prevent my plumbing from freezing again?
Prevention is your best defense. Wrap exposed lines in foam pipe insulation, especially in unheated areas like basements and attics. Keep your home heated above 55 degrees, even when you are on vacation.
Does homeowners insurance cover this type of damage?
Most standard homeowners insurance policies cover sudden and accidental water damage. However, they usually pay for the resulting damage (like ruined drywall), not the cost to repair the plumbing line itself.
Can I fix a PVC line the same way?
You can, but you will use different materials. Instead of push-to-connect metal fittings, you will use PVC primer and cement to glue a new plastic coupling in place. The cutting and measuring steps remain exactly the same.
Conclusion
Handling a home emergency does not have to be a terrifying experience. You now know exactly how to repair a burst pipe like a seasoned pro.
By understanding the causes, gathering the right tools, and following our beginner-friendly steps, you can conquer this project safely. You will save hundreds of dollars and gain a massive boost in DIY confidence.
Remember, preparation and patience are your best tools. Take your time, measure twice, and ensure the water is completely shut off before you make a single cut.
Ready to tackle more projects around the house? Check out our other step-by-step DIY guides and take control of your home maintenance today!