

You grab your favorite lawn chair, and you hear a sharp crack. A vital plastic piece just snapped. We have all been there.
It feels frustrating to throw away a perfectly good item over one small break. Replacing these items gets expensive quickly. But you do not have to toss it out.
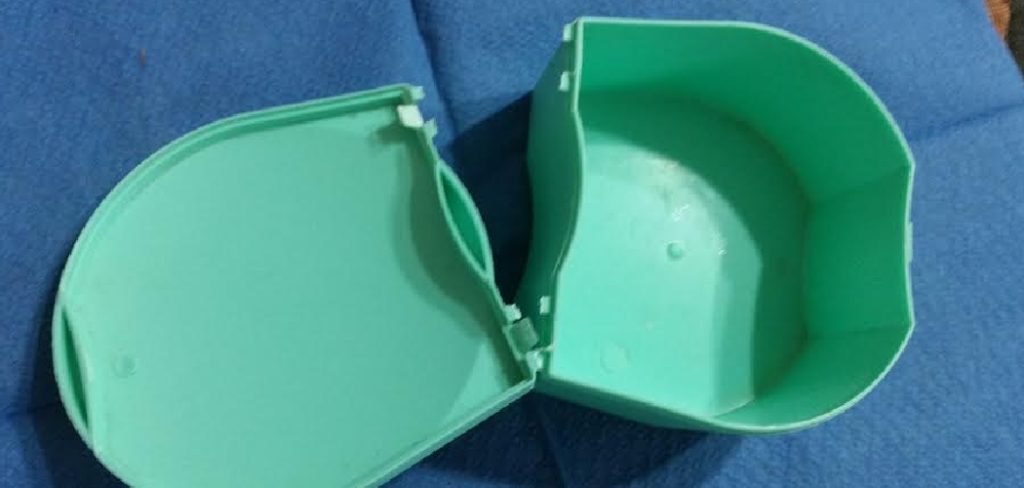
Learning how to repair broken plastic is a fantastic skill. It saves you money and keeps plastic out of landfills. You can fix most plastic items right in your own garage or kitchen.
You just need the right tools and a little bit of patience. We are going to walk through this together. By the end of this guide, you will know exactly what to do.
Let us dive into the best ways to fix your plastic gear.
What Causes This Problem?
Plastic is incredibly versatile and durable. But it is certainly not invincible. Many everyday factors weaken plastic items over time.
Here are the most common reasons why plastic breaks:
- UV and Sun Damage: Leaving plastic outside is a huge problem. The sun slowly bakes the material. It loses its natural flexibility. Eventually, the plastic becomes brittle and cracks under the slightest pressure.
- Physical Impact: Drops and falls happen to the best of us. High-impact collisions shock the plastic structure. A sudden drop on a hard floor will easily shatter rigid plastics like acrylic or polycarbonate.
- Constant Wear and Tear: Everyday use puts stress on plastic parts. Think about hinges on a cooler or a plastic latch. The repeated opening and closing wears down the structural integrity.
- Temperature Fluctuations: Extreme heat and cold wreak havoc on plastic. Heat causes the material to expand. Cold causes it to contract rapidly. This constant shifting creates microscopic stress fractures.
- Chemical Exposure: Harsh cleaning supplies damage certain plastics. Strong solvents eat away at the surface layer. This makes the item structurally weak and highly prone to snapping.
- Natural Aging: Plastic simply degrades over time. Even if you treat it perfectly, old plastic loses its chemical bonds. Vintage plastic parts will often crumble just from being handled.
Tools & Materials Needed for the Job
Before we begin, you need to gather your supplies. Having everything ready makes the repair process smooth and simple.
You do not need an entire hardware store. But you do need a few specific items.
Here is what you need for basic preparation:
- Warm soapy water: You need this to clean the broken pieces thoroughly.
- Rubbing alcohol: This removes leftover grease, oils, and stubborn dirt.
- Clean microfiber cloths: Use these for drying the plastic without leaving lint behind.
- Sandpaper: Grab some medium-grit (120) and fine-grit (400) sandpaper.
- Painter’s tape: This helps hold awkward pieces together while the glue dries.
For the actual repair, pick your preferred method’s tools.
If you choose the epoxy method, you will need:
- Two-part plastic epoxy: Make sure the label specifically says it bonds to plastic.
- Wooden stir sticks: Popsicle sticks work perfectly for mixing the epoxy.
- Disposable mixing tray: A scrap piece of cardboard works just fine.
If you prefer the solvent welding method, you need:
- Plastic solvent cement: Look for a high-quality acrylic or PVC solvent.
- Applicator syringe: This helps you apply the liquid solvent with precision.
If you want to try plastic welding, gather these:
- A plastic welding iron: A basic soldering iron can also work in a pinch.
- Plastic welding rods: You must match the rod material to your broken plastic.
- Stainless steel wire mesh: This adds serious structural strength to the melt.
Step-by-Step Fix Guide: How to Repair Broken Plastic
Fixing plastic is not a one-size-fits-all job. Different breaks require different solutions. We will cover the three best methods for fixing plastic.
Step 1: Prepare the Surface Perfectly
Preparation is the secret to a successful repair. Skip this, and your fix will fail.
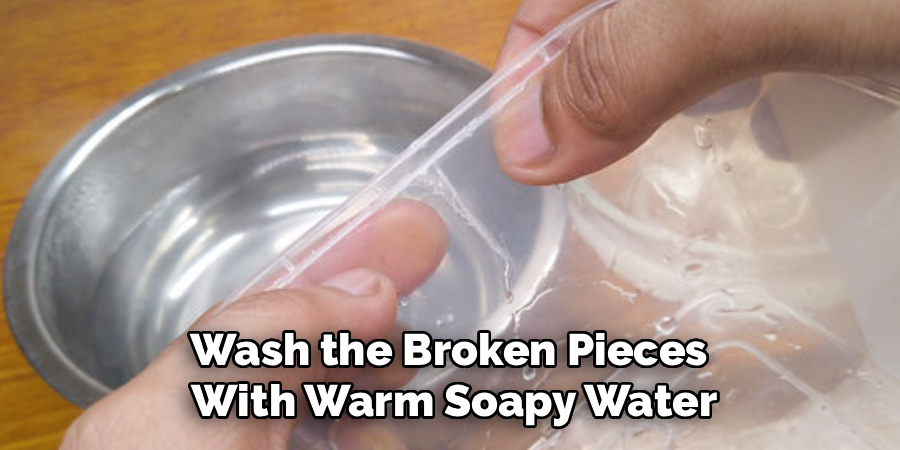
First, wash the broken pieces with warm soapy water. Scrub away any dirt or grime. Rinse the pieces thoroughly and dry them with a clean cloth.
Next, wipe the broken edges with rubbing alcohol. This removes invisible finger oils. Give the alcohol a few minutes to evaporate completely.
Now, grab your medium-grit sandpaper. Lightly sand the broken edges. You want to create a rough surface. Adhesives stick much better to rough textures.
Wipe away the sanding dust with a dry cloth. Your plastic is now ready for repair.
Step 2: Choose Your Repair Method
Look at the broken item carefully. A cracked plastic toy needs a different fix than a heavy-duty bumper.
Solvent welding works best for hard plastics like acrylic or PVC. It actually melts the edges together.
Epoxy is perfect for gaps and heavy load-bearing parts. It acts as a super-strong bridge between two broken pieces.
Plastic welding is the ultimate fix for flexible plastics. Think about car bumpers, garbage cans, and kayaks.
Read More: How to Repair Etched Marble.
Step 3: Method A – Using Plastic Epoxy
Epoxy provides a tough, durable bond. It comes in two separate tubes: a resin and a hardener.
Squeeze equal amounts of both tubes onto your mixing tray. Use your wooden stick to mix them together. Mix vigorously for about one minute until the color is uniform.
Apply a generous layer of mixed epoxy to one of the broken edges. Press the two broken pieces firmly together.
Some epoxy might squeeze out of the sides. Wipe this excess away immediately with a damp rag.
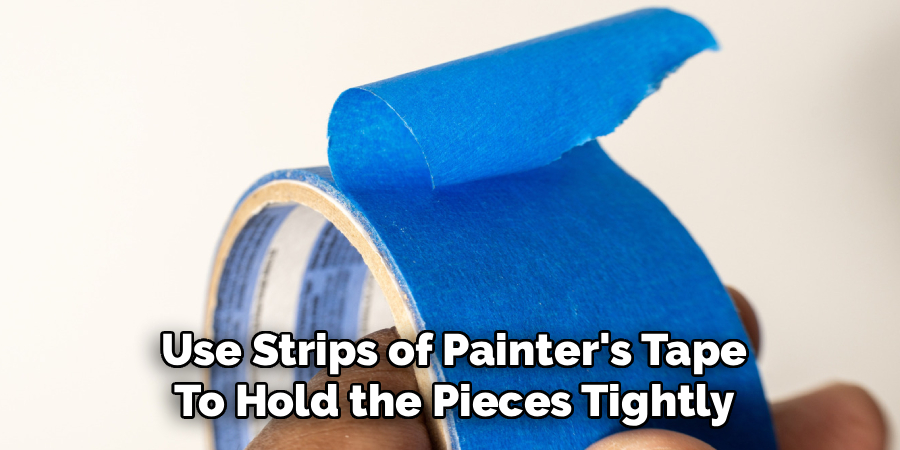
Use strips of painter’s tape to hold the pieces tightly in place. Leave the item alone for at least 24 hours. The epoxy needs time to cure and reach full strength.
Once fully cured, you can sand the dried epoxy smooth. Paint over it if you want to hide the repair completely.
Step 4: Method B – Solvent Welding
Solvent welding sounds intense, but it is quite simple. It uses a liquid chemical to melt the plastic pieces together.
Hold the broken pieces together exactly how they should fit. You want a tight, seamless joint. Secure them with painter’s tape if you need an extra hand.
Fill your applicator syringe with the liquid solvent cement. Carefully run the needle along the crack.
The thin liquid will seep into the crack automatically. Capillary action pulls the solvent deep into the joint.
Hold the pieces steady for a few minutes. The solvent softens the plastic, blending the edges into one solid piece.
Let the repair sit undisturbed for at least a few hours. The chemical smell will fade as the joint hardens.
Read More: How to Use Thread Repair Kit.
Step 5: Method C – Plastic Welding
This method uses heat to melt plastic together. It requires a steady hand and a well-ventilated space.
Turn on your plastic welding iron and let it get hot. Press the hot iron gently along the crack to create a small groove.
Take a piece of your stainless steel wire mesh. Cut it to fit over the crack. This mesh acts like rebar in concrete.
Use the hot iron to press the mesh deep into the plastic. Melt the surrounding plastic over the mesh to bury it completely.
Next, feed your plastic welding rod into the heated groove. Melt the rod directly over the seam and the embedded mesh.
Smooth out the melted plastic with the flat tip of your iron. Let the repaired area cool down entirely.
Once cooled, you can use your fine-grit sandpaper to smooth out the bumps.
Essential Safety Warnings
DIY repairs are incredibly rewarding. But safety must always come first.
Working with epoxies and solvents produces strong fumes. Always work in a well-ventilated area. Open your garage doors or work outside.
Wear a proper respirator mask if you are sensitive to chemical smells. Protect your lungs at all times.
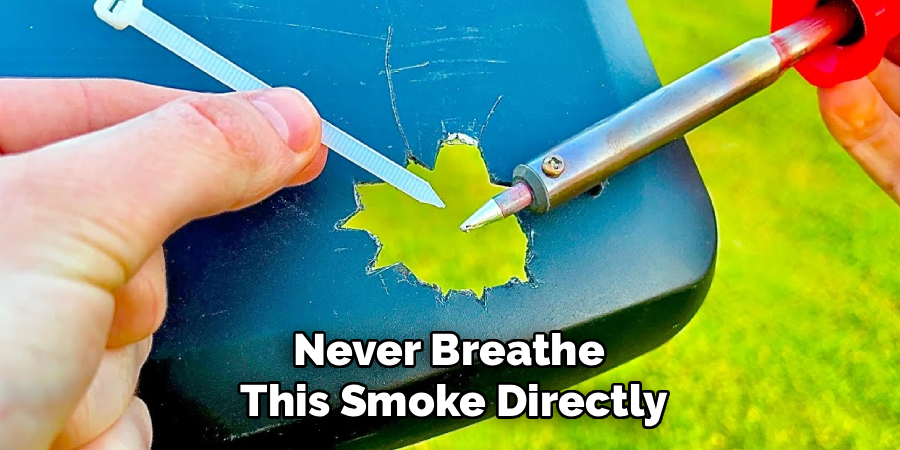
Plastic welding produces smoke and hot fumes. Never breathe this smoke directly. A small desk fan helps blow the fumes away from your face.
Wear protective safety glasses. Sanding plastic kicks up tiny, sharp particles. You do not want plastic dust in your eyes.
Always wear heavy-duty work gloves when using a hot welding iron. Those tools get extremely hot and will cause severe burns instantly.
Keep all chemical solvents away from open flames. They are highly flammable.
When to Call a Professional
You can fix many things around the house. However, some plastic repairs go beyond safe DIY limits.
Do not try to repair plastic parts that hold heavy human weight. A cracked plastic step stool is a safety hazard. Buying a new one is much safer.
Professional help is necessary for major automotive plastic parts. A severely cracked radiator tank requires expert attention.
Internal plumbing pipes are another risky area. A failed DIY pipe fix can flood your home. Call a plumber for high-pressure water lines.
If the item holds toxic chemicals or fuel, leave it to the pros. You do not want a jerry can leaking gasoline in your trunk.
Know your limits. If a structural failure could cause severe injury, replace the item or hire an expert.
Cost Estimate: DIY vs. Pro Repair
Fixing things yourself is almost always cheaper. Let us break down the typical costs.
A high-quality two-part plastic epoxy costs around $6 to $10. Sandpaper and tape will run you another $5. A basic plastic welding kit costs between $20 and $35 on Amazon. You can reuse this kit for dozens of future repairs.
Overall, a DIY plastic repair will cost you between $10 and $40. This is a very budget-friendly project. Hiring a professional tells a different story. Professional plastic repair shops charge hourly rates.
A pro repair on a plastic bumper often costs $200 to $400. Custom plastic fabrication can cost even more. For everyday items, fixing it yourself is absolutely the best financial choice.
Frequently Asked Questions
You probably still have a few questions. That is completely normal. Here are the most common questions people ask about fixing plastic items.
What is the strongest glue for broken plastic?
Two-part epoxy is generally the strongest adhesive for plastic. It creates a thick, structural bond that withstands heavy force. Cyanoacrylate (super glue) works well for minor fixes, but epoxy handles the heavy lifting.
Can I use super glue on any plastic?
No, super glue does not work on all plastics. It struggles to bond with smooth, flexible plastics like polyethylene. It works best on rigid plastics, but you should always sand the surface first.
How do I identify what kind of plastic I have?
Look for a small recycling triangle stamped on the item. The number inside tells you the plastic type. For example, a “2” means High-Density Polyethylene (HDPE). This helps you buy the right welding rods.
Why did my epoxy repair fail?
Most epoxy failures happen because of poor preparation. If you do not clean and rough up the surface, the glue cannot stick. Always sand the edges and wipe away oils before applying epoxy.
Is melted plastic toxic?
Yes, melting plastic releases toxic fumes. You must wear a respirator and work in a heavily ventilated area. Never melt plastic inside your kitchen or a closed room.
Conclusion
Learning how to repair broken plastic empowers you as a homeowner. It breathes new life into items you thought were ruined. You save money, reduce waste, and build great DIY skills. Whether you choose solvent welding, strong epoxy, or a hot plastic welder, you have the tools to succeed.
Remember to take your time. Clean your surfaces thoroughly and follow safety rules. Good preparation makes all the difference in a repair job. Do you have a broken item waiting in your garage? Grab some epoxy and give it a try this weekend.
If you found this guide helpful, check out our other home repair tutorials. Leave a comment below and let us know what you are fixing today!