

Do you have dull, cloudy spots on your beautiful stone countertops? You are not alone. Many homeowners panic when they see these marks.
These blemishes are called etches, and they happen when acid eats away a tiny layer of the stone. Luckily, learning how to repair etched marble is easier than you might think. You do not need a degree in geology to restore that glossy shine.
Hiring a professional stone restorer costs hundreds of dollars for a single visit. By fixing these spots yourself, you save a lot of money and gain a handy new skill. With a few simple supplies, you can bring your countertops back to life in an afternoon.
In this guide, we will walk you through the exact process to restore your stone. We will cover the tools you need and give you simple, step-by-step instructions.
What Causes This Problem?
Understanding why your countertops get damaged helps you prevent it in the future. Marble is made of calcium carbonate. This makes it highly reactive to any acidic substance.
When acid touches the surface, it causes a chemical reaction. This reaction eats away the polished top layer, leaving a dull, rough mark behind.
Here are the most common causes of this frustrating damage:
- Acidic cleaners: Using harsh household sprays, bleach, or tub cleaners will strip the finish instantly.
- Citrus juices: Spilling lemon, lime, or orange juice while cooking is a leading cause of dull spots.
- Vinegar: While great for cleaning glass, vinegar is the worst enemy of natural stone surfaces.
- Coffee and wine: Both of these beloved drinks have high acid levels that can damage the stone if left sitting.
- Tomato products: Pasta sauce, ketchup, and sliced tomatoes contain acids that eat through sealers quickly.
- Harsh soaps: Even some heavy-duty dish soaps contain ingredients that break down the protective finish over time.
Tools & Materials Needed
Before you start restoring your surfaces, you need to gather the right supplies. Having everything ready makes the job fast and easy.
You can find most of these items at your local hardware store. The rest can be easily ordered online.
Essential Cleaning Supplies
First, you need a gentle stone cleaner. You will use this to prep the surface. Grab a pH-neutral stone spray.
You also need plenty of clean, dry microfiber cloths. Microfiber is soft and will not scratch the delicate surface while you work.
Marble Polishing Powder
This is the magic ingredient for your project. Marble polishing powder is a specialized compound designed to restore the shine.
It works by creating a chemical reaction and acting as a micro-abrasive. This gentle polishing action blends the dull spot back into the glossy surface.
A Spray Bottle with Water
You need a simple plastic spray bottle filled with clean tap water. This water mixes with the polishing powder to create a paste.
Do not add any soap or chemicals to the water. Pure water is exactly what you need.
Protective Gear
Safety always comes first when doing home repairs. Pick up a pair of rubber gloves to protect your hands.
You should also have a basic dust mask and safety glasses. The powder is very fine and can irritate your lungs and eyes.
Step-by-Step Fix Guide on How to Repair Etched Marble
Ready to make those dull spots disappear? Follow these simple steps carefully.
Take your time and do not rush the process. Small amounts of effort will yield amazing results.
Step 1: Clean the Damaged Area
Start by removing all crumbs, dust, and grease from the counter. Spray your pH-neutral stone cleaner directly onto the spot.
Wipe it away completely using a clean microfiber cloth. You want the surface to be perfectly bare.
Step 2: Dry the Surface Completely
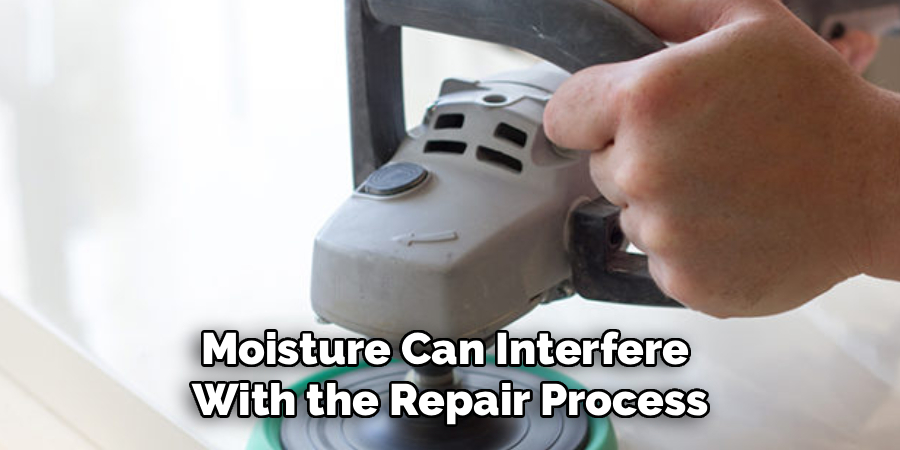
Moisture can interfere with the repair process. Take a fresh, dry microfiber cloth.
Buff the cleaned area until there is no moisture left. Let it air dry for an extra five minutes just to be safe.
Step 3: Apply the Marble Polishing Powder
Put on your rubber gloves and dust mask. Open your container of polishing powder carefully.
Sprinkle a small amount directly onto the center of the dull spot. You only need about half a teaspoon for a small mark.
Read More: How to Repair Home Foundation Cracks.
Step 4: Add Water to Make a Paste
Take your spray bottle filled with water. Lightly mist the powder you just sprinkled on the counter.
You want the powder to turn into a thick paste. It should look and feel a bit like wet toothpaste.
Step 5: Begin the Rubbing Process
Take a slightly damp microfiber cloth or a specialized buffing pad. Press it down onto the paste.
Begin rubbing the paste into the dull spot using small, tight, circular motions. Apply firm, even pressure as you rub.
Step 6: Keep the Paste Moist
As you rub, the paste will start to dry out. Do not let it become completely dry or chalky.
Give it another light mist of water from your spray bottle. Keep rubbing in circles for about two to three minutes.
Read More: How to Repair Home Heater.
Step 7: Clean Up the Residue
Once you have buffed the area thoroughly, it is time to check your work. Use a damp microfiber cloth to wipe away all the paste.
Make sure you remove every trace of the gritty powder. You might need to rinse your cloth once or twice.
Step 8: Dry and Inspect the Shine
Take a completely dry cloth and buff the wet area. Dry it thoroughly so you can see the true finish.
Look at the spot from different angles using overhead lighting. If the shine matches the surrounding area, you are done!
Step 9: Repeat if Necessary
Sometimes, a deeper mark needs a second round of treatment. If the spot is still slightly dull, do not panic.
Simply sprinkle a little more powder, add water, and repeat the rubbing process. Be patient, as some spots take two or three tries.
Step 10: Apply a Stone Sealer
Once the shine is restored, you need to protect your hard work. Grab a high-quality penetrating stone sealer.
Follow the instructions on the bottle to seal the newly repaired area. This adds a crucial layer of defense against future spills.
Safety Warnings
Even though this is an easy DIY project, you must stay safe. Polishing compounds contain fine chemicals that can be harmful if misused.
Always wear gloves when handling the paste. Prolonged contact can dry out or irritate your skin.
Never breathe in the dry powder. Keep your dust mask on until the powder is safely mixed with water.
Keep children and pets out of the kitchen while you work. You do not want them accidentally touching or inhaling the materials.
Finally, never mix your polishing compound with bleach or other cleaners. Only use pure water to activate the paste.
When to Call a Professional
DIY methods are fantastic for light, surface-level damage. However, not every problem can be solved with a little paste and elbow grease.
You need to know the limits of home repairs. Trying to fix severe damage yourself can sometimes make things worse.
Deep Physical Damage
If you run your fingernail over the spot and it catches deeply, the damage is severe. This means the acid has eaten far into the stone.
Polishing powders only fix light, microscopic surface damage. Deep grooves require professional diamond grinding pads.
Large Clouded Areas
Did you accidentally mop an entire floor with vinegar? If so, a small tub of powder will not help you.
Restoring large areas requires heavy machinery and professional expertise. A local stone restorer can polish large sections evenly.
Cracks and Chips
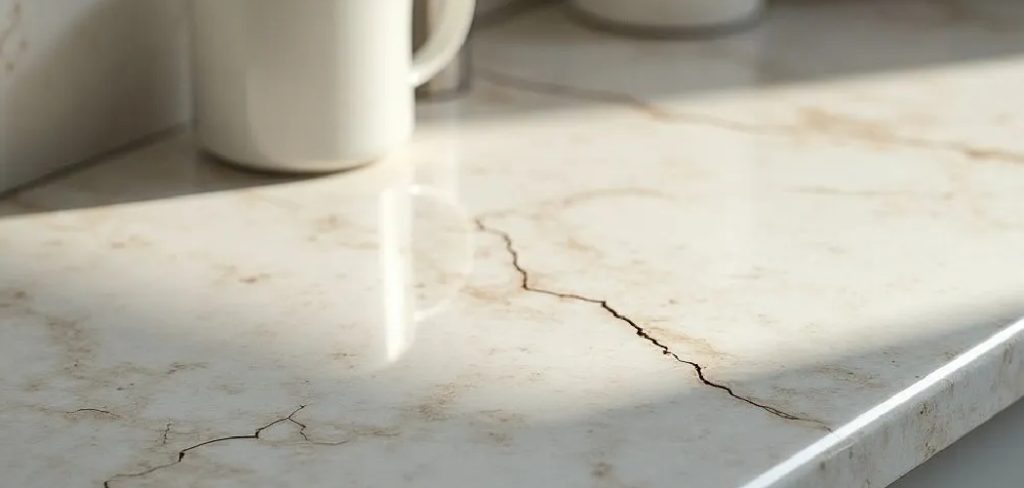
Etching only affects the finish of the stone. If your counter has actual cracks or chipped edges, you need a pro.
Professionals use colored epoxy resins to fill and hide physical breaks. This is a highly specialized skill.
The Honing Process
If your countertop has a matte finish instead of a glossy one, you have honed stone. Glossy polishing powder will ruin a matte finish.
Restoring a matte finish requires a process called honing. This is much harder to DIY and often requires professional abrasive pads.
Cost Estimate: DIY vs. Pro
One of the best reasons to do this yourself is the financial savings. Natural stone maintenance can get very expensive very quickly.
Here is a quick breakdown of what you can expect to spend.
The Cost of DIY Repair
A good quality container of polishing compound costs between $20 and $40. This tub will last you for dozens of small repairs.
Microfiber cloths and a spray bottle will cost you less than $10. Your total DIY cost is usually under $50.
The Cost of Professional Repair
Professional stone restorers charge for their travel time, expertise, and equipment. A basic service call often starts at $200 minimum.
For larger islands or multiple spots, the bill can easily reach $500 to $800. Doing it yourself saves you a massive amount of cash.
FAQs About How to Repair Etched Marble
People always have great questions when working with expensive materials. Here are the most common questions homeowners ask.
What is the difference between a stain and an etch?
A stain happens when a dark liquid soaks into the pores, changing the stone’s color. An etch is physical damage where acid eats away the shiny top layer, leaving a clear but dull spot.
Can I use baking soda to fix the dull spots?
No, baking soda will not fix this problem. While it is mildly abrasive, it cannot create the chemical reaction needed to restore a high-gloss finish.
Will regular stone polish remove the damage?
Regular daily spray polishes only add a temporary shine to healthy stone. They cannot repair the physical damage caused by acidic cleaners or food spills.
How long does the restoration process take?
For a small ring left by a wine glass, the process takes about ten minutes. Larger or slightly deeper marks might take twenty to thirty minutes of manual buffing.
Does sealing the stone prevent etching?
Sealers are great for stopping liquid stains, but they do not stop acid reactions. Acid will eat right through a sealer, so wiping up spills immediately is your best defense.
Conclusion
Seeing dull, cloudy spots on your beautiful counters can be incredibly stressful. But now that you know how to repair etched marble, you have nothing to fear.
By avoiding acidic cleaners and wiping up spills quickly, you can keep your surfaces looking pristine. When accidents do happen, you now have the skills to handle them.
Taking care of your own home repairs is empowering and keeps money in your pocket. You do not have to live with damaged countertops or pay outrageous service fees. Grab your supplies, put on some music, and buff those dull spots away.
Ready to tackle more home maintenance projects like a pro? Check out our other DIY guides to keep your entire house looking brand new!