

Does your patio door scrape, stick, or jump off its track every time you open it? You’re not alone. Sliding doors take a beating over the years, and the tiny wheels hidden at the bottom—called rollers—wear out faster than you’d think. The good news? You can fix them yourself.
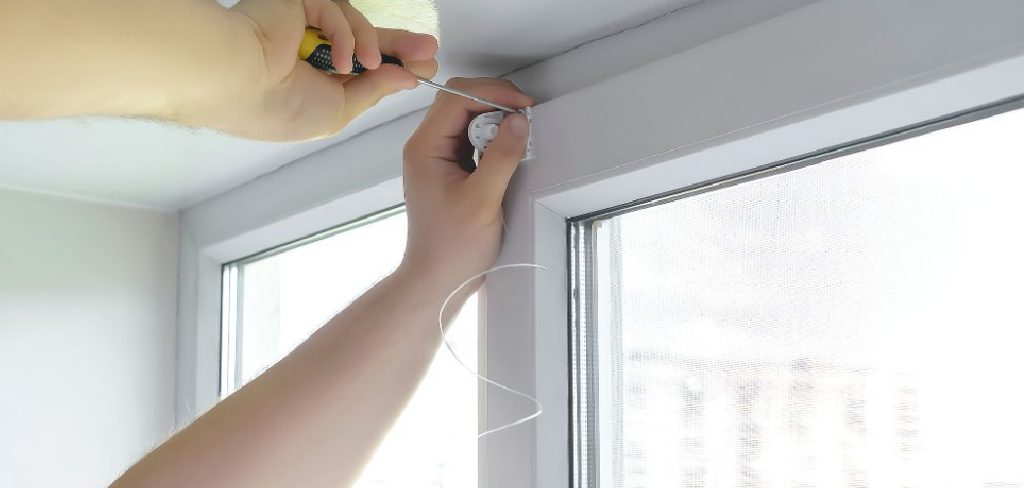
Learning how to repair sliding door rollers saves you money, time, and the frustration of fighting a stubborn door every day. With a few basic tools and a little patience, you’ll have that door gliding like new again.
This guide walks you through everything—from spotting worn rollers to swapping them out and adjusting the door for a smooth, quiet slide.
Why Repairing Sliding Door Rollers Matters
A sticky sliding door isn’t just annoying—it’s a sign something needs attention. When rollers wear down, the door drags along the track. That extra friction damages the frame, scratches the floor, and can even crack the glass over time.
For homeowners, fixing rollers protects your investment and keeps your home secure. A door that won’t close properly is an open invitation to drafts, pests, and intruders.
Renters benefit too. Many lease agreements expect you to handle small repairs, and a quick roller fix keeps your landlord happy and your deposit safe.
If you’re new to DIY, this project is a perfect starting point. It teaches you how doors work, builds your confidence, and shows you that hiring a technician isn’t always necessary.
Tools and Materials You’ll Need
Before you start, gather your gear. Having everything ready keeps the job smooth and stops you from running back and forth to the garage. Most of these items are cheap and easy to find at any hardware store.
Phillips and flathead screwdrivers
Replacement roller assemblies (match your door’s brand and size)
A pry bar or putty knife
A clean rag or microfiber cloth
Silicone-based lubricant spray
A vacuum or stiff brush for cleaning the track
Safety gloves to protect your hands
A flashlight or headlamp for seeing into tight spaces
Painter’s tape to mark adjustment screws
A second set of hands (optional, but helpful for lifting heavy glass doors)
Buy the right rollers for your door model. Bring the old roller to the store if you’re unsure—matching the size and style makes installation far easier.
Step-by-Step Guide on How To Repair Sliding Door Rollers
Follow these eight steps in order. Take your time, work on a clear surface, and you’ll finish with a door that glides like it’s brand new.
Step 1 – Inspect the Door and Confirm the Problem
Start by sliding the door slowly back and forth. Listen closely. A grinding, squeaking, or clunking sound usually points straight to worn rollers.
Watch how the door moves. If it dips, sticks, or hops off the track, the wheels underneath are likely flattened or cracked.
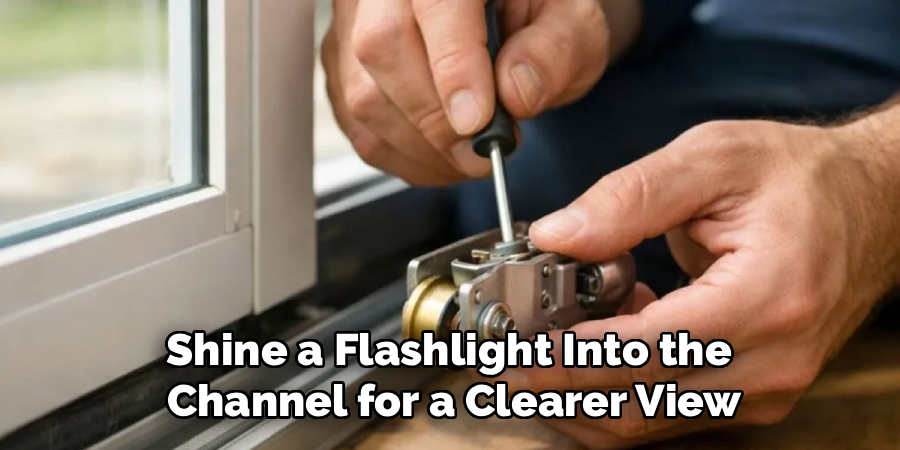
Run your fingers along the bottom track. You might feel grit, rust, or rough spots where the rollers have ground down the metal. Shine a flashlight into the channel for a clearer view.
Knowing exactly what’s wrong before you dive in saves you from guessing. This quick check tells you whether you need new rollers, a good cleaning, or just a simple adjustment to get things rolling smoothly again.
Step 2 – Remove the Sliding Door from Its Track
This step takes a little muscle, so grab a helper if the door feels heavy. Glass doors are awkward and surprisingly weighty.
First, look for adjustment screws at the bottom edge of the door. Turn them counterclockwise to lower the rollers and create slack.
Next, grip the door firmly on both sides. Lift it straight up into the top channel, then swing the bottom outward toward you. The door should pop free of the lower track.
Set it down gently on a soft surface—a blanket or towel works great to protect the glass. Lean it against a sturdy wall so it won’t tip over while you work on the next steps.
Read More: How to Repair Sliding Glass Door Lock.
Step 3 – Locate and Remove the Old Rollers
Lay the door flat if you can, with the bottom edge facing up. This gives you the best access to the roller housings tucked inside the frame.
Look for the screws holding each roller assembly in place. There’s usually one at each corner. Remove them with your screwdriver and set them aside in a small dish so they don’t roll away.
Once the screws are out, slide or pry the roller assembly free. A flathead screwdriver or putty knife helps loosen stubborn ones.
You’ll probably notice the old rollers are caked with grime, hair, and dried-up grease. That gunk is part of why your door stopped sliding smoothly in the first place.
Step 4 – Clean the Roller Housing and Track
Before installing anything new, clean everything thoroughly. This is one of the most overlooked parts of fixing a sliding glass door.
Wipe out the empty roller housings with a damp rag. Dig into the corners where dirt loves to hide. A small brush or old toothbrush works wonders here.
Now turn your attention to the bottom track. Vacuum out the loose debris, then scrub away any caked-on dirt. Stubborn grime might need a little soapy water and some elbow grease.
Dry everything completely. A clean, smooth track lets your new rollers do their job without fighting friction. You’ll be surprised how much quieter and easier the door feels once all that built-up gunk is gone.
Step 5 – Install the New Rollers
Take your replacement rollers and slide each one into its housing. They should fit snugly, matching the same spot the old ones came out of.
Line up the screw holes carefully. Then drive the screws back in, but don’t crank them down too tight just yet—you’ll need a little wiggle room for adjustments later.
Give each roller a quick spin with your finger. It should turn freely and smoothly, with no catching or wobble. If it feels stiff, double-check that you seated it correctly.
This is the satisfying part of how to repair sliding door rollers. Watching those fresh wheels spin tells you the hardest work is behind you and your door is almost ready to glide again.
Read More: How to Repair Sliding Patio Door.
Step 6 – Reinstall the Door onto the Track
Time to put the door back where it belongs. Grab your helper again if the door is heavy or tall.
Lift the door into the top channel first, just like you did when removing it. Then carefully swing the bottom inward and lower it onto the bottom track.
Make sure both rollers sit squarely in the channel. Wiggle the door gently to confirm it’s seated properly and not balanced on the edge of the track.
Slide it open and closed once. It might feel a little rough at first since the rollers aren’t adjusted yet. That’s normal. Don’t worry if it isn’t perfect—you’ll fine-tune the height and balance in the next step.
Step 7 – Adjust the Roller Height for a Smooth Glide
Here’s where you dial in that perfect, effortless slide. Find the adjustment screws at the bottom corners of the door.
Turning them clockwise raises the door; counterclockwise lowers it. Make small turns—a quarter turn at a time—then test the door after each adjustment.
Your goal is a door that sits level and clears the bottom track without dragging. Check the gap along the top and bottom edges to make sure it’s even on both sides.
Slide the door several times as you tweak. You want it to glide quietly with light pressure, not scrape or stick. Patience pays off here. A few careful adjustments now mean years of smooth, hassle-free opening and closing down the road.
Read More: How to Repair a Sticking Door.
Step 8 – Lubricate and Test the Final Result
The finishing touch is lubrication. Grab your silicone-based spray—skip oil-based products, since they attract dirt and gum up fast.
Spray a light coat along the bottom track and over the new rollers. Wipe away any excess with your rag so it doesn’t drip or stain the floor.
Now slide the door open and closed a dozen times. Each pass spreads the lubricant evenly and helps the rollers settle into place.
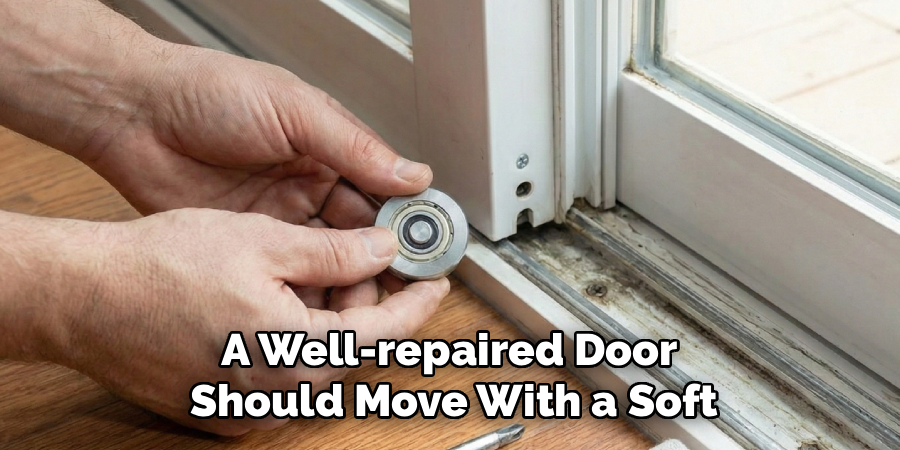
Listen for silence. A well-repaired door should move with a soft, quiet whisper instead of that old grinding screech. Feel how little effort it takes now—just a gentle push and it glides.
Step back and admire your work. You just fixed something most people would pay good money to have done.
Critical Mistakes When Repairing Sliding Door Rollers
Even simple repairs can go sideways if you rush. Watch out for these common slip-ups.
The biggest mistake is buying the wrong replacement rollers. Sliding doors come in dozens of styles, and a part that looks close enough often won’t fit. Always match the brand, size, and wheel type, or bring the old roller to the store. Guessing here wastes both time and money.
Another frequent error is forcing the door off its track. People yank and twist, scratching the frame or cracking the glass. Lower the rollers first to create slack, then lift gently. Patience protects both you and the door.
Skipping the cleaning step trips up a lot of beginners too. Installing shiny new rollers onto a filthy, grit-filled track just grinds them down again. Always clean the channel completely before reassembly.
Finally, many folks over-tighten the screws or rush the height adjustment. Cranking screws too hard can strip the threads, while a poorly leveled door drags and wears unevenly. Make small, careful adjustments and test as you go.
Expert Cleaning Tips
A clean track is the secret to long-lasting rollers, so make maintenance a habit. Vacuum the bottom channel every few months to clear out hair, dust, and debris before it hardens.
For stuck-on grime, mix a little dish soap with warm water and scrub with an old toothbrush. The bristles reach into the corners where dirt builds up most.
Always dry the track fully afterward. Leftover moisture invites rust, which roughens the surface and chews through your rollers.
Reapply silicone spray a couple times a year to keep things gliding. Avoid greasy lubricants—they trap dust and create gummy buildup over time.
One last tip: wipe the door frame and weatherstripping while you’re at it. A clean, sealed door slides better and keeps drafts out.
Frequently Asked Questions
How do I know if my sliding door rollers need replacing?
Watch and listen as you slide the door. Telltale signs include:
- Grinding, squeaking, or clunking noises
- The door dragging or sticking mid-slide
- Visible flat spots or cracks on the wheels
- The door jumping off its track
If adjusting the height and cleaning the track don’t fix it, worn rollers are almost always the culprit and need swapping out.
How much does it cost to replace sliding door rollers myself?
Doing it yourself is surprisingly cheap. A pair of replacement rollers usually costs between $10 and $40, depending on your door’s brand and style. Add a few dollars for silicone spray if you don’t already own some. Compare that to $150 or more for a professional visit, and the savings are clear. Most homeowners already have the basic tools needed.
Can I repair sliding door rollers without removing the door?
Sometimes, yes. If the rollers are only dirty or slightly out of adjustment, you can clean the track and turn the adjustment screws without lifting the door out. However, replacing worn or broken rollers almost always requires removing the door first. You simply can’t reach the roller housings otherwise. For a full fix, plan to take the door off its track.
What type of lubricant works best for sliding doors?
Always choose a silicone-based spray lubricant. It glides smoothly, resists dirt, and won’t gum up the track over time. Avoid oil-based products like WD-40 as a long-term fix—they attract dust and create sticky buildup that wears rollers down faster. A quick spray on the track and rollers every few months keeps your door moving quietly and effortlessly.
How long do sliding door rollers usually last?
With regular cleaning and lubrication, quality rollers can last 10 to 15 years. Cheaper plastic wheels wear out faster, sometimes in just a few years. Heavy use, dirty tracks, and exposure to weather all shorten their lifespan. The best way to make them last is simple upkeep—vacuum the track, dry it well, and reapply silicone spray a couple times each year.
Conclusion
Fixing a stubborn sliding door is easier than you might have imagined. With the right rollers, a few basic tools, and a willingness to take your time, you can turn a sticky, screeching door into one that glides open with a gentle touch.
Remember the key steps: inspect the problem, remove the door carefully, clean the track thoroughly, install fresh rollers, then adjust and lubricate for that smooth finish. Skipping the cleaning or rushing the adjustments are the easiest mistakes to avoid, so stay patient and test as you go.
Knowing how to repair sliding door rollers gives you a real sense of accomplishment—and saves you a costly service call. Whether you own your home or rent it, this is a skill worth having in your back pocket.
So grab your screwdriver, pick up the right replacement parts, and give it a shot. Your patio door will thank you, and you’ll wonder why you waited so long to tackle it yourself.