

A broken patio door lock leaves your home vulnerable and creates unnecessary stress. You might think you need to hire an expensive professional to secure your home. We have good news for you. Learning how to repair sliding glass door lock issues is completely doable for most homeowners and renters.
Fixing this issue yourself saves you a significant amount of money on labor costs. You also gain the confidence that comes with maintaining your own home. You just need a few basic tools and a bit of patience to get the job done right.
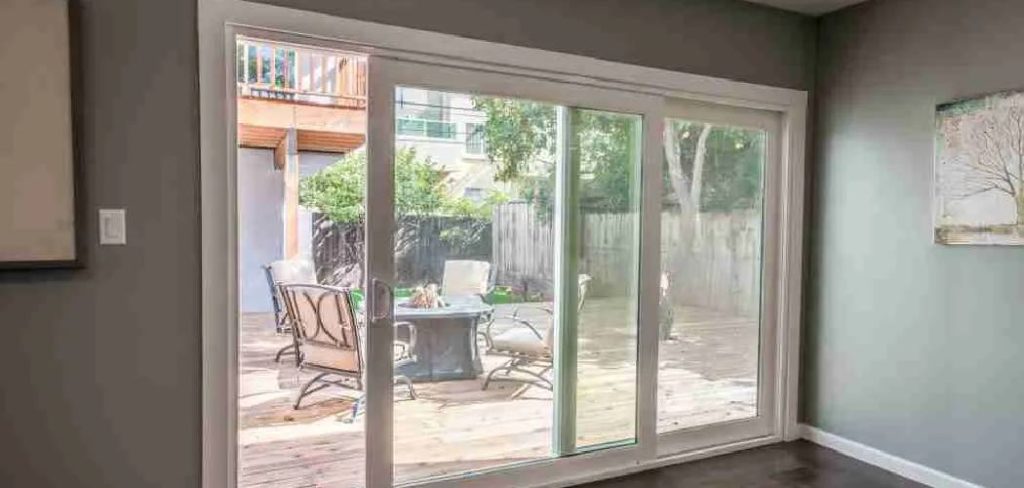
This guide walks you through the entire process from start to finish. We will cover the common causes, the tools you need, and the exact steps to secure your door. You will have your patio door locking smoothly again in no time.
What Causes This Problem?
Understanding why your lock failed helps you prevent future issues. Patio doors endure heavy daily use and constant exposure to the elements. This combination leads to a few common mechanical failures.
Here are the most frequent culprits behind a broken sliding door lock:
- Dirt and Debris Buildup: Dust, pet hair, and dirt accumulate inside the lock mechanism over time. This grime jams the delicate internal springs and levers.
- Door Misalignment: Houses settle, and rollers wear out, causing the door to sit unevenly in its track. The lock hook can no longer reach the catch on the frame.
- Rust and Corrosion: Moisture from rain or humidity corrodes the metal components. Rusted parts grind against each other and eventually snap.
- Worn-Out Springs: The internal spring provides the tension needed to snap the lock into place. These springs stretch out or break after years of constant use.
- Physical Damage: Slamming the door or forcing the handle can bend the metal latch. A bent latch will never secure properly into the receiver.
Tools & Materials Needed
You need to gather a few essential items before we begin. Having everything within reach makes the repair process smooth and frustration-free. You likely already own most of these tools.
Here is your complete materials list:
- Phillips-head screwdriver: You need this to remove the handle and lock assembly.
- Flathead screwdriver: This helps pry off stubborn covers and adjust roller screws.
- Silicone-based lubricant: Do not use heavy grease. Silicone sprays clean and lubricate without attracting dust.
- Stiff cleaning brush: An old toothbrush works perfectly for scrubbing out grime.
- Needle-nose pliers: You will use these to retrieve dropped screws or adjust tiny springs.
- Replacement lock cylinder or latch: You only need this if your current hardware is broken beyond repair.
- Safety glasses: These protect your eyes from flying rust flakes and chemical sprays.
- Microfiber cloth: Keep this handy for wiping away excess lubricant and dirt.
Step-by-Step Fix Guide
We are now ready to tackle the main project. Follow these steps carefully to ensure a safe and successful repair. Take your time, and do not force any parts if they feel stuck.
Step 1: Inspect the Door Alignment
Your lock might be perfectly fine. Sometimes the door itself is the actual problem. A crooked door prevents the latch from lining up with the frame.
Close the door and look at the gap between the door and the frame. The gap should be even from top to bottom. If the door looks crooked, you must adjust the bottom rollers.
Locate the adjustment screws at the bottom of the door panel. Turn the screws clockwise to raise the door or counterclockwise to lower it. Adjust both sides until the door sits perfectly flush with the frame.
Read More: How to Repair Sliding Patio Door.
Step 2: Clean the Track and Hardware
Dirt is the enemy of any mechanical system. A filthy track forces the door out of alignment. A dirty lock mechanism simply cannot move freely.
Use a vacuum to suck up loose dirt from the bottom track. Scrub the track thoroughly with your stiff brush and wipe it clean.
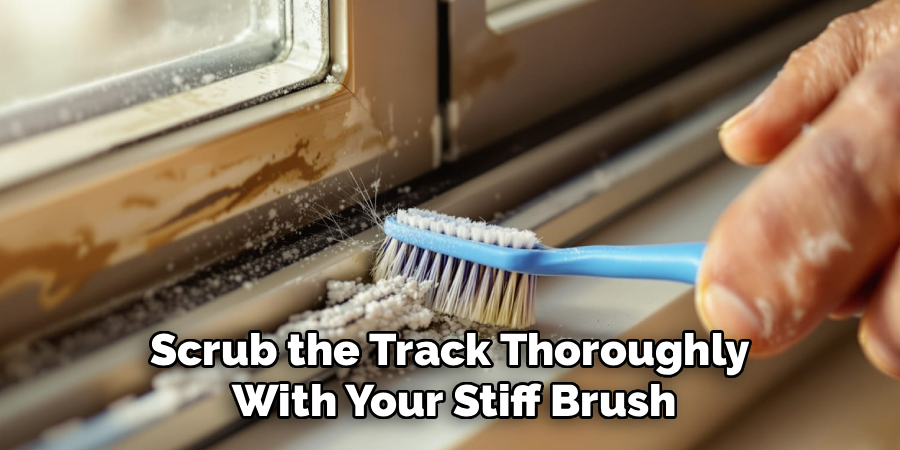
Next, inspect the lock receiver on the door frame. Remove any cobwebs, dried bugs, or hardened grease. A clean system guarantees a much smoother operation.
Step 3: Remove the Handle and Cover
You need to access the internal mechanism to figure out how to repair sliding glass door lock hardware properly. This requires removing the interior handle.
Locate the two main screws on the interior face of the handle. Hold the exterior handle with one hand so it does not fall and shatter the glass. Unscrew the interior handle and gently pull both sides away from the door.
Place the screws and handles in a safe spot. You should now see the bare metal lock assembly resting inside the door frame.
Step 4: Extract the Lock Assembly
You must remove the core lock assembly to inspect it closely. Most assemblies are held in place by two small screws on the edge of the door.
Remove these mounting screws carefully. Slide the flathead screwdriver under the metal plate to gently pry it loose. Pull the entire lock cartridge out of the door cavity.
Take a clear photo of the assembly right now. This photo serves as a helpful reference when you reinstall everything later.
Read More: How To Repair Sliding Door Rollers.
Step 5: Clean and Lubricate the Assembly
Take a good look at the removed cartridge. If you see massive amounts of rust or a broken metal hook, you must buy a replacement.
If the metal is intact, a deep clean is your next step. Spray the entire mechanism generously with your silicone lubricant. Use your brush to scrub away years of sticky buildup.
Work the latch back and forth with your fingers. It should move easily and snap back into place with crisp tension. Wipe away all excess liquid with your cloth.
Step 6: Install the Repaired or New Lock
It is time to put everything back together. Slide the clean or new lock assembly back into the door cavity.
Line up the mounting holes and insert the screws on the door edge. Tighten them firmly, but avoid over-tightening. Stripping these screws will cause the lock to wobble.
Test the little toggle switch on the assembly. Ensure the locking hook moves freely up and down without scraping the sides of the cutout.
Step 7: Reattach the Handles
Grab your interior and exterior handles. Place the exterior handle against the outside glass, lining up the screw posts with the internal holes.
Place the interior handle over the lock toggle. Insert your main screws and thread them in slowly. Make sure the toggle switch connects properly with the internal mechanism.
Tighten the handle screws until they are snug. The handle should feel incredibly solid against the glass frame.
Read More: How to Repair Door Latch.
Step 8: Test the Lock and Receiver
Close the door slowly and test the locking lever. The hook should slide effortlessly into the receiver on the door frame.
If the hook hits the metal plate instead of sliding inside, you need to adjust the receiver. Loosen the screws on the frame receiver and move it slightly up or down.
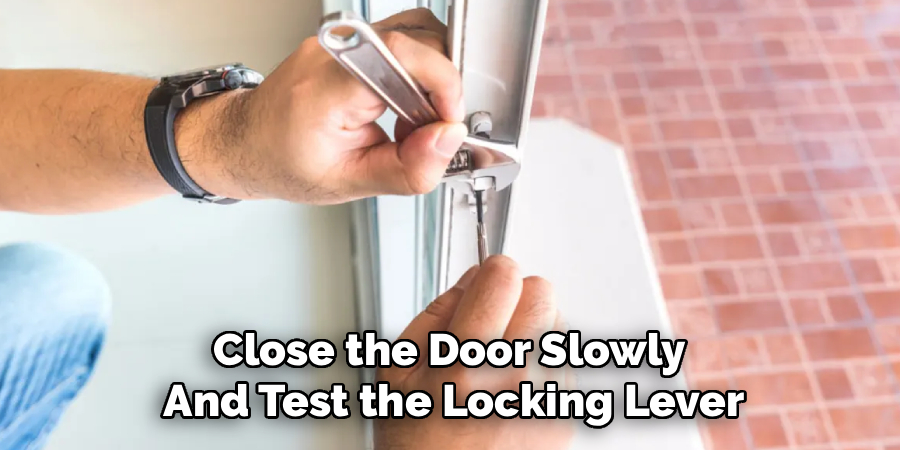
Tighten the receiver once everything is perfectly aligned. Lock the door and pull firmly on the handle to ensure it holds securely.
Safety Warnings
DIY projects are incredibly rewarding, but safety must always come first. Working with heavy doors and glass requires caution.
Handle Glass Carefully
Sliding doors feature large panes of heavy, fragile glass. Never hit the door frame with a hammer. Never over-tighten screws, as the pressure can crack the glass.
Use Proper Protection
Always wear your safety glasses when spraying lubricants. These chemicals can bounce off the metal and splash into your eyes.
Ask for Help
Patio doors are incredibly heavy and awkward to maneuver. If you need to lift the door off its tracks, always ask a friend or family member for assistance.
When to Call a Professional
We believe most people can handle this repair. However, certain situations demand a professional touch. Knowing your limits prevents costly mistakes.
Call a professional if your door frame is heavily rotted or damaged. Structural damage requires carpentry work that goes beyond a simple hardware swap.
You should also hire a technician if the glass is cracked or compromised. Dealing with broken safety glass is highly dangerous. Finally, if you simply cannot find a matching replacement lock for an antique door, a locksmith can custom-fit a modern solution.
Cost Estimate
Fixing things yourself keeps money in your pocket. The cost difference between DIY and professional repair is staggering.
DIY Costs
If you only need to clean and lubricate the system, your cost is roughly $5 to $10 for the spray. Buying a brand-new lock assembly usually costs between $15 and $35 at a local hardware store. Your total DIY cost rarely exceeds $40.
Professional Costs
Hiring a local handyman or locksmith comes with steep service fees. Most professionals charge a minimum call-out fee of $75 to $125. When you add hourly labor and marked-up parts, a pro repair typically runs between $150 and $250.
Frequently Asked Questions
How long does it take to fix a sliding door lock?
Most homeowners can complete this repair in 30 to 60 minutes. Cleaning an existing lock is much faster than running to the store to buy replacement hardware.
Can I use WD-40 on my sliding door lock?
Standard WD-40 attracts dust and dirt over time, which causes more jamming. Always choose a silicone-based lubricant or a dry Teflon spray for door hardware.
How do I know if the lock is broken or just misaligned?
Try locking the door while it is open. If the latch moves smoothly, the lock works fine, and your door is misaligned. If the latch refuses to move even when open, the internal lock is broken.
Are all sliding glass door locks the same?
No, lock mechanisms vary wildly by manufacturer and age. Always take your broken lock with you to the hardware store to find an exact visual match.
Can I add a secondary lock for better security?
Absolutely. You can easily install a security bar in the bottom track or mount a secondary foot lock. These add incredible security without requiring complex installation.
Conclusion
You now possess the exact knowledge required for how to repair sliding glass door lock issues like a true professional. You do not need to settle for a frustrating, jammed door or pay outrageous handyman fees.
By taking an hour out of your weekend, you can restore your home’s security and save hundreds of dollars. Just remember to work slowly, clean everything thoroughly, and never force a stubborn part. You have absolutely got this.
If you found this guide helpful, please share it with your neighbors or leave a comment below about your repair experience!