

Dealing with cracks or holes in your concrete structures can feel overwhelming at first. You might think you need to hire an expensive contractor right away.
But here is the good news: learning how to repair cement wall damage yourself is highly doable. Homeowners and DIY enthusiasts tackle this exact project every single day.
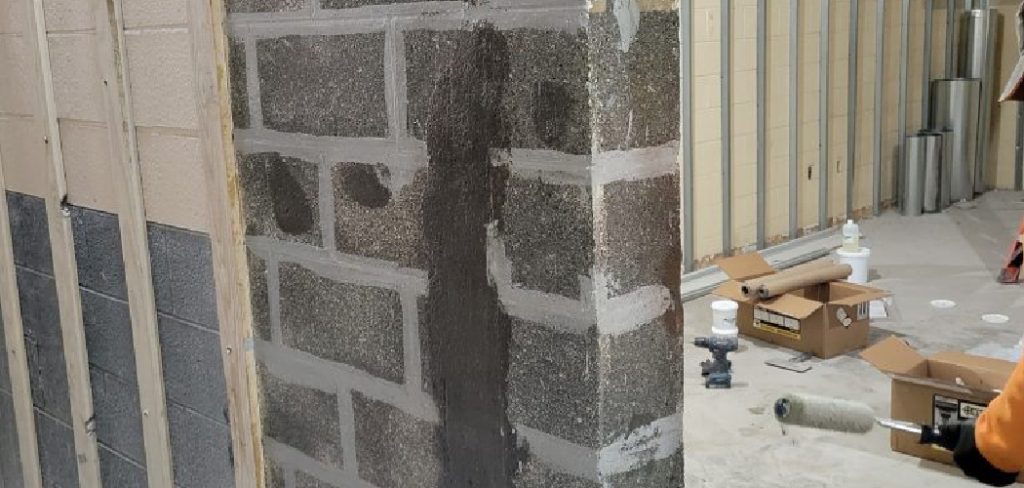
Fixing your damaged concrete not only restores the look of your home. It also protects your property from water damage, pests, and future structural issues.
By taking on this repair yourself, you keep hard-earned money in your pocket. Plus, you get that satisfying feeling of a job well done.
Let’s dive into exactly how you can patch things up and make that surface look brand new.
What Causes This Problem?
Before we jump into the fix, it helps to understand why this happens. Concrete is incredibly tough, but it is not invincible.
Several everyday factors can cause your walls to crack, chip, or crumble. Knowing the root cause helps you prevent future headaches.
Here are the most common culprits:
- House Settling: As the ground shifts over time, your foundation moves, causing stress cracks in rigid materials.
- Temperature Changes: Extreme freeze-thaw cycles cause moisture inside the concrete to expand and contract, breaking the surface.
- Tree Roots: Large roots from nearby trees can push against your foundation or retaining barriers with massive force.
- Poor Initial Mix: If the original builders used too much water in the mix, the structure becomes weak and prone to shrinking.
- Water Damage: Poor drainage around your property can lead to constant moisture exposure, eroding the material over time.
Tools & Materials Needed
Preparation is the secret to any successful DIY project. You do not want to stop halfway through because you are missing a tool.
Gather these items before you begin. Most of them are available at your local hardware store.
- Wire brush or stiff-bristled broom
- Chisel and heavy hammer
- Shop vacuum or basic dustpan
- Spray bottle filled with water
- Concrete bonding adhesive
- Pre-mixed concrete patching compound (or dry mix)
- Putty knife and pointing trowel
- Safety gear (gloves, goggles, dust mask)
Step-by-Step Fix Guide: How to Repair Cement Wall Cracks
Ready to get your hands a little dirty? Follow these simple steps.
This guide breaks down the process so anyone can do it. Take your time and do not rush the prep work.
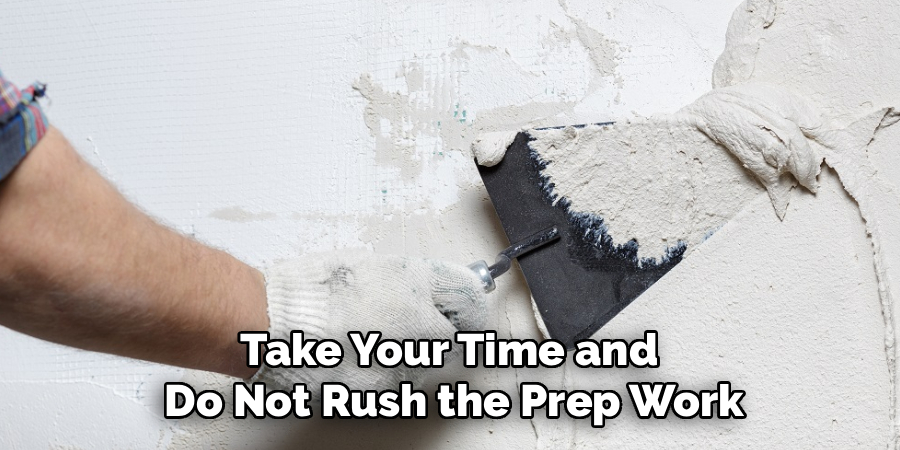
Step 1: Clean and Prep the Area
A good patch job requires a clean surface. Dirt and loose debris will stop your new material from sticking.
Put on your safety goggles and dust mask. Take your wire brush and aggressively scrub the damaged area. You want to remove all loose chunks, dirt, old paint, and crumbling pieces.
Step 2: Widen the Crack (The Secret Trick)
This might sound crazy, but you actually need to make the crack slightly larger. This is called “keying” the crack. Take your chisel and hammer. Carefully chip away the edges of the crack so the base is wider than the surface.
This creates an inverted V-shape. When you push the new compound inside, this shape physically locks the patch in place.
Read More: How to Repair Water Damaged Drywall.
Step 3: Vacuum the Dust
Chiseling creates a massive amount of fine dust. If you leave this dust behind, your patch will fail.
Grab your shop vacuum and suck out all the debris from inside the crack. If you do not have a vacuum, use a clean, dry paintbrush to aggressively sweep the dust out.
Step 4: Apply the Bonding Adhesive
Concrete does not naturally like to stick to old concrete. We need to give it a helping hand. Paint a generous layer of concrete bonding adhesive inside the crack and around the edges. Think of this as glue that holds the old and new materials together. Let it sit until it gets slightly tacky.
Step 5: Mix and Apply the Patching Compound
If you bought a dry mix, add water according to the package instructions. You want a thick, peanut-butter-like consistency.
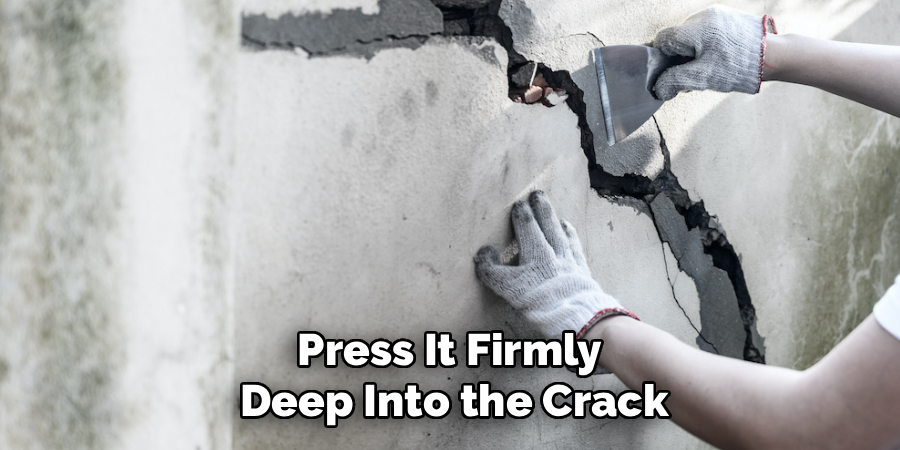
Scoop up some compound with your pointing trowel or putty knife. Press it firmly deep into the crack. You want to eliminate any air pockets hiding at the bottom.
Step 6: Smooth and Cure
Once the hole is slightly overfilled, use your trowel to scrape the surface flush with the rest of the wall. Feather the edges out so it blends perfectly.
Finally, mist the patched area lightly with your spray bottle. Concrete needs moisture to cure slowly and strongly. Check the package for exact drying times.
Read More: How to Repair Crumbling Concrete Statues and Save Money.
Safety Warnings
DIY projects are fun, but your safety always comes first. Concrete work involves some unique hazards. Concrete dust contains silica. Inhaling this dust can cause serious lung damage over time. Always wear a high-quality dust mask or respirator.
The chemicals in patching compounds can also burn your skin. Wear thick rubber gloves and long sleeves. Always wear shatter-proof safety goggles when using a hammer and chisel. Flying shards can cause permanent eye damage.
When to Call a Professional
While learning how to repair cement wall damage is great for minor issues, some problems are too big for DIY. You should step back and call a structural engineer or contractor if you see horizontal cracks. These often indicate severe structural failure.
If the crack is wider than half an inch, or one side of the wall is jutting out past the other, stop immediately. Water heavily pouring through the foundation is another red flag. A professional needs to assess drainage and structural integrity.
Cost Estimate: DIY vs. Pro
Let us talk numbers. Fixing this yourself is a fantastic way to save money.
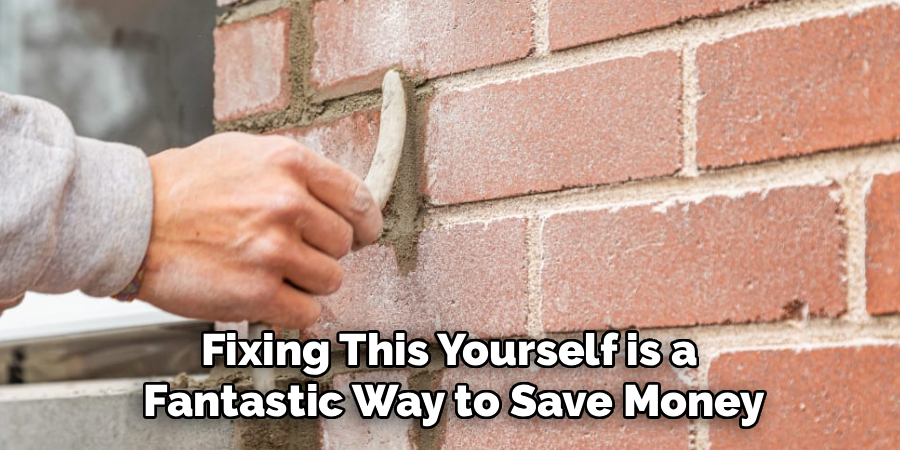
For a basic DIY patch job, you will spend between $30 and $60. This covers the patching tub, a cheap trowel, a wire brush, and bonding agent. If you already own the tools, your only cost is the $10 to $20 tub of compound.
Hiring a professional contractor for the exact same minor repair usually starts at $250. It can easily climb to $500 depending on their minimum service fee.
Frequently Asked Questions
Can I use regular caulk to fix concrete?
No, regular silicone or latex caulk will not hold up. You need a specialized masonry patch or polyurethane concrete sealant.
How long does a patch take to dry?
Most patching compounds are dry to the touch in 2 to 4 hours. However, they need 24 to 72 hours to fully cure before painting.
Do I have to use a bonding agent?
Yes, it is highly recommended. Without a bonding agent, the patch is likely to flake off or pop out during the next freeze.
Can I paint over the repaired area?
Absolutely. Just make sure you wait for the patch to completely cure, and use a primer designed for masonry before painting.
Conclusion: Mastering How to Repair Cement Wall Damage
You do not need to be a master mason to keep your property looking great. By following this guide, you now know exactly how to repair cement wall cracks and holes.
Remember, the secret to a long-lasting fix is in the preparation. Take your time chiseling the edges, cleaning out the dust, and using a good bonding agent.
Tackling this project yourself saves you hundreds of dollars. It also gives you the confidence to take on even more home maintenance tasks.
Do you have other areas around your house that need some DIY love? Grab your tools, pick a sunny weekend, and start fixing!