

Discovering a crack in your basement is never a fun surprise. For many homeowners, it triggers instant panic about flooded floors and empty wallets.
But take a deep breath. You can absolutely handle this.
Learning how to repair basement wall cracks is a manageable weekend project for most DIY enthusiasts. It is a common issue that nearly every homeowner faces at some point.
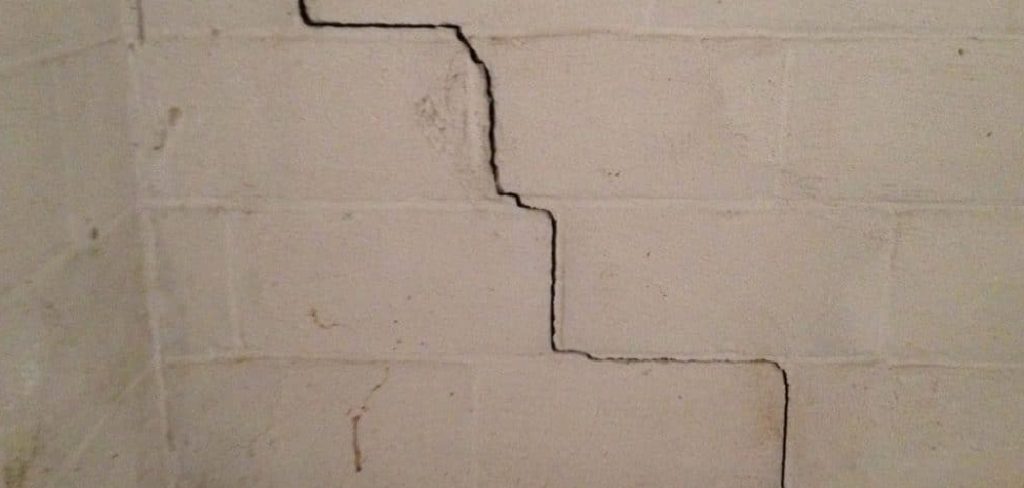
When you tackle this fix yourself, you save hundreds—or even thousands—of dollars. Foundation repair companies often charge a premium for simple injection jobs.
With a little patience and the right materials, you can seal that leak permanently. Let us walk through the process together, step by step.
What Causes This Problem?
Before we start patching, it helps to know why the concrete cracked in the first place. Houses settle, and concrete is naturally brittle.
Here are the most common culprits behind your basement woes:
- Soil settling: As the dirt beneath your house compacts over time, the foundation shifts, causing vertical or diagonal stress cracks.
- Hydrostatic pressure: Heavy rain causes soil to swell with water, pushing hard against your foundation walls until they crack.
- Concrete shrinkage: When newly poured concrete cures and dries out, it shrinks slightly, often leaving thin hairline cracks.
- Temperature changes: Extreme freeze-thaw cycles cause concrete to expand and contract, weakening the wall structure.
- Poor drainage: Clogged gutters or bad yard grading dump water right at your foundation, amplifying soil pressure.
Tools & Materials Needed
You cannot fix a leak without the right gear. Gather these items before you even think about starting.
Having everything within arm’s reach makes the job incredibly smooth.
For Cleaning and Prep:
- Stiff wire brush
- Shop vacuum or brush and dustpan
- Putty knife or margin trowel
- Safety glasses and heavy-duty work gloves
For the Repair Itself:
- Low-pressure crack injection kit (epoxy or polyurethane)
- Two-part surface paste (usually included in the kit)
- Standard caulking gun
- Injection ports (plastic nozzles included in the kit)
- Wooden stir sticks and a disposable mixing surface (like scrap cardboard)
How to Repair Basement Wall Cracks: Step-by-Step Guide
Ready to roll up your sleeves? You do not need a contractor’s license to get this done.
Just follow these steps carefully. Take your time, and do not rush the drying phases.
Step 1: Scrub the Area Clean
Your patching material will not stick to dirt, paint, or loose concrete.
Take your stiff wire brush and vigorously scrub the crack. Work your way about two inches outward on both sides of the fissure.
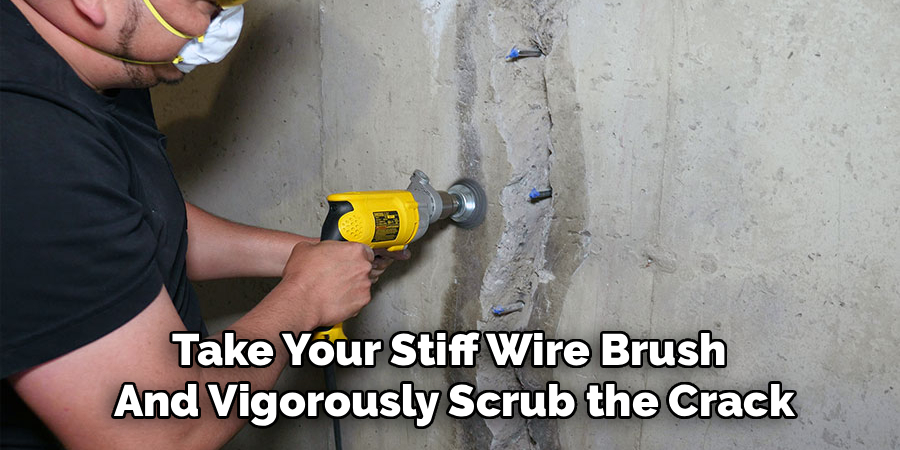
Vacuum up all the dust and debris. The concrete must be completely bare and dry before you proceed.
Step 2: Set the Injection Ports
Your injection kit comes with small plastic nozzles called ports.
These act as funnels to push the liquid sealant deep into the wall.
Starting from the bottom of the crack, place a port every few inches. The spacing should equal the thickness of your wall (usually 8 to 10 inches apart).
Step 3: Mix and Apply the Surface Sealant
Next, mix the two-part surface paste on your scrap cardboard using a wooden stick.
This paste acts as a temporary dam. It holds the injected liquid inside the wall so it does not just leak back into your basement.
Using your putty knife, apply the thick paste over the base of each port to stick them to the wall.
Step 4: Cover the Entire Crack
Once the ports are secured, spread the remaining surface paste over the entire length of the crack.
Make sure you feather the edges flat against the wall.
You are building a seal over the fissure, leaving only the ports open. Allow this paste to cure completely according to the kit’s instructions (usually a few hours).
Step 5: Inject the Liquid Sealant
Now comes the fun part. Load your liquid epoxy or polyurethane into the caulking gun.
Start at the lowest port on the wall. Insert the tip of the gun into the port and squeeze the trigger slowly.
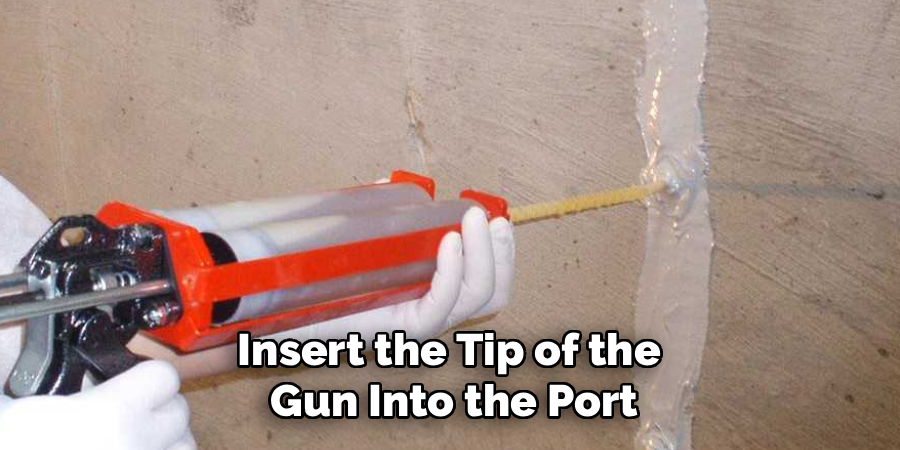
Keep pumping until you see the liquid ooze out of the port directly above it.
Step 6: Cap and Move Up
When the sealant reaches the next port up, stop pumping.
Cap the bottom port with the plastic plug provided in your kit.
Move your caulking gun to the next port up, and repeat the process. Work your way all the way to the top of the crack.
Step 7: Cure and Clean Up
Let the injected sealant cure undisturbed. This usually takes about 24 to 48 hours, but check your specific kit.
Once fully cured, the wall is structurally sealed.
If you want a smooth finish, grab a hammer and chisel to gently knock off the plastic ports and scrape away the surface paste.
Safety Warnings for Foundation Repair
Even a friendly DIY project comes with risks. Protect yourself first.
Always wear safety glasses. Chipping concrete and mixing chemicals can send dangerous debris flying into your eyes.
Wear heavy-duty nitrile or work gloves. Epoxy and polyurethane are incredibly sticky and can irritate your skin.
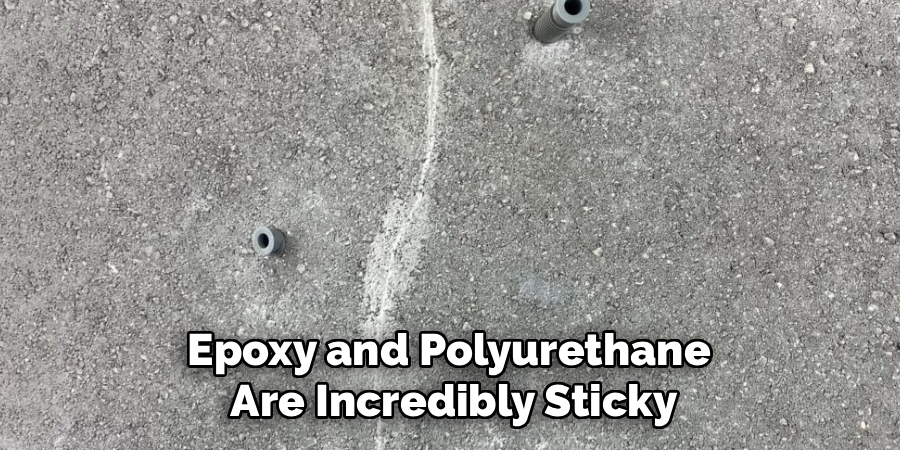
Keep the area well-ventilated. If your basement is stuffy, set up a fan to blow chemical fumes toward an open window.
When to Call a Professional for Basement Repair
Knowing your limits is a superpower. Not all cracks are DIY-friendly.
Hairline cracks, vertical cracks, and diagonal cracks under 1/8-inch wide are generally safe to tackle yourself.
However, if you see horizontal cracks bowing inward, stop immediately. This indicates severe structural failure from soil pressure.
Likewise, if a crack is wider than half an inch, or if you can see daylight through the wall, call a foundation specialist.
These severe issues require steel bracing, wall anchors, or exterior excavation that go way beyond a weekend DIY fix.
Cost Estimate: DIY vs. Professional Crack Repair
Let us talk numbers. Fixing this yourself keeps a lot of cash in your pocket.
A high-quality, professional-grade crack injection kit will cost you between $100 and $150.
If you need to buy a caulking gun and a wire brush, add another $20.
Hiring a professional foundation repair company to inject that exact same crack will cost you between $400 and $800 minimum.
By spending a few hours on a Saturday, you are effectively paying yourself hundreds of dollars in savings.
FAQs on How to Repair Basement Wall Cracks
Still have a few lingering questions? Let us clear those up so you can work with confidence.
Should I use epoxy or polyurethane to fill the crack?
Use epoxy for structural repairs, as it cures stronger than concrete and binds the wall together. Use polyurethane if the crack is actively leaking water, because it expands to fill voids and blocks moisture.
Can I just use hydraulic cement?
Hydraulic cement is a cheap, temporary fix. It does not stretch, so when the concrete naturally expands and contracts with temperature changes, the cement will eventually loosen and leak again.
Do I need to fix hairline cracks in my basement?
Yes, it is highly recommended. Even tiny hairline cracks can allow moisture and radon gas into your home. Fixing them early prevents them from widening into bigger, more expensive problems.
Can I inject a crack if it is currently wet?
If water is actively trickling out, you must use a specialized water-activated polyurethane foam kit. Standard epoxy will not adhere to wet concrete and the repair will fail.
How long does a crack injection repair last?
When done correctly with high-quality materials, a low-pressure injection repair is permanent. The epoxy or polyurethane will easily outlast the surrounding concrete.
Conclusion
Taking care of your home does not have to be intimidating.
Now that you know exactly how to repair basement wall cracks, you can tackle that ugly wall fissure with total confidence.
You have the tools, the knowledge, and the step-by-step roadmap to get it done right.
Remember to prep the area thoroughly, take your time with the injection process, and prioritize your safety.
By fixing this yourself, you are protecting your home’s value and saving a massive contractor fee.
Ready to stop that leak for good? Grab a crack injection kit today and reclaim your basement this weekend!