

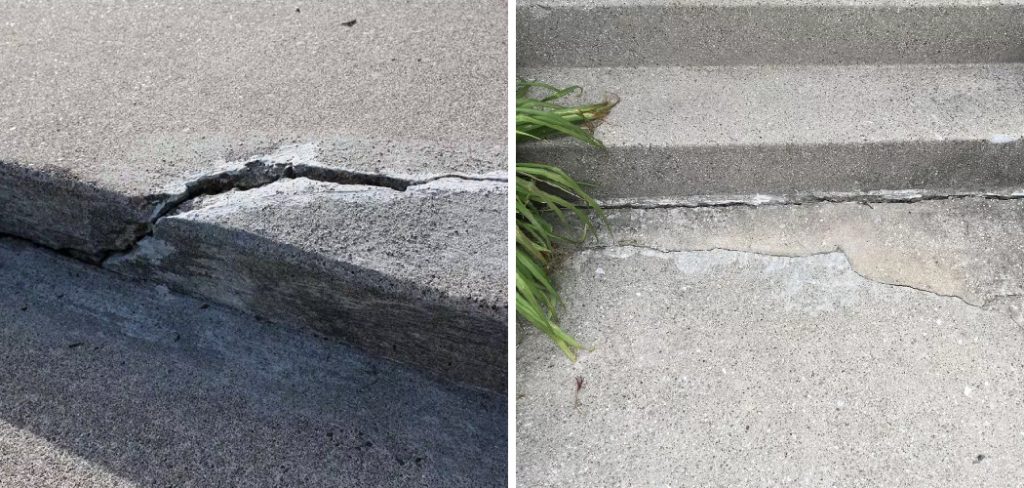
Have you noticed your front porch steps looking a little worse for wear lately? You are not alone.
Many homeowners and renters face the exact same issue after a harsh winter or a rainy spring season. Seeing split or chipping steps can feel overwhelming.
You might think you need to hire an expensive contractor right away. However, learning how to repair concrete stairs cracks yourself is easier than you think.
Taking on this simple project saves you a significant amount of money. You do not need to be a master mason to get great results.
If you have a free afternoon and a little patience, you can tackle this job. Let us walk through the process together so you can make your entryway safe and beautiful again.
What Causes Concrete Stairs to Crack?
Before we fix the damage, it helps to understand why it happened in the first place. Concrete is tough, but it is not invincible.
Several common factors cause those pesky splits to appear on your steps. Here are the most frequent culprits you will encounter.
- Freeze-Thaw Cycles: Water seeps into tiny pores in the concrete. When it freezes, it expands and forces the material apart.
- Soil Settlement: The ground underneath your stairs shifts over time. This removes support and causes the heavy steps to sink and break.
- Tree Roots: Large roots from nearby trees grow under the stairs. Upward pressure from these roots easily cracks the surface.
- Improper Installation: The original builder may have used a poor mix. They might also have skipped adding proper reinforcement like rebar or wire mesh.
- Heavy Loads: Dropping heavy items or moving massive furniture can chip the edges. Continual heavy stress weakens the structure over time.
Tools & Materials Needed for the Job
Preparation is the secret to any successful DIY project. Gathering everything beforehand saves you from frustrating trips to the hardware store.
You likely already have a few of these items in your garage. Here is a clear list of what you need before you begin.
Essential Hand Tools
- Stiff wire brush
- Masonry chisel
- Heavy hammer or small sledge
- Margin trowel or putty knife
- Shop vacuum or stiff broom
Repair Materials
- Concrete bonding liquid (bonding agent)
- Vinyl concrete patch compound (pre-mixed or dry powder)
- Clean water (if using dry mix)
- Paintbrush (for applying the bonding liquid)
Safety Gear
- Safety goggles or glasses
- Dust mask or respirator
- Heavy-duty work gloves
- Knee pads (your joints will thank you)
Step-by-Step Guide on How to Repair Concrete Stairs Cracks
Now we reach the fun part. Fixing the damage is a straightforward process when you break it down.
Follow these beginner-friendly steps to achieve a smooth, professional-looking finish. Take your time and do not rush the preparation.
Step 1: Clean and Assess the Damage
Start by giving the stairs a thorough inspection. Find all the damaged areas, even the tiny hairline splits.
Use your wire brush to vigorously scrub the broken area. You want to remove any loose debris, dirt, or flaking material.
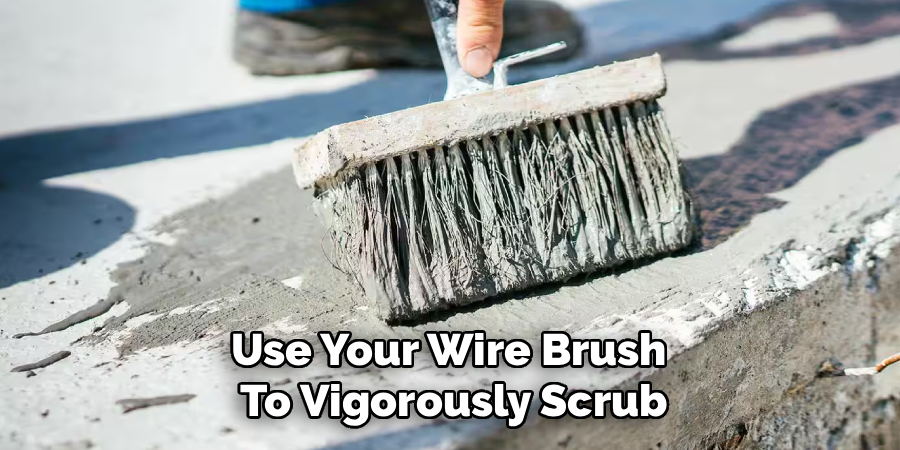
If you leave dirt behind, the new patch will not stick properly. A clean surface is absolutely vital for a long-lasting fix.
Step 2: Widen the Crack (The “Keying” Process)
This step sounds backward, but it is incredibly important. You actually need to make the hole slightly bigger.
Take your chisel and hammer, and gently chip away at the edges. Angle the chisel to make the bottom of the split wider than the top.
This creates an inverted “V” shape inside the stone. When you pack the new filler in, this shape locks it firmly into place.
Step 3: Vacuum the Area Thoroughly
Chipping away stone creates a lot of dust and small rocks. Grab your shop vacuum and suck up all the debris.
If you do not have a vacuum, use a stiff broom to sweep it out. Make sure you get deep into the crevice.
Even a thin layer of dust prevents the new material from gripping the old surface.
Step 4: Apply the Bonding Agent
Think of bonding liquid as a primer for your steps. It acts like glue, helping the fresh compound stick to the cured surface.
Pour a little bonding liquid into a small cup. Use a cheap paintbrush to coat the inside of the gap completely.
Let it sit until it feels tacky to the touch. This usually takes about 5 to 10 minutes depending on the weather.
Step 5: Mix Your Concrete Patch
If you bought a pre-mixed tub, give it a quick stir and you are ready. If you bought dry powder, it is time to mix.
Follow the instructions on the bag carefully. Add water slowly until it reaches the consistency of thick peanut butter.
You want it thick enough to hold its shape on a vertical step edge. If it gets too runny, simply add a little more dry powder.
Step 6: Press the Patch into the Gap
Scoop up some of the mixture with your trowel. Firmly press it deep down into the opening.
Do not just lay it on top; you want to eliminate any trapped air bubbles. Overfill the hole just a tiny bit.
The material shrinks slightly as it dries, so adding extra helps keep it level.
Step 7: Smooth and Feather the Edges
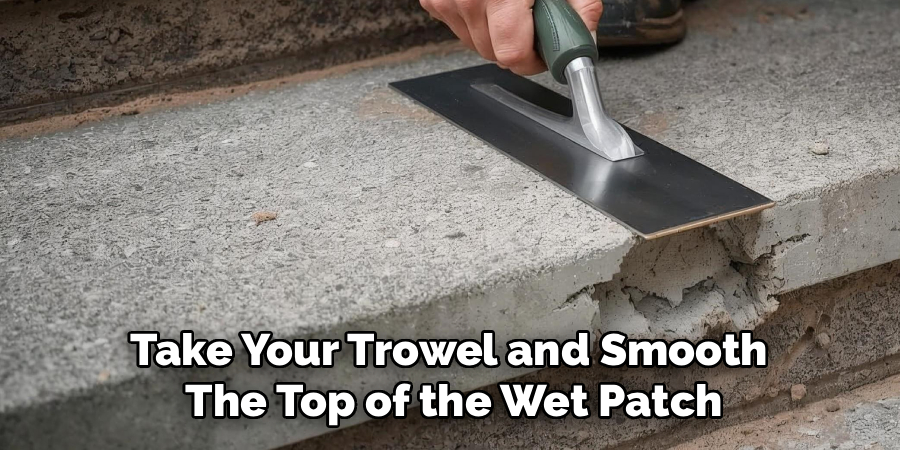
Take your trowel and smooth the top of the wet patch. Scrape it flush with the surrounding surface.
Feather the edges out so they blend seamlessly into the old step. If your trowel starts to drag, dip it in a little water to glide easily.
You can also use a damp sponge to blend the texture perfectly.
Step 8: Cure and Protect the Repair
Concrete needs time to cure properly, not just dry. Read the label on your patching compound for specific curing times.
Cover the fresh patch with a piece of plastic sheeting if rain is expected. Keep foot traffic off the steps for at least 24 hours.
If it is a very hot day, lightly mist the patch with water occasionally to prevent it from drying too fast and shrinking.
Important Safety Warnings for DIYers
Working with heavy materials requires a bit of caution. Your safety is always the most important part of any project.
Concrete dust contains silica, which is very harmful to breathe in. Always wear your dust mask when chipping or sweeping dry material.
The wet mixture is also highly alkaline and can burn your skin. Wear thick gloves to keep the material off your hands, and wash up immediately if you make a mess.
When to Call a Professional
While learning how to repair concrete stairs cracks is great, some jobs are too big for DIY. You need to know your limits.
If your concrete steps have sunk more than an inch, you have a structural problem. A simple patch will not fix the sinking ground underneath.
Call a professional if the damage is wider than an inch or runs entirely through the step. Major structural failure requires heavy lifting and expert tools.
Cost Estimate: DIY vs. Professional
One of the best reasons to do this yourself is the amazing cost savings. The materials are incredibly affordable.
A DIY repair will usually cost between $30 and $50 total. That covers a tub of patch, a bonding agent, and a cheap trowel.
Hiring a professional mason for a minor repair typically starts at $300. If the damage is extensive, that price easily jumps to $800 or more.
By spending a couple of hours doing it yourself, you keep hundreds of dollars in your pocket.
Frequently Asked Questions on How to Repair Concrete Stairs Cracks
You likely have a few lingering questions before you start swinging a hammer. Here are some quick answers to common DIY concerns.
Can I just use regular caulk to fill the damage?
Standard caulk will not hold up to foot traffic or freezing weather. Always use a dedicated masonry patch or specialized polyurethane sealant designed for masonry.
How long does a DIY fix usually last?
If you clean the area well and use a good bonding agent, it can last for many years. Proper preparation is the key to longevity.
Can I paint over the repaired step?
Yes, but you must wait until the material is fully cured. This usually takes about 30 days. After that, use a high-quality masonry paint.
Why did my patch fail after one winter?
The most common reasons are failing to widen the gap, skipping the bonding agent, or leaving dust in the hole. Water gets in the weak spots and pops the patch out.
Is it safe to use salt on my repaired stairs?
Try to avoid rock salt on fresh repairs, as it can cause surface flaking. Use a calcium chloride-based ice melt instead, or stick to plain sand for traction.
Conclusion
Fixing up your entryway does not have to be a stressful or expensive ordeal. Knowing how to repair concrete stairs cracks gives you the power to maintain your home with confidence.
By following the simple steps we outlined, you can easily tackle this weekend project. You will save money, improve your home’s curb appeal, and prevent bigger problems down the road.
Do not let those ugly splits intimidate you any longer. Grab your tools, pick a sunny afternoon, and get your front steps looking brand new again!