

Is your freezer constantly running, leaving frost buildup on your food, or struggling to keep things cold? If so, you might be dealing with a faulty door gasket. Learning how to repair freezer door seal issues is one of the most useful skills for any homeowner.
A loose or broken seal lets cold air escape and warm room air sneak in. This forces your appliance to work overtime, driving up your energy bills and risking food spoilage. The good news? You do not need to be an appliance technician to solve this.
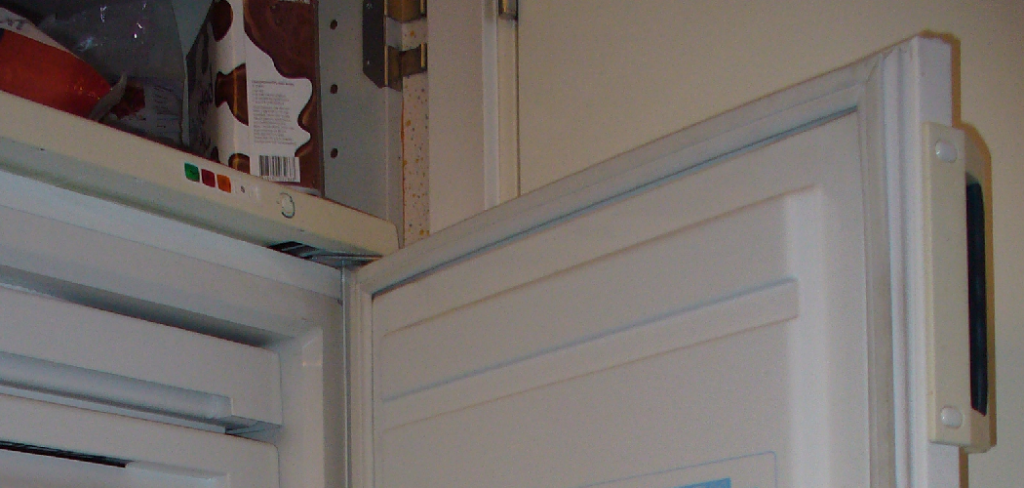
Fixing this problem yourself is surprisingly simple and saves you a hefty service call fee. In this guide, we will walk you through exactly how to repair freezer door seal problems step-by-step. Grab your tools, and let’s get that freezer running perfectly again!
What Causes a Freezer Door Seal to Fail?
Before jumping into the repair, it helps to understand why your seal stopped working in the first place. Gaskets take a lot of abuse over the years.
Here are the most common culprits behind a failing freezer door seal:
- Age and Wear: Rubber naturally degrades over time, becoming brittle and losing its flexibility.
- Dirt and Grime Buildup: Sticky spills and food residue can glue the seal to the freezer frame, causing it to tear when opened.
- Frequent Opening: Slamming or pulling the door too hard day after day weakens the magnetic strip inside the gasket.
- Poor Installation: If the seal was replaced previously but not seated correctly, it will eventually warp or detach.
- Heavy Door Items: Overloading the freezer door shelves can misalign the hinges, preventing the seal from making full contact.
Tools and Materials Needed for the Fix
Every good DIY project starts with gathering the right supplies. You want everything within arm’s reach once you begin.
Here is exactly what you need to successfully replace or repair your seal:
- New Replacement Seal: Make sure it perfectly matches your freezer’s make and model.
- Warm Soapy Water & Sponge: For cleaning the track and old adhesive.
- Petroleum Jelly (Vaseline): To lubricate the new gasket so it seals tight.
- Hairdryer: To warm up and reshape the new rubber.
- Hex Nut Driver or Screwdriver: Depending on how your specific freezer door is assembled.
- Putty Knife (Plastic): To help gently pry away the old seal without scratching the door.
Preparing Your New Gasket
When you order a new gasket, it usually arrives tightly folded in a box. You cannot install it right away, or it will never seal correctly.
First, take the new gasket out of the packaging. Fill your bathtub or a large sink with hot water. Let the rubber soak for about 15 to 20 minutes to soften it up.
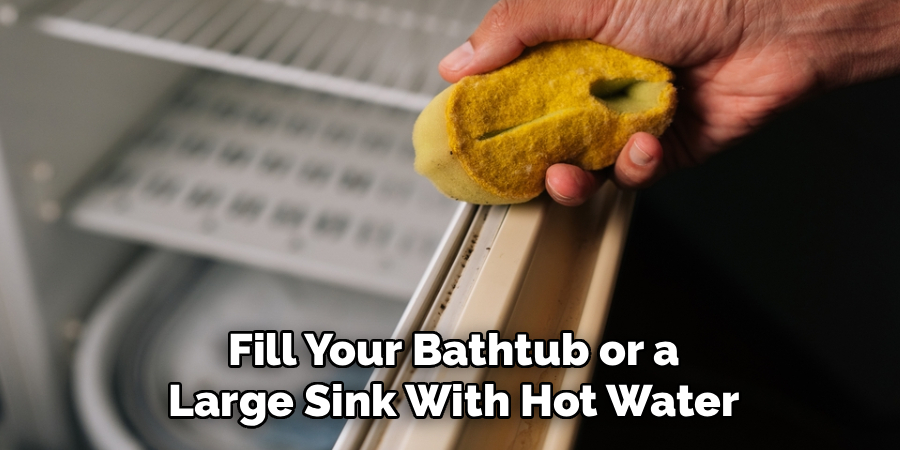
Alternatively, you can lay the gasket flat on the floor and gently warm it with a hairdryer. Keep the dryer moving to avoid melting the rubber. This removes all the shipping kinks and makes installation much easier.
Step-by-Step Fix Guide: How to Repair Freezer Door Seal
Ready to get to work? Follow these simple, beginner-friendly steps to replace your faulty gasket.
Step 1: Unplug the Freezer
Safety always comes first. Before you start pulling things apart, unplug your freezer from the wall. This protects you from electrical hazards and stops the motor from running while the door is wide open.
Step 2: Inspect and Remove the Old Seal
Open the door and pull back the inner lip of the existing seal. Look closely at how it is attached. Most modern freezers use a push-in seal that snaps into a groove. Older models might use screws to hold a retaining liner over the gasket lip.
If there are screws, loosen them slightly but do not remove them completely. If it is a snap-in style, simply grab the old gasket by the corner and pull it out. Work your way around the entire door until the old seal is completely free.
Read More: How to Repair Refrigerator Compressor Issues.
Step 3: Clean the Door Track Thoroughly
This step is critical. A new gasket will not stick to a dirty surface. Grab your sponge and warm, soapy water.
Scrub the groove or track where the old seal used to sit. Remove all traces of mold, sticky syrup, or hardened grime. Dry the track completely with a clean towel.
Step 4: Install the New Seal
Start at one of the top corners. Take your newly warmed, flexible gasket and press the lip firmly into the track. You should feel it click or snap into place.
Once the top corner is seated, move across to the other top corner and snap it in. Work your way down the sides, pressing firmly with your thumb. Finally, secure the bottom edge. If your door uses a screw-in liner, tuck the lip behind the liner and tighten the screws back down.
Read More: How To Repair Electric Motor.
Step 5: Check for Gaps
Close the door and inspect the new seal. Run your hand around the edge to feel for any cold air escaping.
If you see gaps where the rubber is not touching the fridge frame, grab your hairdryer. Warm the problem area gently while smoothing it out with your fingers until it expands to meet the frame.
Step 6: Lubricate with Petroleum Jelly
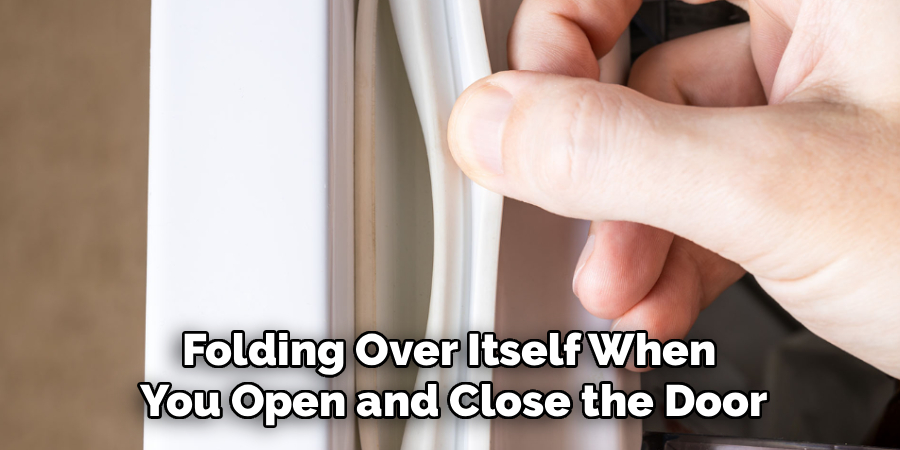
Open the door one last time. Apply a very thin layer of petroleum jelly along the hinge side of the new gasket.
This prevents the fresh rubber from grabbing and folding over itself when you open and close the door. Close the door firmly and plug the freezer back in!
Important Safety Warnings
While this is a beginner-friendly project, there are a few safety tips to keep in mind.
- Electrical Hazard: Always unplug the appliance before working on it.
- Heat Damage: When using a hairdryer to shape the seal, keep it moving. Concentrated heat will melt the plastic door liner or the new rubber.
- Food Safety: If your freezer will be open for more than 30 minutes, move highly perishable items to a cooler with ice packs.
When to Call a Professional
DIY is fantastic, but sometimes it is better to call in the pros. Be honest about your comfort level.
If you notice the freezer door hinges are bent or heavily rusted, a new seal will not fix the gap. You might need hinge replacements, which can get complicated.
Also, if you replace the seal and the freezer still fails to cool properly, you likely have a compressor or thermostat issue. At that point, an appliance technician is your best bet to avoid ruining your food.
Cost Estimate: DIY vs. Professional
Wondering how much cash you are saving by doing this yourself? The numbers speak for themselves.
DIY Cost: A replacement freezer door gasket usually costs between $40 and $80, depending on the brand. Since you likely have the tools (screwdriver, hairdryer, soap) at home, the labor is free!
Professional Cost: Hiring an appliance repair technician will easily run you $150 to $250. They charge a service call fee just to show up, plus a markup on the part, plus hourly labor. Fixing it yourself keeps over $100 right in your pocket.
Frequently Asked Questions
Still have a few questions about your freezer door? Here are some quick answers to common concerns.
How do I know if my freezer door seal is bad?
Close the door on a dollar bill. If you can pull the bill out easily without any resistance, the magnetic seal is weak and failing.
Can you glue a torn freezer door seal?
Minor tears can temporarily be patched with silicone caulk, but it is not a permanent fix. Learning how to repair freezer door seal issues by replacing the whole gasket is much more reliable.
How long does a freezer door seal last?
With regular cleaning and normal use, a good quality gasket should last between 5 to 10 years before the rubber dries out.
Why is my new freezer seal not sticking?
New seals often have kinks from shipping. You must heat them with warm water or a hairdryer to restore their shape and magnetism so they lay flat against the frame.
Conclusion: You Can Fix That Seal!
Dealing with a frosty, inefficient appliance does not have to be a headache. Now that you know how to repair freezer door seal issues, you can tackle this weekend project with confidence.
Replacing a worn-out gasket is an affordable, straightforward fix that instantly improves your freezer’s efficiency. You will lower your energy bills, extend the life of your appliance, and save money by skipping the repairman.
Ready to get started? Find your freezer’s model number, order your replacement gasket today, and give your appliance the tune-up it deserves!