

That sudden silence when your motor quits can feel like the end of the road for a favorite tool or appliance. Maybe your fan won’t spin, your pump groans but won’t start, or you catch a faint burnt smell near the housing. Before you toss it or call a pro, take a breath. Many motor problems come from simple, fixable issues like worn bearings, dirty electrical contacts, or a tired capacitor.
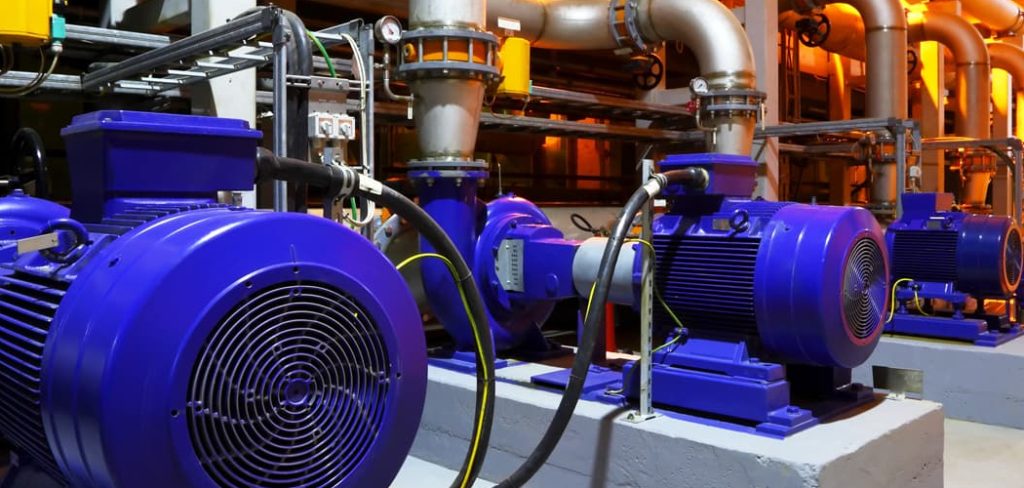
Knowing how to repair electric motor problems yourself can save you real money and a lot of frustration. You don’t need to be an electrician to handle the basics safely and confidently.
This guide walks you through diagnosing, cleaning, and fixing common small-motor faults at home, while showing you exactly when to call in a professional.
Why Learning To Repair An Electric Motor Matters
If you camp, tow gear, or live off-grid, electric motors run more of your world than you might realize. Water pumps, fans, generators, power tools, and trailer accessories all rely on them. When one dies miles from the nearest store, you need to be the fix.
For outdoor beginners, this skill builds true self-reliance. You’ll learn to spot overheating early, hear a bearing starting to grind, and notice a capacitor that’s losing punch. Catching these signs means fewer dead tools at camp and fewer expensive surprises.
It also stretches your budget. Replacing a small motor or paying a shop adds up fast. A little knowledge keeps your gear running longer, and gives you the confidence to troubleshoot calmly when something quits in the field.
Tools and Materials You’ll Need
Gather everything before you start so you’re not hunting for tools mid-repair. Here’s what to have ready:
- Screwdrivers (Phillips and flathead) for opening the housing
- Multimeter for running a continuity test and checking voltage
- Socket or wrench set to remove mounting bolts and pulleys
- Soft brush and compressed air for clearing dust and debris
- Electrical contact cleaner to clean grimy electrical contacts
- Replacement parts such as bearings, brushes, or a matching capacitor
- Light machine oil or grease for proper lubrication
- Fine sandpaper to clean the commutator or contacts
- Safety glasses and insulated gloves to protect yourself
- Optional: a bearing puller to remove stubborn bearings cleanly without damaging the motor shaft
A clean, well-lit workspace and a small parts tray help too. Losing one tiny screw can stall the whole job.
Step-by-Step Guide on How To Repair Electric Motor
Step 1 – Disconnect power completely
Safety comes first, always. Before you touch anything, unplug the motor or switch off and lock out the breaker feeding it. Never trust a wall switch alone.
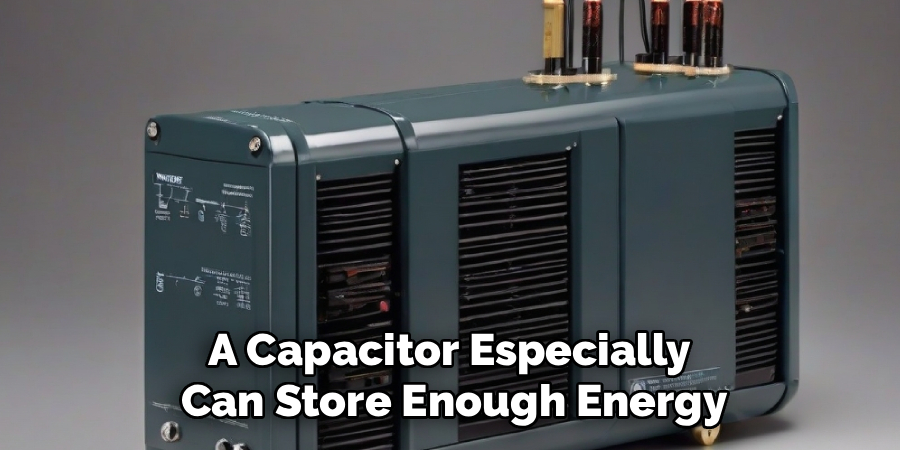
Wait a moment, then confirm the power is dead with your multimeter. Electric motors and their capacitors can hold a dangerous charge even after disconnection. A capacitor especially can store enough energy to give you a nasty jolt.
You’ll feel more relaxed once you know the circuit is truly cold. Set the unit on a stable bench where you can work without rushing.
This single step prevents the most serious accidents. Take it seriously every single time, no matter how small or harmless the motor seems.
Step 2 – Inspect for obvious damage
Now look the motor over carefully. Sniff for that telltale burnt smell, which often points to scorched winding or a failed capacitor. A sharp, acrid odor is a warning sign worth respecting.
Check the housing for cracks, melted spots, or discoloration from overheating. Spin the motor shaft by hand and feel for resistance, grinding, or wobble. Smooth, quiet rotation is good. A gritty crunch usually means worn bearings.
Look for loose wires, scorched terminals, or corrosion on the electrical contacts. Your eyes, nose, and fingers tell you a lot before you ever pick up a tool.
This quick inspection points you toward the real problem and saves you from tearing apart a perfectly good section.
Read More: How to Repair Damaged Tree Bark.
Step 3 – Test electrical components
Grab your multimeter and dig into the electrics. Start with a continuity test across the windings to check for breaks or shorts. No reading where there should be one often means a damaged winding.
Test the capacitor next if your motor has one. A swollen, leaking, or bulging capacitor is a common culprit behind a motor that hums but won’t start.
You’ll hear the small click of your meter probes touching terminals. Steady, expected readings are reassuring. Wild or zero readings flag trouble.
Knowing how to repair electric motor faults means trusting these numbers. They reveal hidden problems your eyes can’t see, and tell you whether you’re facing a cheap fix or a deeper electrical fault.
Step 4 – Open and clean the motor
Once you know roughly what’s wrong, open the housing. Remove the end bolts and gently separate the casing, keeping track of every screw and washer in your parts tray.
Inside, you’ll likely find packed dust, grime, and maybe oily buildup. Brush it away, then blast tight spots with compressed air. You’ll see clouds of fine debris lift off the windings and vents.
Spray electrical contact cleaner on dirty terminals and the commutator. Dirty electrical contacts cause weak performance, sparking, and overheating.
Take care around the delicate winding. Don’t yank wires or scrape insulation. A clean motor runs cooler and lasts longer, and sometimes a thorough cleaning alone brings a sluggish motor back to life.
Step 5 – Check and replace bearings
Worn bearings are a top reason motors grind, whine, or seize. Spin them by hand and listen. A rough, gravelly feel or a high-pitched squeal means they’re done.
To replace them, ease the old bearings off the motor shaft. A bearing puller makes this clean and painless, sparing you bent shafts and skinned knuckles. Note the size and orientation before removing anything.
Press the new bearings on evenly, keeping them square to the shaft. Forcing them crooked ruins them fast.
Add a touch of proper lubrication if the bearing type calls for it, but never overdo it. Fresh bearings transform a noisy, struggling motor into one that spins smooth and quiet again.
Step 6 – Inspect brushes and commutator
If your motor uses brushes, check them closely. Brush wear is a frequent cause of weak or intermittent running. Worn-down, chipped, or unevenly seated brushes can’t make solid contact.
Slide the brushes out and measure them. If they’re shorter than a fingernail or cracked, replace them. New brushes are cheap and easy to swap.
Look at the commutator too, the ringed copper surface they ride on. If it’s blackened or rough, gently polish it with fine sandpaper until the copper shines.
Blow away the dust afterward so grit doesn’t grind things down again. You’ll feel the difference when smooth brushes meet a clean commutator, giving steady power and far less sparking.
Read More: How to Repair Crumbling Concrete Statues and Save Money.
Step 7 – Reassemble the motor
Time to put everything back together. Work in reverse order, matching each part to where it came from. Your parts tray and any photos you snapped earlier pay off now.
Seat the end caps carefully so bearings line up and the shaft turns freely. Tighten bolts evenly in a crisscross pattern to avoid binding or stress on the housing.
Reconnect wires exactly as they were, making sure no bare copper touches the casing. Double-check that the insulation on every wire is intact.
Once buttoned up, spin the shaft by hand again. It should turn smoothly and quietly, with no scraping or catching. A clean, careful reassembly is the difference between a lasting fix and a quick repeat failure.
Step 8 – Test the repaired motor
Now for the moment of truth. Keep the motor secured so it can’t jump when it starts. Stand clear of the shaft and any moving parts.
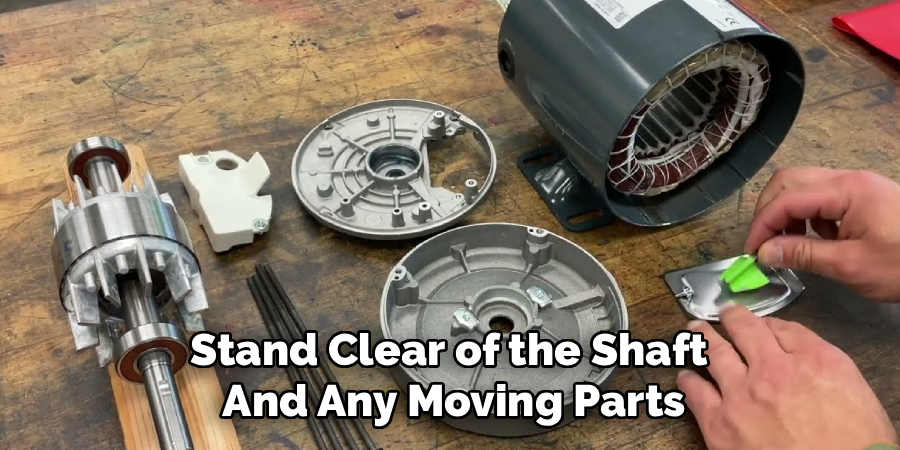
Restore power and switch it on briefly. Listen for smooth, even running and watch for steady rotation. A healthy motor sounds consistent, not labored or buzzing.
Let it run a short while, then carefully check for overheating or any returning burnt smell. Mild warmth is normal. Hot housing or odor is not.
If it runs clean and cool, congratulations. If problems linger, especially electrical faults or damaged winding, it’s time to stop. Severe winding damage often means professional repair or a full replacement is the safer, smarter call.
Critical Mistakes When Repairing An Electric Motor
The biggest and most dangerous mistake is working on a motor with power connected. People assume flipping a switch is enough, but capacitors hold a charge that can shock you badly. Always disconnect fully, lock out the breaker, and confirm with your multimeter before touching anything.
Another common error is ignoring the real cause and treating symptoms instead. Slapping in new bearings won’t help if a failed capacitor is the actual problem. Diagnose first using your continuity test and component checks, then repair.
Many beginners also overlubricate or use the wrong grease. Too much lubrication attracts dust and gums up bearings, while the wrong type can break down fast and cause more friction.
Forcing components is another trap. Pressing bearings on crooked, yanking wires, or scraping insulation off windings creates new faults worse than the original. Be patient and gentle.
Finally, don’t push past your limits. Severe winding damage, melted insulation, or stubborn electrical faults are signs to stop. Trying to rewind a motor or bypass safety features without training risks fire, injury, and wasted money. Knowing when to call a pro is its own skill.
Expert Tips
Take photos as you disassemble. A few quick snaps of wiring and part placement save you serious guesswork during reassembly.
Label wires with masking tape before disconnecting them. Memory fades fast once parts are scattered across the bench.
Keep a multimeter handy and actually trust its readings. Numbers don’t lie, and they’ll steer you away from replacing parts that are perfectly fine.
When buying replacements, match the exact specs. A capacitor with the wrong rating or a bearing that’s slightly off-size invites overheating and early failure.
Run a quick test before fully closing everything up if you can do so safely. Catching a wiring slip early beats taking the whole motor apart again.
Finally, clean motors live longer. A little dust removal and proper lubrication now prevents most repairs later. Prevention beats troubleshooting every time.
Frequently Asked Questions
How do I know if my electric motor is worth repairing?
It depends on the fault and the motor’s value. Cheap fixes like new bearings, brushes, or a capacitor are usually worth it. Walk away when you find:
- Severe winding damage or melted insulation
- A cracked or burned housing
- Repair costs near the price of a new motor
For small, common faults, a DIY repair almost always pays off.
What does a burnt smell from a motor mean?
A burnt smell usually signals overheating, scorched winding, or a failing capacitor. It means insulation or components are breaking down under heat. Stop using the motor right away and disconnect power. Continuing to run it risks permanent damage or fire. Open it up, inspect for blackened wires, and test the windings before deciding whether to repair or replace.
Can I test a motor without a multimeter?
You can spot some problems by sight, sound, and smell, like grinding bearings or a burnt odor. But a multimeter is essential for real diagnosis. It lets you run a continuity test, check the capacitor, and confirm power is off for safety. Without one, you’re guessing. A basic multimeter is inexpensive and quickly pays for itself across repairs.
Why does my motor hum but not spin?
A humming motor that won’t turn often points to a failed capacitor, especially on single-phase motors. It can also mean a seized bearing or a jammed shaft. First, disconnect power and try spinning the shaft by hand. If it’s stuck, suspect bearings. If it spins freely but only hums on power, the capacitor is the likely culprit.
When should I call a professional instead?
Call a pro when you face severe winding damage, repeated electrical faults, or anything beyond cleaning and swapping simple parts. Rewinding a motor, fixing high-voltage units, or diagnosing stubborn shorts takes specialized tools and training. If you ever feel unsure or smell ongoing burning after a repair, stop. Your safety is worth far more than the cost of professional help.
Conclusion
Bringing a dead motor back to life is more achievable than most people think. The key is working methodically: cut the power completely, inspect carefully, and diagnose with your multimeter before replacing a single part. From there, cleaning grimy electrical contacts, swapping worn bearings, and checking brushes handles the majority of common failures.
Remember the steps that matter most. Stay safe, find the real cause, work gently, and test before you fully reassemble. Watch for warning signs like overheating, a burnt smell, or damaged winding that tell you it’s time to call a professional instead.
Now that you understand how to repair electric motor problems the right way, you can tackle small faults with confidence and save real money along the way. That knowledge keeps your tools, pumps, and gear running, whether you’re at home or far off the grid. So grab your multimeter, clear a clean workspace, and give that stubborn motor a second chance. You’ve got this.