

Have you recently noticed a nasty gash on your favorite oak or maple tree? Seeing trunk damage can make any homeowner nervous about the health of their landscape.
The good news is that you do not always need an expensive expert to handle this. Learning how to repair damaged tree bark is surprisingly straightforward.
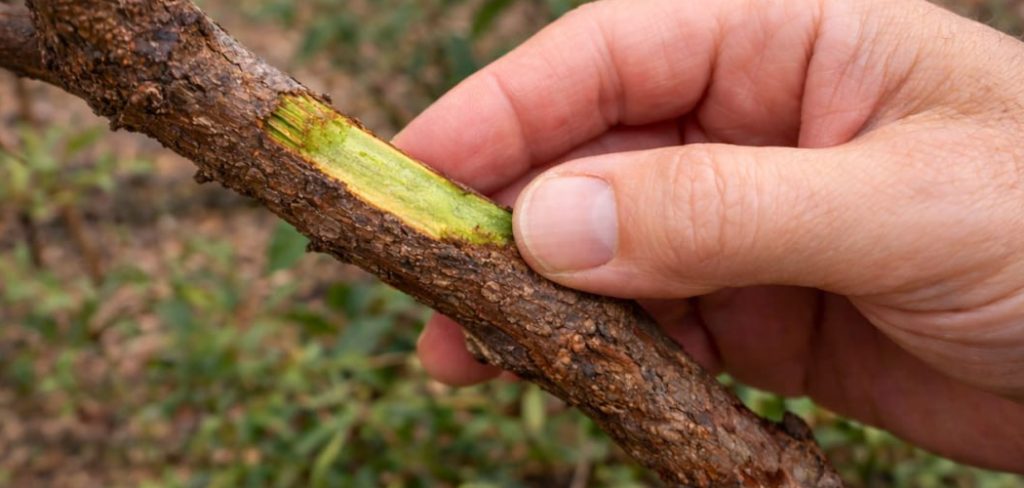
Trees are tough, living organisms with amazing self-healing abilities. With a little bit of neighborly guidance, you can help them recover quickly.
Fixing this issue yourself saves you significant money on professional arborist fees. You also get the satisfaction of rescuing a vital part of your yard’s ecosystem.
Whether a rogue lawnmower bumped the trunk or hungry deer took a bite, you can handle the cleanup. We will walk through exactly what you need to do to get your tree back in top shape.
What Causes Tree Bark Damage?
Before we fix the problem, it helps to know how it happened. Tree bark acts like human skin, protecting the delicate inner layers that transport water and nutrients.
When that protective layer breaks, the tree becomes vulnerable to pests and disease. Here are the most common culprits behind trunk injuries:
- Lawn Equipment: Lawnmowers and string trimmers frequently bump into trunks, stripping the protective outer layers.
- Wildlife: Deer rub their antlers against trunks, while rabbits, mice, and woodpeckers chip away looking for food.
- Harsh Weather: Extreme temperature drops can cause “frost cracks,” and intense winter sun can lead to “sunscald.”
- Vehicles: Car bumpers or construction equipment can easily scrape a trunk if parked too close.
- Improper Pruning: Tearing a heavy branch without making a proper undercut can strip long sections of wood.
- Fungal Infections: Certain diseases cause the outer layers to naturally rot and peel away over time.
Tools & Materials Needed
You do not need a fancy shed full of professional gear for this job. You likely already have most of these items sitting in your garage.
Gather these supplies before you begin so you can work smoothly and safely:
- A sharp cutting tool: A grafting knife, utility knife, or a heavy-duty box cutter works perfectly.
- Sterilizing liquid: Rubbing alcohol or a simple bleach-to-water solution (1 part bleach to 9 parts water).
- A clean rag: For wiping down your blades before and after cutting.
- Safety gear: Thick leather work gloves and protective safety glasses.
- Tree wrap: Light-colored commercial tree wrap or natural burlap (only needed for winter sunscald protection).
- Chisel and mallet: Only required if you are dealing with very thick, mature bark.
Step-by-Step Fix Guide: How to Repair Damaged Tree Bark
Ready to play tree doctor? Follow these beginner-friendly steps to treat the wound.
We will use a trusted method called “bark tracing.” This technique cleans up the ragged edges so the tree can compartmentalize the damage and heal properly.
Step 1: Assess the Scope of the Damage
First, take a close look at the wound. You need to determine how far the injury extends around the trunk.
If the damage covers less than 25% of the trunk’s circumference, the tree will almost certainly survive.
If the bark is completely stripped around the entire trunk, this is called “girdling.” A fully girdled tree usually cannot be saved with basic DIY methods.
Assuming the damage is localized to one side, you are in great shape to proceed.
Step 2: Clean and Sterilize Your Tools
Never cut into a living plant with a dirty blade. You could accidentally introduce harmful bacteria or fungi right into the plant’s bloodstream.
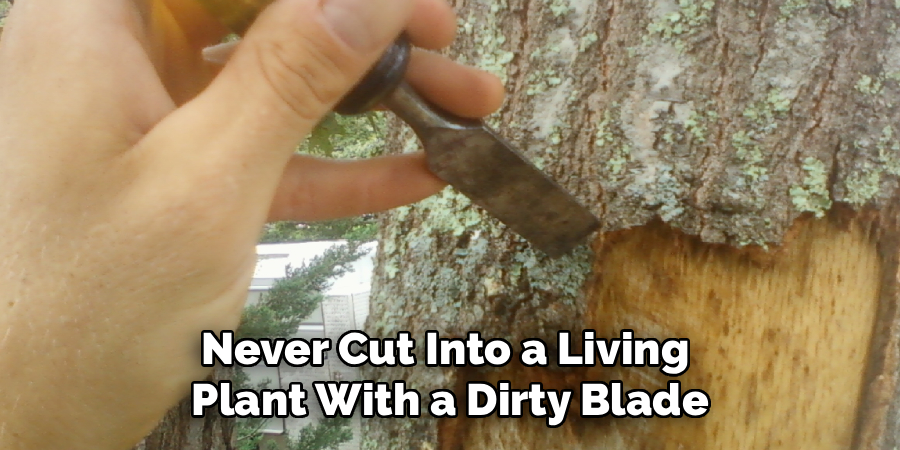
Take your rubbing alcohol or bleach solution and wipe down your knife thoroughly.
If you are moving between different trees in your yard, sterilize your blade after every single tree.
This simple habit prevents you from spreading diseases across your entire landscape.
Step 3: Outline the Wound (Bark Tracing)
This is the most critical step in learning how to repair damaged tree bark. You cannot just leave ragged, torn edges on the trunk.
Insects love to hide under loose, ripped edges, and water can pool there, causing rot.
Take your sterilized knife and carefully cut an oval shape around the injured area.
Think of the shape like a football or a vertical canoe. The top and bottom should come to a rounded point.
Step 4: Remove the Ragged Edges
Once you have traced your oval shape, carefully peel away the bark inside that line.
You want to remove all the loose, jagged, and torn pieces until you reach healthy, firmly attached wood.
Be very gentle during this process. Do not cut any deeper into the inner wood than absolutely necessary.
You only want to expose the smooth, hard wood right beneath the damaged surface.
Step 5: Leave the Wound Open to Breathe
Years ago, hardware stores sold heavy black “tree paint” or pruning sealers. People thought you had to bandage the wound like a human cut.
Modern tree science tells us the exact opposite! Do not apply paints, tars, or sealants to the freshly cut area.
Sealers actually trap moisture inside the wood, creating the perfect dark, damp environment for rot and fungal growth.
Your tree naturally forms its own protective barrier called “callus tissue” over time. Let the fresh air do its job.
Step 6: Apply Tree Wrap Only When Necessary
Normally, leaving the wound exposed is the best path forward. However, there is one main exception to this rule.
If you are dealing with a young sapling heading into harsh winter weather, wrapping can help.
Use a light-colored commercial wrap or breathable burlap to protect the trunk from winter sunscald.
Always remove the wrap in the early spring so insects do not nest underneath it during the warm months.
Step 7: Support the Tree During Recovery
Your patient just went through minor surgery, so it needs a little extra TLC.
Make sure the surrounding soil stays adequately watered, especially during dry spells or droughts.
Apply a two-inch layer of organic mulch around the base to retain soil moisture.
Just make sure the mulch does not actually touch the trunk, which can cause rotting at the root flare.
Crucial Safety Warnings to Keep in Mind
DIY yard work is rewarding, but safety must always come first. Working with sharp blades and outdoor elements requires your full attention.
Always wear thick gloves when cutting to prevent your utility knife from slipping and slicing your hand.
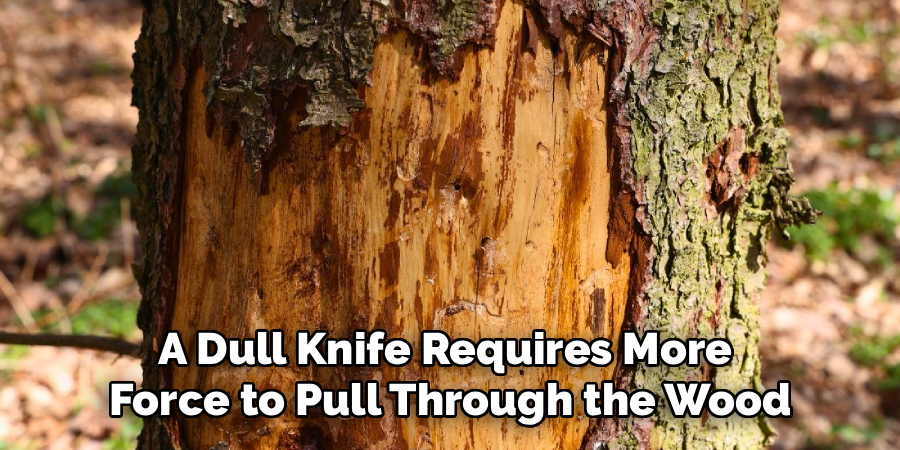
Never use dull blades. A dull knife requires more force to pull through the wood, making it much more likely to slip.
Watch out for falling debris if the trunk injury was caused by a recent, violent storm.
If you notice large, dead branches hanging above your work area, clear those hazards before standing underneath them.
When to Call a Professional Arborist
We love saving money with DIY fixes, but sometimes a job is simply too big for a helpful homeowner.
You need to know your limits to keep yourself safe and give your landscape the best chance at survival.
Call a certified arborist if the trunk is missing more than 50% of its bark around the circumference.
An expert might need to perform a complex procedure called “bridge grafting” to save a severely girdled trunk.
You should also call a pro if the damage is located high up in the canopy, requiring ladders and chainsaws.
Finally, if the exposed inner wood is soft, spongy, or smells foul, rot has already set in, and you need expert advice.
Cost Estimate: DIY vs. Professional Repair
One of the best parts about yard maintenance is the cash you keep in your wallet.
Tackling this project on a Saturday afternoon is incredibly budget-friendly.
DIY Cost: You will likely spend between $15 and $30. This covers a new utility knife, some rubbing alcohol, and maybe a roll of wrap.
Professional Cost: Hiring a certified arborist typically starts with a $75 to $150 consultation fee.
If they need to perform bridge grafting or extensive cleanup, the bill can easily range from $200 to over $500.
By taking an hour to do it yourself, you are making a highly profitable investment in your property.
Frequently Asked Questions About Bark Repair
You probably still have a few questions about tree biology and healing. Here are the most common things homeowners ask when facing this problem.
Will the tree bark eventually grow back?
Technically, the original bark does not grow back to replace what was lost. Instead, the tree grows specialized “callus tissue” around the edges of the wound. This smooth, woody tissue slowly rolls inward over the years to seal off the exposed area from pests.
Should I use pruning sealer or tree paint?
No, you should never use sealers or paints on a trunk wound. These products trap moisture and bacteria inside the wood, accelerating decay. Leaving the clean, traced wound open to the fresh air is the absolute best way to promote natural healing.
How long does it take for a trunk wound to heal?
Healing time depends entirely on the size of the wound and the overall vigor of the tree. A small, one-inch scrape might seal over in a single growing season. Large gouges from a car bumper might take five to ten years to fully compartmentalize.
Can a tree survive if half its bark is missing?
Yes, a tree can usually survive if up to 50% of its circumference is damaged, provided it is otherwise healthy. However, the tree will experience stunted growth and will need extra watering during droughts. If more than 50% is gone, survival rates drop significantly.
What is bridge grafting?
Bridge grafting is an advanced technique used when a trunk is severely girdled by hungry animals. It involves taking healthy twigs (scions) and grafting them across the wound to reconnect the top and bottom of the bark. This creates a living “bridge” for water and nutrients to flow through.
Conclusion: Mastering How to Repair Damaged Tree Bark
Finding a fresh gouge on a beloved maple or oak does not have to ruin your weekend.
By following this guide, you now know exactly how to repair damaged tree bark safely and effectively.
Remember to keep your blades sharp, trace the wound into a neat oval, and let the fresh air work its magic.
Skipping the outdated tree sealants and keeping the roots watered will give your landscape the best possible chance at a full recovery.
Do you have other DIY maintenance projects piling up around the house or yard?
Browse our other helpful home repair guides to keep your property looking pristine all year long!