

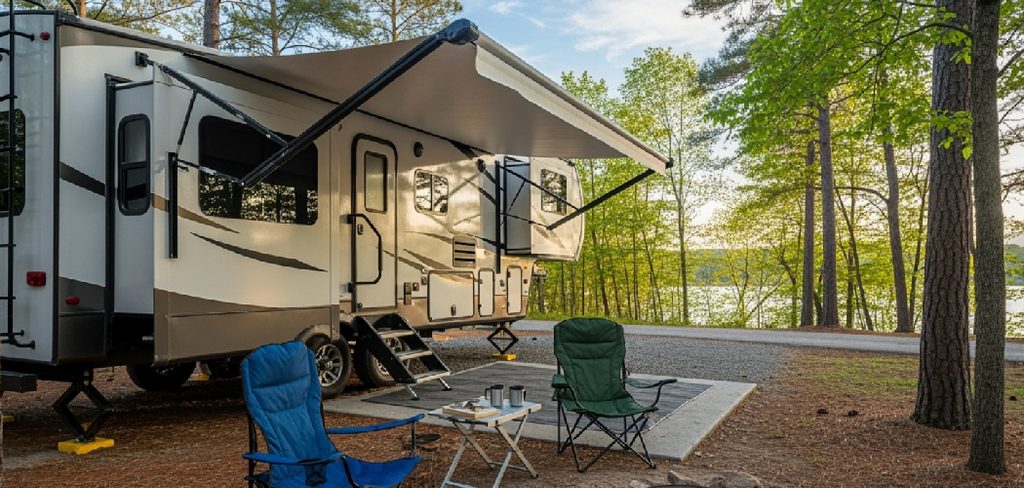
A torn or sagging awning ruins your campsite setup fast. One ripped seam, one bent arm, and your shaded outdoor space disappears. The good news? You can fix most awning problems yourself with basic tools and a free afternoon.
Camper awnings take a beating. Sun, wind, rain, and road grit wear down the fabric, hardware, and roller mechanism over time. Small issues turn into expensive replacements when you ignore them.
You don’t need a technician for this. You don’t need a workshop full of specialty gear. You need a clear plan and a little patience.
This guide walks you through how to repair camper awning damage step by step, from diagnosing the problem to testing your finished fix.
Why Repairing Your Camper Awning Matters
A working awning protects more than your comfort. It shields your camper’s side wall from direct sun, cuts interior heat, and keeps rain away from your entry door. Skip the repair, and you lose all three.
Replacement costs hurt. A full awning swap runs $500 to $1,500 with labor. A targeted repair often costs under $50 in materials and a few hours of your time.
Small damage spreads. A two-inch tear becomes a foot-long rip after one windy drive. A loose arm bracket bends the entire frame if you leave it. Fixing problems early stops the cascade.
You also build real skills here. Learn to handle the fabric, the roller tension, and the support arms, and you’ll maintain your awning for years without paying anyone.
Tools and Materials You’ll Need
Gather everything before you start. Stopping mid-repair to hunt for a screwdriver wastes daylight and momentum.
- Repair tear-resistant fabric or vinyl patches — match your awning material and color
- Awning repair tape or fabric adhesive — strong, waterproof, UV-resistant
- Phillips and flathead screwdrivers — for arm brackets and end caps
- Adjustable wrench — loosens and tightens hardware bolts
- Replacement spring or tension parts — if your roller won’t retract
- Scissors or a sharp utility knife — clean cuts on patches
- Rubbing alcohol and clean rags — degrease surfaces before patching
- Measuring tape — size patches and check arm alignment
- Work gloves and safety glasses — protect hands and eyes
- A sturdy step ladder (optional) — saves your back when reaching the roller tube
Check that your adhesive bonds to vinyl or acrylic, whichever your awning uses. The wrong glue peels off within a week.
Step-by-Step Guide on How to Repair Camper Awning
Step 1 – Inspect the Full Awning
Start with a complete walk-around. Extend the awning fully and stand back. Look for tears, frayed edges, faded patches, and pinholes that let light through.
Run your hand along the fabric. You’ll feel thin spots and stress points before you see them. Press the seams and check where the fabric meets the roller tube.
Move to the hardware. Wiggle each support arm. A loose, rattling arm signals worn brackets or stripped bolts. Spin the roller tube and listen for grinding, which points to a tired spring.
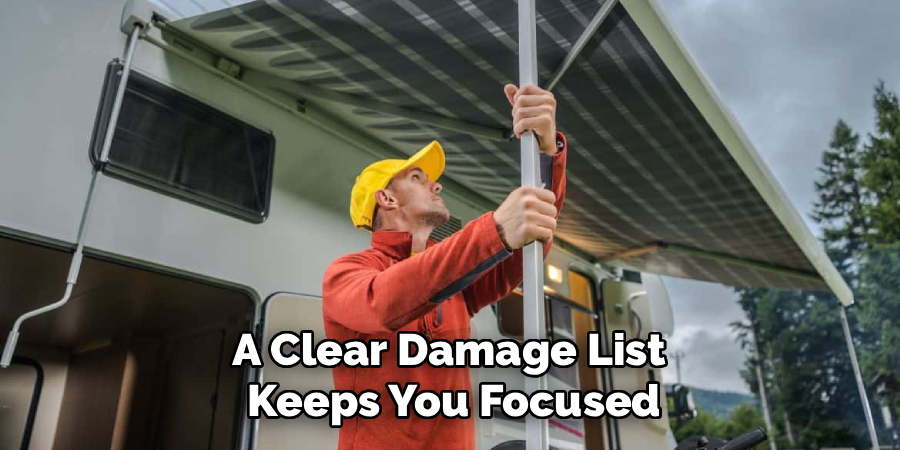
Note every problem on paper. A clear damage list keeps you focused and stops you from missing a small tear hiding near the seam.
Step 2 – Clean the Damaged Area
Dirt ruins adhesion. Any patch or tape you apply to grimy fabric peels off within days.
Mix mild soap with warm water. Scrub the damaged section and the surrounding six inches with a soft brush. Rinse thoroughly and wipe away soap residue.
Let the fabric dry completely. Damp vinyl traps moisture under your patch and breeds mildew that spreads under the surface.
Finish with rubbing alcohol on a clean rag. Wipe the exact spot you’ll patch. You’ll smell the sharp alcohol cut through any remaining oil or wax. This degreasing step gives your adhesive a clean, dry surface to grip.
Dry surfaces bond. Dirty surfaces fail.
Read More: How to Repair Small Holes in Plaster Walls.
Step 3 – Assess Tears and Holes
Measure each tear with your tape. Small holes under two inches take a simple patch. Larger rips need backing fabric on both sides for strength.
Check the tear direction. Clean, straight cuts patch easily. Jagged, frayed edges need trimming first so the patch lies flat.
Look at the location. Damage along a high-stress seam or the roller edge needs a stronger fix than a hole in the open middle panel. These flex zones pull at any repair.
Decide your method now. Tape works for quick, small fixes. Adhesive patches handle medium tears. Sewn-and-glued backing fabric handles anything large or in a high-tension area. Matching the method to the damage saves you a second repair later.
Step 4 – Apply the Patch
Cut your patch two inches larger than the damage on every side. Round the corners with scissors. Square corners peel up first.
Test-fit the patch dry. Center it over the tear and trace a light pencil outline so you place it accurately when the adhesive is wet.
Apply adhesive evenly to the patch back and the fabric. Press firmly from the center outward, pushing out air bubbles as you go. You’ll feel the bond grab within seconds.
For tears in high-flex zones, patch both sides. Sandwich the fabric for maximum hold.
Run a roller or hard edge over the entire patch. Apply steady pressure. Let it cure the full time the adhesive label states, usually 24 hours, before you retract the awning.
Read More: How to Repair Shower Drain Issues Fast.
Step 5 – Fix or Replace the Support Arms
Bent or loose arms make the whole awning sag. Start by tightening every bolt with your wrench. Many “broken” arms just need a snug bracket.
If an arm is bent, remove it from the camper. Unscrew the mounting bracket and slide the arm free. Lay it on a flat surface and check the warp against a straight edge.
Minor bends straighten with careful, gradual pressure. Severe bends need a replacement arm, which you order by model number stamped on the hardware.
Reattach the arm and torque the bolts firm but not stripped. Test the motion. The arm should glide smooth and lock solid at full extension with no wobble or grinding sound.
Step 6 – Service the Roller Tube and Spring
The roller spring pulls your awning closed. When retraction fails, the spring has lost tension or broken.
Carefully release any remaining spring tension before you work, following your model’s manual. A loaded spring snaps back hard and injures hands.
Remove the end cap and inspect the spring. Rust, cracks, or a loose anchor means replacement. Slide the old spring out and the new one in, matching the exact part.
Rewind the spring to spec, usually a set number of turns listed in your manual. You’ll feel the tube grow firm and resistant as tension builds.
Reattach the end cap and test. A properly serviced roller retracts the awning smoothly and holds it tight against the camper.
Step 7 – Reseal Seams and Edges
Open seams let water track inside and rot the fabric. Run your finger along every seam and feel for lifted, loose threads or gaps.
Clean each seam with alcohol and let it dry. Apply a thin, even bead of waterproof seam sealer along the open edge. Work it in with the applicator tip.
Press loose fabric down into the sealer. Smooth the surface so no ridge catches wind or peels later.
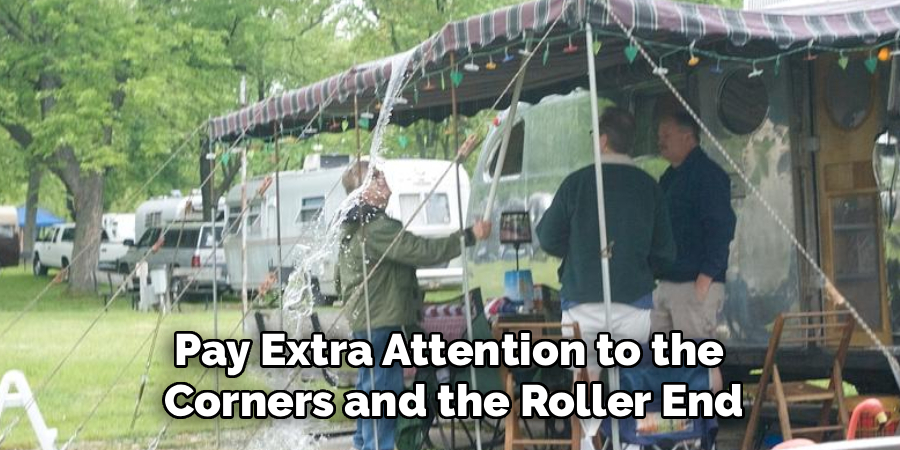
Pay extra attention to the corners and the roller end. These spots flex most and fail first. A solid seal here adds years to your awning’s life.
Let the sealer cure fully before exposure to rain. You’ll know it’s set when the surface turns firm and slightly glossy.
Step 8 – Test Everything
Don’t pack up yet. Extend the awning fully and inspect your work in good light.
Tug gently on each patch. A solid repair won’t lift at the edges. Push the support arms and confirm they lock without wobble. Retract and extend twice to test roller tension.
Spray the patched areas and resealed seams with water from a hose. Watch the underside. Any drip means you missed a spot, so dry it and reapply.
Leave the awning out for a few hours and recheck. Adhesive sometimes loosens under heat and tension, revealing a weak bond before you hit the road.
A repair that passes these tests holds up to real weather and travel.
Critical Mistakes When Repairing a Camper Awning
Skipping the cleaning step tops the list. People slap a patch on dirty, dusty fabric and wonder why it peels off in a week. Adhesive needs a clean, dry, degreased surface to bond. No shortcut survives the first rainstorm.
Using the wrong adhesive ruins repairs fast. Vinyl awnings and acrylic awnings need different bonding agents. Grab a generic glue, and it never cures right. Match your adhesive to your fabric type every time.
Rushing the cure time wrecks otherwise good work. The adhesive label says 24 hours for a reason. Retract the awning early, and you peel the fresh patch right off the fabric. Walk away and let chemistry finish the job.
Ignoring spring tension causes injury. A loaded roller spring carries serious force. People remove end caps without releasing tension and take a violent snap to the hands. Always follow your manual’s tension-release steps before touching the roller mechanism.
Finally, patching only one side of a high-stress tear guarantees failure. Flex zones near seams and roller edges pull constantly. A single-sided patch lifts within days. Sandwich the fabric with backing on both sides for any tear in these areas.
Expert Tips
Patch tears the day you spot them. A small fix takes ten minutes. A spread tear takes an afternoon and more material.
Carry a repair kit in your camper. Awning tape, a few patches, and a screwdriver turn a roadside problem into a five-minute fix. You’ll never wait days for parts mid-trip.
Retract your awning in any wind over 20 mph. Most awning damage comes from wind, not age. A quick retraction saves the fabric and arms.
Clean your awning every few months. Dirt holds moisture, and moisture breeds mildew that weakens fabric from the inside.
Inspect hardware twice a season. Tighten loose bolts before they strip. Catching slack early prevents bent arms and warped frames down the road.
Frequently Asked Questions
Can I repair a camper awning myself without experience?
Yes. Most awning repairs need only basic tools and patience. Small tears, loose arms, and open seams are beginner-friendly fixes you complete in an afternoon. The hardest job, replacing a roller spring, requires care with tension but follows clear steps in your manual. Start with simple patches to build confidence before tackling hardware.
How long does an awning fabric patch last?
A properly applied patch lasts years. Clean the surface, use the right adhesive for your fabric, and cure it the full 24 hours. The key factors:
- Surface prep: dirty fabric shortens patch life
- Adhesive match: vinyl needs vinyl glue, acrylic needs its own
- Cure time: rushing weakens the bond
Follow these, and your patch outlives many factory seams.
What causes most camper awning damage?
Wind causes the most damage by far. A gust catches an extended awning and bends arms, tears fabric, or twists the frame in seconds. Sun damage ranks second, fading and weakening fabric over years. Water pooling and trapped dirt round out the list. Retract your awning in wind and clean it regularly to prevent the most common problems.
When should I replace instead of repair the awning?
Replace when damage covers more than a third of the fabric or when multiple components fail at once. A single tear, one bent arm, or one open seam always justifies a repair. But shredded fabric, a cracked roller tube, and stripped brackets together cost more in parts and time than a new awning. Weigh repair cost against a full replacement.
How much does it cost to repair a camper awning?
Most DIY repairs cost $20 to $50 in materials. Fabric patches and tape run cheap. A replacement spring costs $30 to $60. Support arms run $50 to $150 each. Compare that to $500 to $1,500 for a professional full replacement. Repairing yourself saves hundreds and builds skills you reuse for years.
Conclusion
Fixing your awning is well within your reach. You’ve now got a complete plan, from inspecting the damage to testing your finished work under a hose. Each step builds on the last, and none require special training.
Remember the fundamentals. Clean before you patch. Match your adhesive to your fabric. Respect the cure time. Release spring tension before you touch the roller. Get these right, and your repairs hold through wind, rain, and miles of road.
Small problems stay small when you act fast. A ten-minute patch today saves you a costly replacement next season. Keep a repair kit in your camper, inspect your hardware twice a year, and retract the awning when wind picks up.
You now know how to repair camper awning damage with confidence and skill. Grab your tools, set aside an afternoon, and bring your shaded outdoor space back to life. The savings, the satisfaction, and the protection are worth every minute you spend.