

Dealing with a broken or clogged shower is frustrating. You step in for a relaxing wash, only to end up standing in a puddle of dirty water. Nobody wants to deal with a bathroom flood first thing in the morning.
Fortunately, learning how to repair shower drain problems is much easier than you think. You do not always need an expensive plumber.
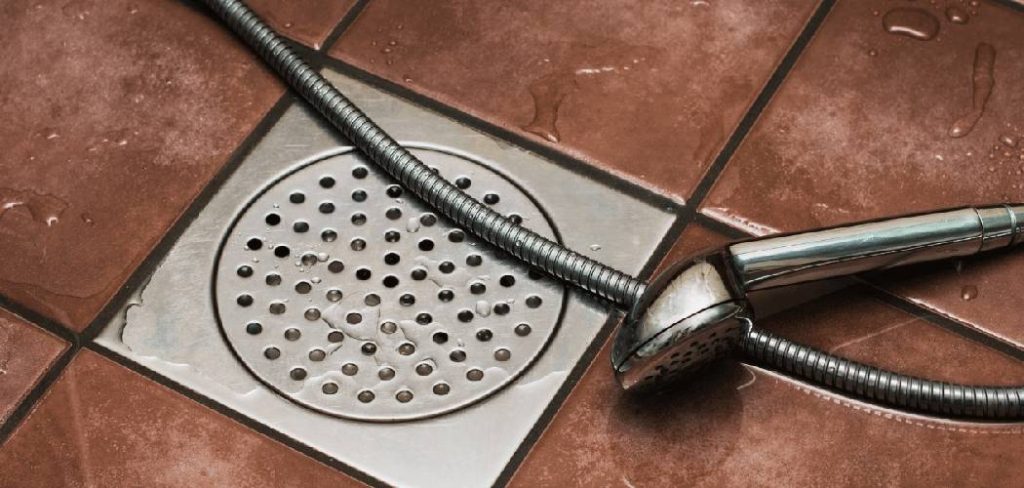
Most homeowners and renters can fix this issue on their own in under an hour. Fixing it yourself keeps cash in your pocket. It also gives you the confidence to tackle future home maintenance tasks.
In this guide, we will walk through everything you need to know. We will help you diagnose the problem, gather the right tools, and get your water flowing freely again.
What Causes This Problem?
Before jumping into the fix, it helps to understand what went wrong. Shower drains take a lot of abuse every single day. Over time, things build up and components wear out.
Here are the most common culprits behind your drainage issues:
- Hair buildup: This is the number one cause of slow drains. Hair knots together and forms a net that traps other debris.
- Soap scum: Bar soaps create a sticky residue. This residue coats the inside of your pipes and catches dirt.
- Mineral deposits: Hard water leaves calcium behind. These minerals narrow the pipe opening over time.
- Failing seals: The rubber gasket or plumber’s putty under the drain flange can dry out and crack, causing leaks.
- Foreign objects: Razor covers, shampoo caps, or small toys can accidentally slip past the grate.
Tools & Materials Needed
You cannot fix a plumbing issue empty-handed. Luckily, the items you need are cheap and easy to find.
Check your garage or head to the local hardware store to grab these essentials:
- Screwdriver (Phillips and flathead)
- Needle-nose pliers
- Plastic zip-it tool or a plumbing drain snake
- Plumber’s putty
- Rubber gloves
- Baking soda and white vinegar
- Old toothbrush or cleaning rag
- Flashlight
Step-by-Step Fix Guide
Ready to roll up your sleeves? Let us get that water draining perfectly again. Follow these beginner-friendly steps carefully. Take your time, and do not force any stubborn parts.
Step 1: Remove the Drain Cover
First, you need access to the problem area. Put on your rubber gloves. You are about to touch some grime. Look closely at your shower grate. Some covers snap into place, while others use small screws.
If there are screws, use your screwdriver to remove them. Set the screws aside in a safe spot so they do not fall down the pipe. If the cover snaps in, take your flathead screwdriver and gently pry up the edges. Once the cover is off, clean it with an old toothbrush and set it aside.
Step 2: Inspect and Remove Visible Debris
Grab your flashlight and shine it down the hole. Often, the problem is right near the top. You might see a massive clump of hair and soap scum. Take your needle-nose pliers and reach into the pipe.
Grab whatever debris you can see and pull it out. Have a trash bag nearby to throw this away immediately. Do not try to push the blockage further down. Pulling it up and out is always the safest method.
Step 3: Tackle Deep Clogs with a Snake
If pulling out the top debris did not work, the clog is deeper. This is where your plastic zip-it tool or plumbing snake comes in handy. Insert the snake into the pipe until you feel resistance.
Twist the handle to hook the clog. Slowly pull the snake back out. You will likely pull up a nasty surprise. Wipe the tool off and repeat this process until the pipe feels clear.
Step 4: Clean the Pipes Naturally
Now that the physical blockage is gone, it is time to clear the leftover sludge. Pour half a cup of baking soda straight down the pipe. Follow it with half a cup of white vinegar. The mixture will immediately start to fizz and bubble.
This chemical reaction eats away at stubborn soap scum. Let the mixture sit for 15 to 20 minutes. While you wait, boil a kettle of water on the stove. Carefully pour the boiling water down to flush everything out.
Step 5: How to Repair Shower Drain Leaks
Sometimes the issue is a leak, not a clog. If water leaks around the outside edge of the drain, the seal is broken. You need to replace the plumber’s putty. Unscrew the metal drain flange using a drain wrench or heavy pliers. Clean off all the old, crusty putty with a rag.
The surface must be completely dry. Roll a golf-ball-sized piece of fresh plumber’s putty into a thin rope. Wrap this rope around the underside of the flange. Screw the flange back into place tightly. Wipe away any excess putty that squeezes out the sides.
Step 6: Test the Water Flow
You are almost done! It is time to test your hard work. Turn on the shower and let the hot water run for a few minutes. Watch the water go down. It should create a nice, fast swirl without pooling at your feet.
If it drains quickly and there are no leaks underneath, you have successfully fixed the issue. Reattach the clean drain cover securely.
Safety Warnings
DIY plumbing is very safe, but you still need to be careful. Never mix commercial chemical drain cleaners. Mixing different brands can cause toxic fumes or explosive reactions.
In fact, try to avoid liquid chemicals altogether. They can eat away at older PVC or metal pipes, causing massive damage. Always wear heavy rubber gloves. Shower bacteria can cause infections if you have a small cut on your hand.
Finally, do not force a metal snake too hard around tight pipe corners. You do not want to crack a pipe hidden behind your walls.
When to Call a Professional
Knowing your limits is the smartest part of DIY. If you have snaked the pipe and flushed it, but the water still will not drain, stop working. The blockage might be deep in your main sewer line.
If you notice water stains on the ceiling directly below the bathroom, you have a severe leak. If your shower flange is completely rusted or glued in place and will not budge, put the wrench down.
These scenarios require a licensed professional. A good plumber has cameras to inspect deep pipes and the expertise to handle structural leaks.
Cost Estimate
Fixing this yourself is an incredible way to save money. If you follow our guide, your DIY cost will only be the price of materials.
A plastic zip tool costs about $5. Plumber’s putty is roughly $4. Baking soda and vinegar cost pennies. Your total DIY cost is usually under $10 to $15.
If you call a professional plumber, expect a steep bill. Plumbers charge trip fees just to show up. A basic professional drain clearing usually costs between $150 and $300. Fixing a leaking flange can cost even more due to labor hours.
Frequently Asked Questions
Understanding your plumbing system helps prevent future headaches. Here are some common questions homeowners ask about shower maintenance.
How often should I clean my shower trap?
You should perform a basic cleaning every single month. Removing hair before it creates a massive knot will keep your water flowing perfectly. You can use baking soda and vinegar monthly as a preventative measure.
Can I use a plunger in the shower?
Yes, a basic cup plunger can work wonders on simple blockages. Make sure there is a little water in the basin to create a seal. Plunge vigorously up and down several times to dislodge the sludge.
Why does my drain smell like rotten eggs?
That foul odor is sewer gas escaping into your home. This usually happens when the curved P-trap pipe underneath dries out. Simply running water for a few minutes will refill the trap and block the smell.
Is it safe to use bleach to clear a clog?
No, bleach is not an effective way to dissolve hair or soap scum. It can also cause dangerous fumes if it mixes with other household cleaners hiding in the pipe. Stick to a physical plumbing snake instead.
Conclusion
Taking care of your own home maintenance does not have to be intimidating.
Now you know exactly how to repair shower drain problems without breaking a sweat. You saved yourself a pricey plumbing bill and gained a valuable new skill.
Remember to keep up with monthly cleanings to prevent hair and soap from ruining your pipes again. A little maintenance goes a long way.
If you found this guide helpful, be sure to bookmark our website for more easy, step-by-step DIY home repair tutorials!