

A house that won’t cool on a sweltering afternoon or a furnace that quits on a frosty morning can make you miserable fast. You crank the thermostat, you wait, and nothing changes. It’s frustrating, but it’s often something simple you can sort out yourself.
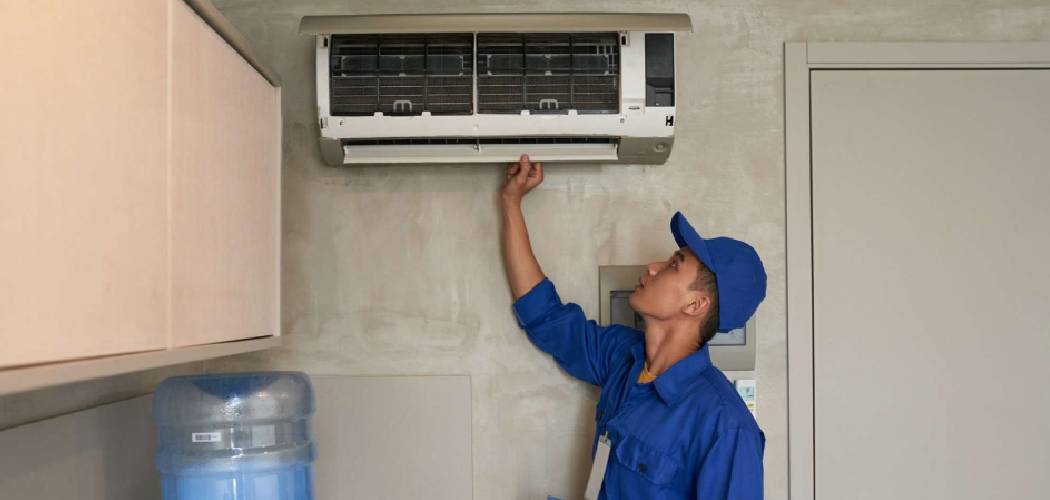
Many comfort problems trace back to a dirty air filter, a tripped breaker, a blocked vent, or a thermostat acting up. The reassuring part? You can handle plenty of these in under an hour, no service call needed.
Knowing how to repair heating and air conditioning issues saves you money, keeps your home comfortable, and helps you spot when a problem truly needs a pro. This guide walks you through safe, beginner-friendly diagnosis, simple fixes, and careful testing for your HVAC system.
Why Learning To Repair Heating And Air Conditioning Matters
Understanding your comfort systems builds real self-reliance at home. When your furnace stalls or the cooling cycle quits, you won’t feel helpless. You’ll know where to look and what to check first.
This skill pays off in confidence. The same calm approach, cutting the power, checking the obvious, and working step by step, carries over to other household repairs. You stop reaching for the phone every time something hiccups.
There’s a clear money angle too. A clogged filter or a tripped breaker costs you minutes to fix, while a service visit costs real cash and half a day of waiting. Whether you own or rent, handling small HVAC system tasks keeps your home livable through heat waves and cold snaps. That practical independence feels genuinely good, and it keeps your indoor air healthier year-round.
Tools and Materials You’ll Need
Gather your supplies before you start poking around. Having everything within reach keeps the job smooth and safe:
- Fresh furnace filter or air filter sized to match your unit
- Flashlight to inspect dark vents, panels, and the breaker panel
- Screwdriver set (flathead and Phillips) for access panels
- Soft brush and a coil-cleaning spray for the condenser unit
- Garden hose with gentle spray to rinse outdoor coils
- Wet/dry vacuum to clear the condensate drain line
- Stiff wire or pipe brush for stubborn drain clogs
- Bucket and rags to catch water from the drain pan
- Fresh batteries for a battery-powered thermostat
- Optional: a digital thermometer to confirm airflow temperature at the supply vent
A clear, well-lit space around your indoor unit and outdoor unit makes everything easier.
Step-by-Step Guide on How To Repair Heating And Air Conditioning
Step 1 – Cut the power safely
Safety comes first, every single time. Heating and cooling equipment runs on serious voltage, so never skip this.
Set your thermostat to “off” first. Then head to the breaker panel and switch off the breaker that feeds your furnace, air handler, or condenser unit. Many outdoor units also have a separate disconnect box nearby, so flip that too.
Listen for the system to fall completely silent. No hum, no fan, no click.
If you ever smell gas or spot scorched or damaged wiring, stop right there. Leave the equipment alone and call a licensed technician or your gas company. This single habit protects you from shocks, burns, and far worse, so make it second nature before touching anything.
Step 2 – Check the thermostat
A surprising number of “broken” systems just have a thermostat problem. Start here before you tear into anything bigger.
Confirm the mode is set correctly, cooling in summer, heating in winter, and the fan set to “auto.” Nudge the temperature several degrees past the room reading and listen for the system to kick on.
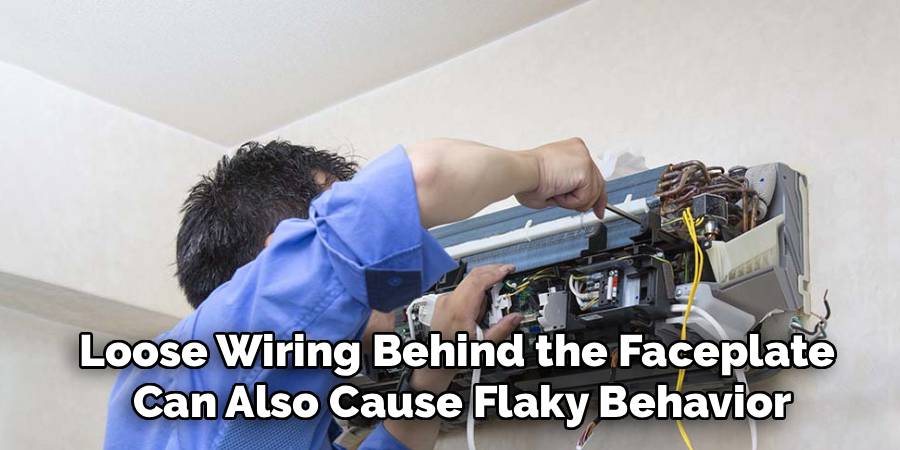
If the screen is blank or dim, swap in fresh batteries. Loose wiring behind the faceplate can also cause flaky behavior, so gently reseat the connections after killing the power.
A thermostat mounted in direct sun or near a heat source reads wrong and short-cycles the unit. Sometimes the fix is as easy as cleaning dust from inside the cover, which can throw off readings.
Step 3 – Replace the air filter
A clogged filter is the most common cause of weak airflow and poor performance. It chokes your whole HVAC system.
Find the filter slot in the return vent or near the furnace. Slide the old furnace filter out and hold it up to the light. If you can’t see through it, it’s overdue.
You’ll often notice a gray, dusty mat of debris coating the surface, sometimes with a musty smell. Replace it with a fresh filter, matching the size printed on the frame, and note the airflow arrow pointing toward the unit.
A clean filter restores strong airflow, eases strain on the blower motor, and keeps your indoor air cleaner. Mark your calendar to swap it every one to three months.
Step 4 – Reset a tripped breaker
If the system is fully dead, a tripped breaker may be the culprit. This is a quick, safe check.
Open your breaker panel and scan for a switch that sits between “on” and “off,” or one that won’t quite hold. That’s your tripped breaker. Push it firmly all the way off, then back to on. You’ll feel a solid click.
Give the system a moment, then test it. If the breaker trips again right away, stop. Repeated tripping points to a deeper electrical fault, a failing capacitor, or a struggling compressor.
Don’t keep resetting it over and over, since that risks damage and danger. A breaker that won’t stay set is telling you it’s time to call a professional technician.
Step 5 – Clear blocked vents and ductwork
Weak airflow in some rooms often comes down to blocked vents, not a failing unit. This fix costs you nothing but a few minutes.
Walk the house and check each supply vent and return vent. Move furniture, rugs, and curtains that smother them. Closed dampers and crushed flex ducts also choke airflow, so open louvers fully.
Run your hand near each register with the fan on. You should feel a steady push of air. A weak or warm stream signals a deeper issue worth chasing.
Vacuum dust and pet hair from the grilles while you’re there. Keeping your ductwork paths clear lets conditioned air reach every room evenly, which eases the load on the system and balances the temperature.
Step 6 – Clean the condenser coils
Your outdoor condenser unit can’t shed heat when it’s caked in grime, and that wrecks the cooling cycle. Knowing how to repair heating and air conditioning performance often starts right here.
With the power off at the disconnect, clear leaves, grass, and dirt from around the unit. Gently straighten any bent fins with a soft brush.
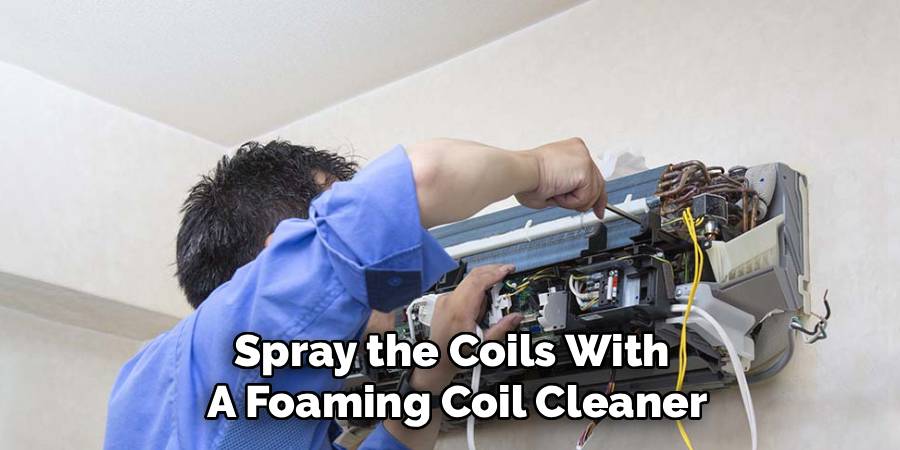
Spray the coils with a foaming coil cleaner, let it sit, then rinse from the inside out with a gentle hose stream. Avoid a pressure washer, which bends the delicate fins.
You’ll see muddy water run off as the coils come clean. Give the unit two feet of clearance on all sides for good airflow. Never open sealed refrigerant lines, leave that to a licensed pro.
Step 7 – Thaw frozen coils and clear the drain
A block of ice on the indoor evaporator coil means airflow or moisture trouble. You’ll spot frost on the lines or a puddle near the unit.
Switch the system to “fan only” and let the ice melt fully, which can take a couple of hours. Replace a dirty filter first, since starved airflow is a common cause.
While it thaws, tackle the condensate drain line. Find the drain pan and the PVC line leading outside. A musty smell and standing water signal a clog.
Use a wet/dry vacuum on the outdoor end to suck out the slimy buildup. Flush with a cup of vinegar to keep it clear. Persistent freezing, though, often means low refrigerant and needs a technician.
Step 8 – Restore power and test the system
With your work done, it’s time to bring everything back to life and confirm it runs right. Reattach any panels you opened first.
Switch the breaker back on, restore the outdoor disconnect, and set the thermostat to your desired mode. Listen for a smooth startup rather than a strained hum or rattle.
Let it run fifteen minutes. Hold your hand or a thermometer at a supply vent to feel steady cool or warm air. Check the condensate drain pan stays dry and the outdoor unit hums evenly.
If the heating cycle and cooling cycle both work cleanly, you’re done. If you hear clicking without startup, smell burning, or the unit short-cycles, a capacitor, compressor, or blower motor fault likely needs expert hands.
Critical Mistakes When Repairing Heating And Air Conditioning
The most dangerous mistake is working on equipment with the power still live. A thermostat set to “off” isn’t enough. Always shut off the breaker and the outdoor disconnect before you touch anything, and stop immediately if you smell gas or see scorched wiring. Those signs mean it’s time to step back and call a professional, not push forward.
Another frequent slip is opening sealed refrigerant components. The lines, the evaporator coil joints, and the compressor are off-limits for DIY work. Refrigerant requires licensed handling and special equipment, so leave low-coolant problems and recharges to a technician. Tinkering here is illegal in many areas and risks injury.
People also ignore the filter for months, then wonder why airflow vanished and the coils froze. A clogged filter strains the blower motor and chokes the whole HVAC system. Swap it regularly.
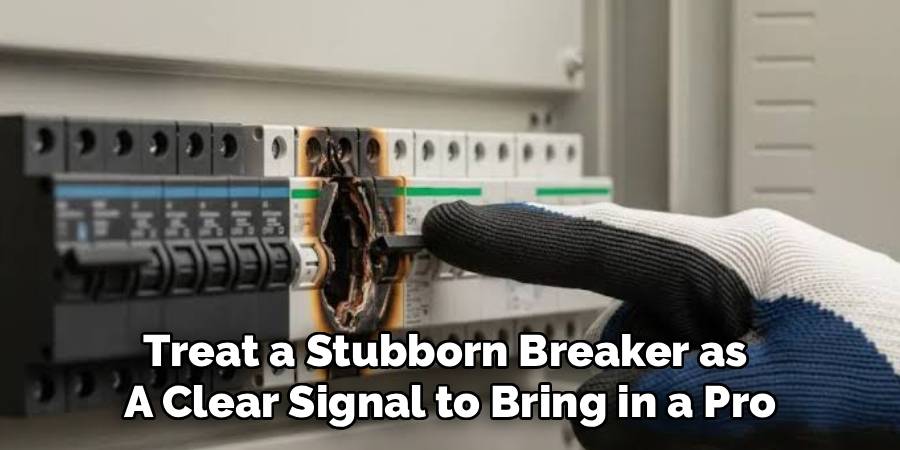
Finally, many folks reset a tripped breaker again and again. If it keeps tripping, you’re masking a real electrical fault, a failing capacitor, or a compressor problem. Repeated resets can fry components or start a fire, so treat a stubborn breaker as a clear signal to bring in a pro.
Expert Tips
Change your air filter on a schedule, every one to three months, and more often with pets or allergies. Clean filters do more for your system than almost any other habit.
Keep two feet of clearance around the outdoor condenser unit. Trim shrubs and rake leaves so it can breathe and shed heat efficiently.
Test your system before each season starts. Fire up the cooling in spring and the heating in fall, so you catch trouble before a heat wave or cold snap hits.
Pour a cup of vinegar down the condensate drain line every few months to stop algae clogs and water backups.
Listen to your unit. New rattles, buzzing, or clicking are early warnings. Catching a small noise early often saves you from a major repair down the road.
Frequently Asked Questions
Why is my AC running but not cooling?
A few common issues cause warm air despite a running system. Check these first:
- A clogged air filter choking airflow
- A dirty condenser unit that can’t release heat
- A frozen evaporator coil from restricted airflow
- A thermostat set to “fan” instead of “cool”
Clean or replace what you can. If the unit still won’t cool after these steps, you may have low refrigerant or a compressor issue that needs a licensed technician.
How often should I change my furnace filter?
Replace your furnace filter every one to three months as a general rule. Thin fiberglass filters need swapping monthly, while thicker pleated ones can last up to three months. If you have pets, allergies, or run the system constantly, lean toward the shorter end. Hold the filter to the light, and if you can’t see through it, change it right away to protect airflow and the blower motor.
Why does my circuit breaker keep tripping?
A breaker that trips repeatedly is warning you of a real problem, so don’t keep resetting it. Common causes include a failing capacitor, an overworked compressor, a shorted blower motor, or damaged wiring. Each draws too much current and forces the breaker to protect your home. Reset it once, and if it trips again, shut the system down and call a professional technician to inspect the electrical components safely.
Can I add refrigerant to my AC myself?
No, you should not add refrigerant yourself. Handling refrigerant requires a license, special gauges, and recovery equipment, and it’s regulated by law in most places. Low refrigerant also signals a leak that needs proper repair, not just a top-off. If your system blows warm air or the coils freeze repeatedly, call a licensed HVAC technician to find the leak and recharge it correctly.
How do I clear a clogged condensate drain line?
A clogged condensate drain line causes water to pool in the drain pan or leak near your indoor unit. To clear it, locate the PVC line, then attach a wet/dry vacuum to the outdoor end and run it for a minute to pull out the slimy buildup. Follow up by flushing a cup of distilled vinegar through the line every few months to prevent algae from clogging it again.
Conclusion
A comfort system that quits doesn’t have to ruin your day or empty your wallet. Most problems trace back to a handful of familiar causes, and you now have a clear road map to handle them. Cut the power at the thermostat and breaker, check the simple things first, then work through each fix calmly and safely.
Remember the rhythm: swap a dirty air filter, reset a tripped breaker once, clear blocked vents, rinse the condenser coils, thaw frozen coils, and flush the condensate drain line. Always test the system afterward and feel for steady air at the vents.
Know your limits too. Refrigerant work, gas furnace faults, a failing capacitor, damaged wiring, or compressor trouble all belong to a licensed technician. And if you ever smell gas, stop and call for help.
Now that you understand how to repair heating and air conditioning problems the right way, you can tackle weak airflow or a stubborn breaker with confidence. Grab your tools, kill the power, and get your home comfortable again.