

Finding a tiny hole in your favorite wool sweater can ruin your whole day. You pull it out of the closet, ready for chilly weather, only to find unwanted ventilation.
If you are wondering how to repair moth holes, you are definitely not alone. Renters and homeowners everywhere face this frustrating issue every season.
Throwing away damaged clothing or rugs feels like a huge waste. Taking items to a professional tailor can cost a small fortune.
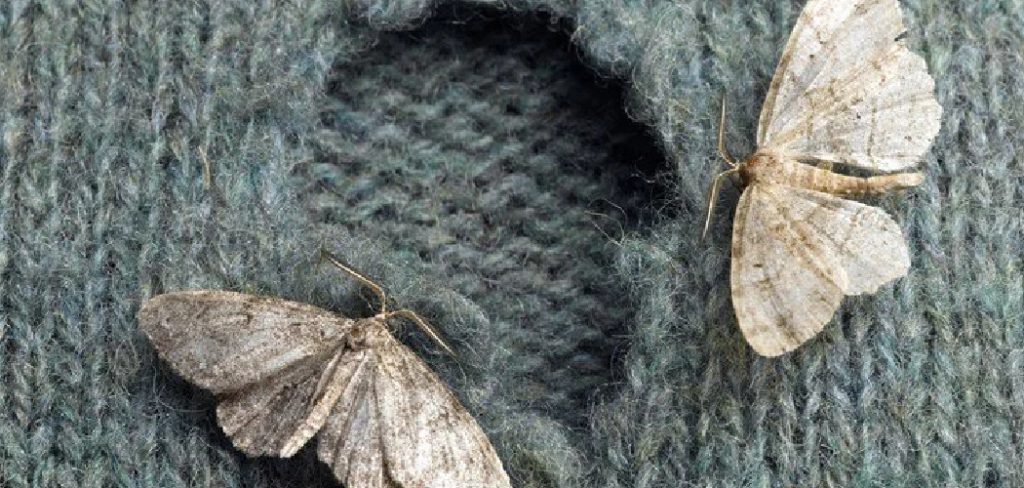
Thankfully, fixing these small holes yourself is surprisingly easy. You do not need a degree in fashion design to save your favorite garments.
By learning a few basic mending skills, you save serious money. You also get the satisfaction of bringing a loved item back to life.
Let us grab a needle and get started.
What Causes This Problem?
Before we fix the damage, we need to know the culprits. Several factors invite these pesky insects into your home.
Here are the most common causes of moth holes:
- Clothes Moths: These tiny insects lay eggs on animal-based fibers. Their larvae hatch and feast on your clothing.
- Carpet Beetles: Often mistaken for moths, these bugs also eat natural fibers. They cause similar jagged holes in fabrics.
- Dirty Clothing: Moths love garments stained with food, sweat, or body oils. Always wash items before long-term storage.
- Dark and Damp Spaces: Moths thrive in dark, undisturbed closets and attics. They hate sunlight and fresh air.
- Natural Fibers: Larvae only eat keratin, found in wool, silk, cashmere, and fur. They generally ignore synthetic materials like polyester.
Tools & Materials Needed
You only need a few simple items to start mending. You likely have some of these in your house right now.
Gather these supplies before you sit down to work:
- Sewing Needle: Choose a thin needle for fine fabrics or a blunt tapestry needle for chunky knits.
- Matching Thread or Yarn: Pick a color that blends perfectly with your garment.
- Darning Mushroom: This curved wooden tool holds your fabric taut. A tennis ball or lightbulb works in a pinch!
- Embroidery Hoop: Great for keeping flat woven fabrics tight while you stitch.
- Small Scissors: Sharp embroidery scissors are perfect for snipping tiny threads.
- Fabric Stabilizer: Helpful for reinforcing very thin fabrics around the hole.
- Iron and Pressing Cloth: Essential for smoothing out your repair once finished.
Your Step-by-Step Guide on How to Repair Moth Holes
There are a few different ways to tackle this project. The darning method is the most traditional and reliable approach for knits.
Follow these simple steps to weave new life into your damaged clothes.
Step 1: Clean the Garment Thoroughly
Never start a repair on an unwashed item. You need to ensure no moth eggs or larvae remain.
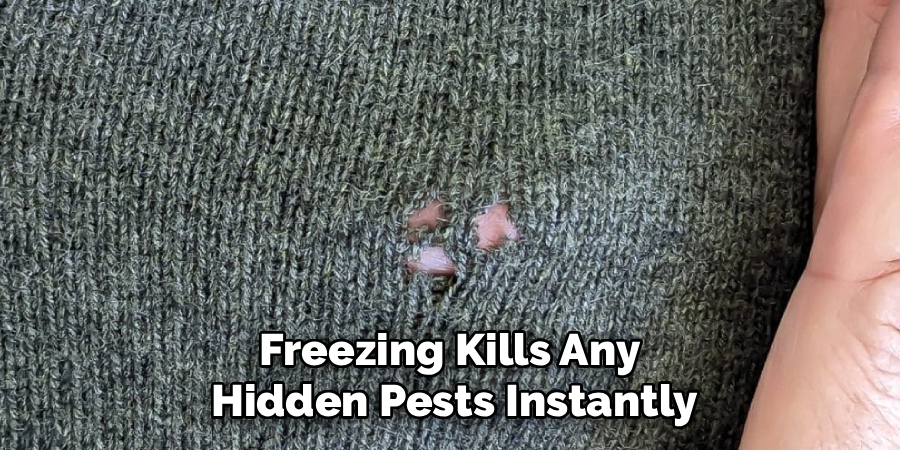
Wash the item according to its care label. Alternatively, you can place it in a sealed bag in the freezer for 48 hours.
Freezing kills any hidden pests instantly. This guarantees your hard work will not become a snack later.
Step 2: Prep the Damaged Area
Trim any frayed edges around the hole with your sharp scissors. You want a clean work area before you start stitching.
Insert your darning mushroom or tennis ball under the hole. Pull the fabric gently over the curve.
Do not stretch the fabric too tight. You want the garment to maintain its natural shape and tension.
Read More: How to Repair Small Holes in Plaster Walls.
Step 3: Thread Your Needle
Cut a piece of thread or yarn about 18 inches long. Using a longer piece often leads to annoying knots and tangles.
Thread your needle, but do not tie a knot at the end. Knots create bulky, uncomfortable bumps on the inside of clothing.
Leave a small tail of thread on the inside of the garment instead. You will weave this tail in later.
Step 4: Create the Vertical Foundation
Start stitching about a quarter-inch outside the edge of the hole. This reinforces the weak fabric surrounding the damage.
Run straight, parallel lines of stitches up and down across the hole. Keep these vertical threads very close together.
This creates the foundation for your new woven patch. Think of it like building the frame of a house.
Step 5: Weave the Horizontal Threads
Now, turn your work sideways. You are going to weave your needle over and under the vertical threads you just made.
Go over the first thread, under the second, over the third, and so on. When you reach the end, turn around and do the opposite.
Keep your stitches snug, but avoid pulling them so tight that the fabric puckers.
Read More: How to Repair Hole in Cashmere Sweater.
Step 6: Blend the Patch
Continue weaving back and forth until the entire hole is filled. Your goal is to mimic the original fabric structure.
Once the hole is covered, weave the remaining thread tail into the nearby fabric on the inside. Snip off any excess.
If you used matching thread, the patch should blend beautifully.
Step 7: Press the Finished Repair
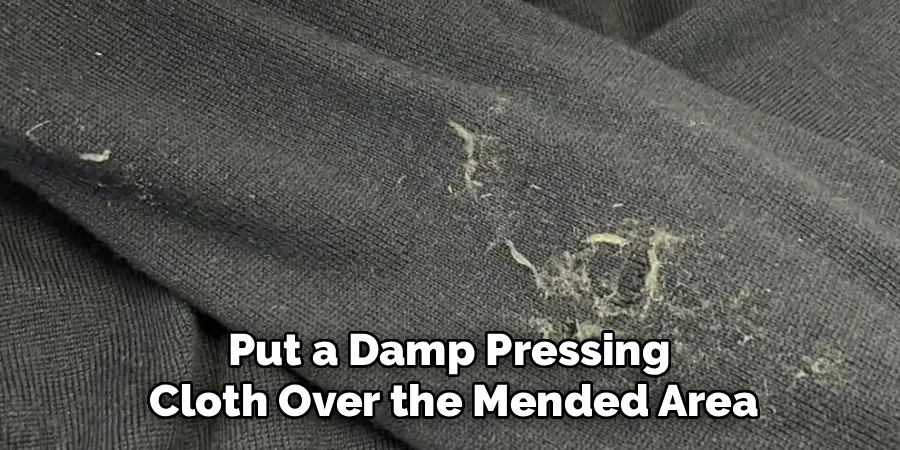
Place your garment flat on an ironing board. Put a damp pressing cloth over the mended area.
Press lightly with a warm iron for a few seconds. Do not rub the iron back and forth.
The steam helps the new threads relax and meld into the surrounding fibers. Your repair will look much smoother.
Safety Warnings for Your DIY Repair
Mending is generally a very safe hobby. However, there are a few minor hazards to keep in mind.
Always handle sharp embroidery scissors with care. Store them in a protective sheath when not in use.
Be mindful of your fingers when pushing needles through thick fabrics. Consider using a thimble if the material is tough.
If you use mothballs to prevent future damage, wash your hands thoroughly. The chemicals in mothballs are toxic to humans and pets.
Never leave a hot iron unattended, especially around children. Always unplug it immediately after pressing your repair.
When to Call a Professional
DIY mending is fantastic, but it has its limits. Sometimes, a professional touch is absolutely necessary.
If a moth hole is larger than a quarter, a home repair might look messy. Professionals use a technique called “French reweaving” to make large holes disappear completely.
You should also seek help for valuable heirloom pieces. A vintage designer suit requires specialized care that most beginners cannot provide.
If your garment is made of incredibly fine silk or delicate lace, pause before stitching. These fabrics tear easily and require an expert hand.
Trust your gut. If you feel nervous about ruining an expensive item, visit a local tailor.
Cost Estimate: DIY vs. Professional
Fixing moth damage yourself is incredibly budget-friendly. A pack of needles and a spool of thread will cost you less than $10.
These cheap supplies will last you through dozens of future repairs. Your only real investment is your time and patience.
Professional reweaving, on the other hand, is an art form. It is highly specialized labor.
Taking a sweater to a pro can cost anywhere from $30 to $80 per hole. For multiple holes, the bill climbs rapidly.
By taking the DIY route, you keep that money safely in your bank account.
Frequently Asked Questions
How can I stop moths from coming back?
Always wash your natural fibers before storing them away. Use cedar blocks or lavender sachets in your closets to naturally deter insects.
Does the freezer trick actually kill moth larvae?
Yes. Placing your garments in a sealed plastic bag in the freezer for 48 to 72 hours effectively kills larvae and eggs.
Can I use iron-on patches instead of sewing?
You can use iron-on patches for sturdy fabrics or casual wear. However, they tend to look stiff and peel off of stretchy knits.
Should I throw away clothes with moth holes?
Absolutely not! Unless the garment is completely shredded, most small holes are easy to mend. Repairing extends the life of your wardrobe.
What is the best thread to use for wool sweaters?
Try to find a matching wool yarn in the same weight as your sweater. If that fails, standard cotton embroidery floss works perfectly.
Wrapping Up Your Mending Journey
We hope this guide takes the stress out of your clothing repairs. Finding damage in your closet does not have to be a disaster.
With a little bit of patience and some basic supplies, you can save your wardrobe. You are now equipped with the exact knowledge of how to repair moth holes like a pro.
Mending is a practical skill that pays off for a lifetime. Every stitch you make saves you money and keeps perfectly good clothing out of the landfill.
Do not let those pesky bugs win! Grab a needle, claim a comfortable spot on the couch, and start stitching today.
Have you tried mending your own clothes recently? Leave a comment below and share your DIY repair success stories!