

Finding a hole in your favorite luxury knit can be heartbreaking. You invested good money into that cozy garment.
Throwing it away feels like a massive waste. Sending it to a specialist can cost a small fortune.
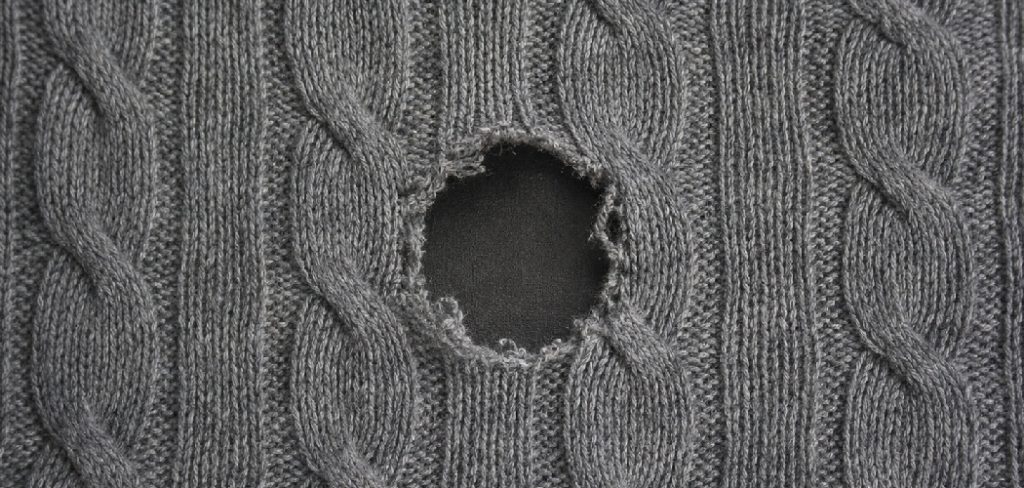
Thankfully, you do not need to panic. Learning how to repair hole in cashmere sweater is easier than you think.
We have all been there. You pull your favorite winter staple from the closet, only to spot a tiny, frustrating gap in the fabric.
Fixing it yourself saves you serious money. It also extends the lifespan of your wardrobe.
You do not need a degree in textiles to pull this off. You just need patience and the right technique.
Let us walk through the process together. Grab a cup of coffee, and let us get your garment looking brand new again.
What Causes This Problem?
Before we fix the damage, we need to understand the cause. Cashmere is incredibly soft, which also makes it delicate.
Here are the most common reasons you end up with holes:
- Moth Damage: Clothes moths love natural fibers. Their larvae eat the keratin found in animal-based fabrics.
- Friction and Wear: Constant rubbing against belts, zippers, or rough surfaces weakens the fine threads over time.
- Accidental Snags: Catching your sleeve on a door handle or a sharp piece of jewelry easily snaps the yarn.
- Improper Washing: Harsh detergents weaken the delicate fibers. Washing in hot water causes severe stress to the knit structure.
- Silverfish: Like moths, these tiny household pests feed on natural clothing fibers in dark, damp spaces.
- Weak Yarn: Sometimes, everyday stretching simply causes a weak spot in the knit to pop open.
Tools & Materials Needed
Having the right tools makes all the difference. Do not start this project without gathering your supplies first.
- Matching Cashmere Yarn: Try to find the exact color. If you cannot find cashmere, a fine silk or merino wool thread works beautifully.
- Darning Needle: You need a blunt-tipped needle. This slips between the knit without splitting the remaining good fibers.
- Darning Mushroom: This curved wooden tool sits under the fabric. A small citrus fruit or lightbulb works in a pinch.
- Small Embroidery Scissors: You need sharp, precise scissors to trim the excess thread neatly.
- Magnifying Glass: Cashmere stitches are tiny. Magnification helps you see exactly what you are doing.
- Good Lighting: Sit near a bright window or use a strong desk lamp to avoid eye strain.
Step-by-Step Guide on How to Repair Hole in Cashmere Sweater
If you want to master how to repair hole in cashmere sweater, follow these steps closely. Take your time.
Step 1: Assess the Damage
Lay your garment flat on a clean table. Examine the damaged area closely.
Check for running threads. A single snag can cause a ladder effect, much like pantyhose.
If the hole is surrounded by thin, worn fabric, you must extend your repair past the immediate gap.
Step 2: Position the Darning Mushroom
Take your darning mushroom or smooth rounded object. Place it inside the garment directly under the hole.
Gently stretch the fabric over the curve. Do not pull it tight.
You want the fabric to sit at its natural tension. Pulling too hard will cause a puckered repair.
Step 3: Thread the Darning Needle
Cut a piece of matching yarn about eighteen inches long. Using a longer piece often leads to annoying tangles.
Thread your blunt darning needle. Do not tie a knot at the end of the thread.
Knots create hard, uncomfortable bumps against your skin. We will secure the thread using a different method.
Step 4: Secure the Thread
Start about half an inch away from the hole. Choose a spot where the fabric is still strong and intact.
Weave the needle in and out of the existing stitches. Follow the natural row of the knit.
Leave a small one-inch tail of thread hanging on the inside of the garment. You will weave this in later.
Step 5: Create the Vertical Warp Threads
Now you will build a foundation across the gap. Bring your needle up right at the edge of the hole.
Cross directly over the empty space. Catch a solid loop of intact yarn on the opposite side.
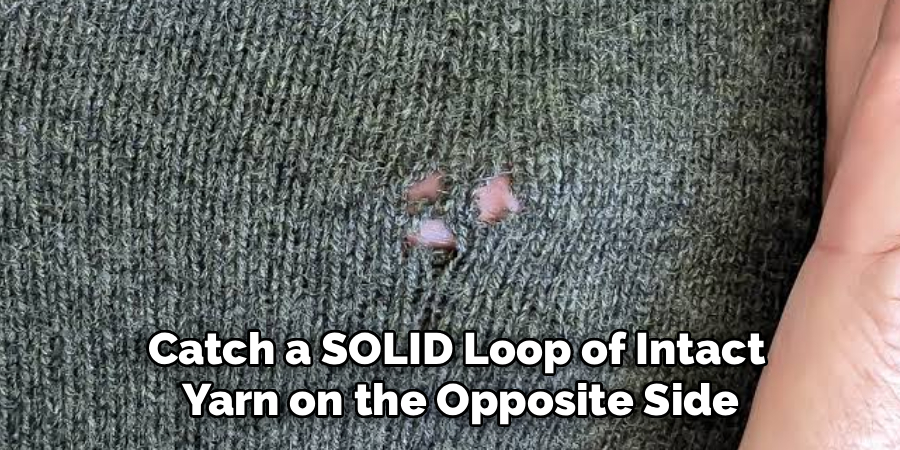
Bring the needle back across the gap. Catch the next solid loop on the starting side.
Keep your tension even. You are creating a series of parallel vertical lines across the hole.
Step 6: Weave the Horizontal Weft Threads
Once the vertical threads cover the gap, it is time to weave. Turn your work ninety degrees.
Start at the edge of your new vertical threads. Pass your needle over the first thread, then under the second.
Continue this over-and-under pattern across the entire gap. Once you reach the other side, catch a small piece of intact fabric.
Turn around and work your way back. If you went over a thread on the last pass, go under it this time.
Step 7: Push the Rows Together
As you weave back and forth, use the tip of your needle to push the horizontal threads together.
You want them to sit snugly against each other. This mimics the dense, warm texture of the original knit.
Keep weaving until the entire grid is filled. The hole should now be completely invisible under your new woven patch.
Step 8: Secure the Final Thread
Once the gap is filled, weave your needle back into the solid fabric. Go about half an inch into the healthy knit.
Follow the existing stitches just like you did at the beginning. This locks the final thread in place without a knot.
Carefully pull the needle through to the inside of the garment.
Step 9: Trim the Excess
Turn the garment inside out. Find the two small tails of yarn you left behind.
Use your sharp embroidery scissors. Snip the tails close to the fabric.
Be very careful not to cut the sweater itself. Your repair is now secure and complete.
Safety Warnings
Even a simple DIY fix has a few risks. Keep these cautions in mind to protect your clothing.
Never use a sharp sewing needle. A sharp point will pierce and split the delicate yarn, causing more damage.
Do not iron the repaired spot directly. The high heat can scorch the delicate fibers permanently.
If you must press the repair, use a cool iron and a damp pressing cloth. Hover the iron slightly above the fabric to steam it gently.
Avoid pulling the thread too tight during your repair. This will cause the fabric to bunch up and look terrible.
When to Call a Professional
Some repairs are too risky for a beginner. It is perfectly fine to admit when a job is over your head.
If the hole is larger than a silver dollar, call a professional. Large holes require complex re-knitting that takes years of practice to master.
Seek help if the damage runs along a prominent seam. Structural repairs need commercial machines to hold tension properly.
If the garment is a highly expensive heirloom, do not risk it. A re-knitting specialist can make the damage completely vanish.
Professionals take threads from hidden seams to weave into the damaged area. This creates a flawless, invisible fix.
Cost Estimate
Fixing things yourself is an amazing way to save cash. Here is what you can expect to spend.
A DIY repair costs almost nothing. A darning needle and some matching yarn will run you about ten to fifteen dollars.
Once you buy the tools, you can fix dozens of garments for free. The return on investment is fantastic.
Professional repairs are a different story. Taking your knitwear to a specialist is quite expensive.
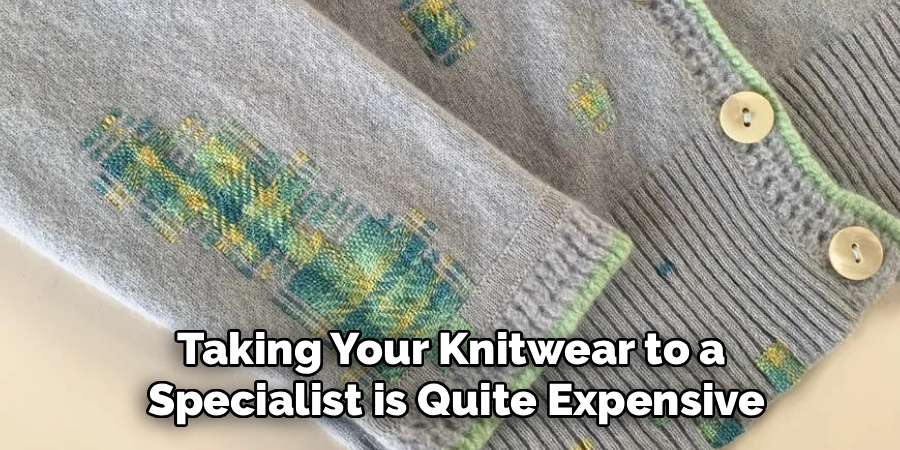
A basic professional repair starts around fifty dollars for a small snag.
Large holes or complex re-knitting services easily cost over a hundred dollars per garment.
FAQs About How to Repair Hole in Cashmere Sweater
Can I stop moths from eating my clothing?
Yes. Always wash your knitwear before storing it for the summer. Moths are attracted to body oils and sweat. Store your knits in airtight containers with cedar blocks or lavender sachets.
Will the repaired spot be highly visible?
If you match the color perfectly and keep your weaving tension even, the repair will be nearly invisible. It blends right into the fuzzy texture of the knit.
Can I just sew the gap shut instead of darning?
Pinching the hole shut and sewing it creates a hard, puckered lump. Darning rebuilds the missing fabric, keeping the garment flat, soft, and comfortable.
Is this method safe for other delicate fabrics?
Absolutely. You can use this exact same darning method for merino wool, alpaca, and even thick cotton sweaters. Just ensure your darning yarn matches the weight of the garment.
How do I wash the garment after fixing it?
Always hand wash your delicate knits in cold water with a gentle detergent. Never wring or twist the wet fabric. Lay it flat on a clean towel to dry completely.
Conclusion
Nobody wants to find damage on their favorite luxury clothing. But learning how to repair hole in cashmere sweater empowers you to fix the problem fast.
You save money, protect your wardrobe, and learn a valuable new skill. The process simply requires a darning needle, matching yarn, and a little bit of patience.
By building a small woven patch over the damage, you restore the strength and beauty of the fabric. You avoid the high costs of professional re-knitting services.
Do not let a tiny snag ruin your favorite outfit. Grab your supplies, find a comfortable spot with good lighting, and get to work.
If you found this guide helpful, check out our other DIY clothing repair tutorials today!