

That little tear near the kitchen sink or the bubble by the back door doesn’t have to mean a costly replacement. Linoleum is tough, but daily life still leaves its marks—scuffs, dents, peeling edges, and the occasional gouge from a dropped knife. The good news? You can learn how to repair linoleum flooring yourself, often in an afternoon, with tools you may already own.
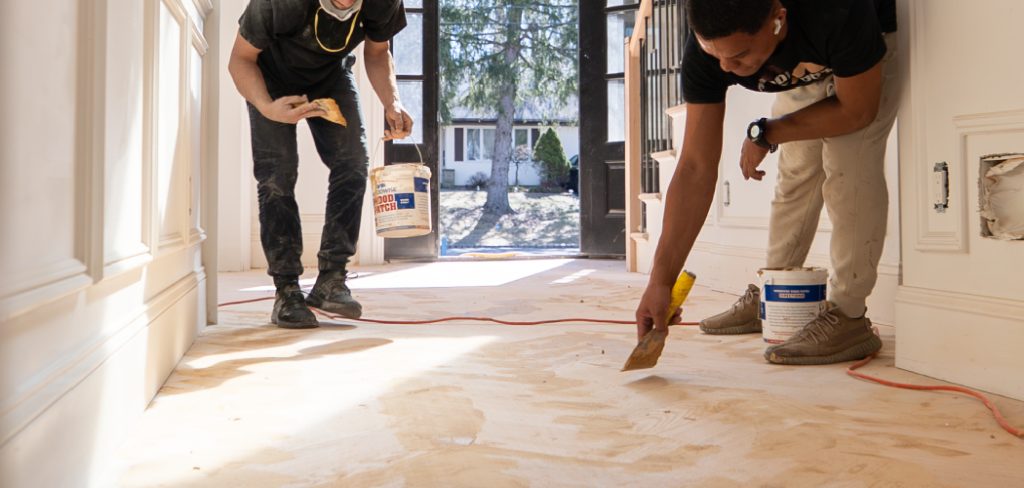
Whether you’re a homeowner protecting your investment or a renter trying to dodge a deposit deduction, these fixes are well within reach. No special training needed, just patience and a few simple supplies.
This guide walks you through every step to patch, seal, and refresh your linoleum so it looks fresh again—without paying a pro.
Why Learning to Repair Linoleum Flooring Matters
Knowing how to fix your own floors saves real money. A professional visit can cost hundreds, while a patch job might run you ten dollars in materials. That difference adds up fast, especially if you have more than one trouble spot.
For renters, small repairs protect your security deposit and keep your landlord happy. A neatly mended seam or filled gouge often goes unnoticed at move-out.
Homeowners gain something just as valuable: confidence. Once you handle a basic floor patch, bigger projects feel less intimidating. You also catch problems early, before water sneaks under loose edges and damages the subfloor.
Beginners benefit most of all. These skills carry over to vinyl, tile, and other surfaces, building a foundation you’ll use for years.
Tools and Materials You’ll Need
Most of these items are cheap and easy to find at any hardware store. Before you start, gather everything so you’re not running back mid-project with sticky hands.
Here’s what you’ll want on hand:
- Sharp utility knife
- Matching scrap of linoleum (save offcuts when you can)
- Flooring adhesive
- Seam sealer
- Putty knife or trowel
- Vinyl roller or rolling pin
- Clean rags and warm water
- Painter’s tape
- Heavy books or weights
- Fine-grit sandpaper
- Floor patch filler for small dents and gouges
One optional convenience item: a heat gun. It softens stubborn linoleum so it flexes and bonds without cracking. A hairdryer works in a pinch, but a heat gun gives you far more control.
Step-by-Step Guide on How to Repair Linoleum Flooring
Step 1 – Inspect and Identify the Damage
Start by getting down on your hands and knees for a close look. Run your fingers across the surface and feel for raised bubbles, loose corners, tears, or gouges. Each type of damage needs a slightly different fix, so knowing what you’re dealing with saves time later.
Press gently around the trouble spot. If the floor gives or crackles, the adhesive underneath has likely failed. Check for soft, spongy areas too, since those can signal moisture trapped against the subfloor.
Good lighting helps here. Shine a lamp at a low angle and you’ll spot dents and shallow scratches that hide in normal light. Jot down everything you find before grabbing any tools.
Step 2 – Clean the Work Area Thoroughly
Dirt and grease are the enemies of a strong bond. Wipe the damaged section and the surrounding floor with warm water and a mild cleaner, then dry it completely with a clean rag.
You’ll notice the surface feel slightly different once it’s truly clean—smoother, almost squeaky under your fingertip. That’s the texture you want before any adhesive touches it.
Pay extra attention to edges and seams, where grime loves to collect. A little scrubbing now prevents peeling later. If the area was sticky from old residue, give it a second pass.
Let everything air-dry for at least fifteen minutes. Trapped moisture weakens glue and invites mold, so don’t rush this step.
Step 3 – Flatten Bubbles and Lifted Spots
Bubbles form when the adhesive lets go and air sneaks underneath. To fix one, warm it gently with a heat gun until the linoleum softens and feels pliable, almost like warm leather.
Once flexible, press the bubble flat with your hand. If it won’t stay down, make a small slit through the center with your utility knife. This lets you slide fresh adhesive underneath.
Squeeze a thin line of flooring adhesive into the cut, then press the area flat again. Wipe away any glue that oozes out before it dries.
Place a heavy book on top and leave it overnight. Knowing how to repair linoleum flooring bubbles like this prevents the same spot from lifting again.
Read More: How to Repair Water Damaged Hardwood Floors.
Step 4 – Cut and Prepare a Patch
For tears or deep gouges, a patch works best. Find your matching scrap and lay it over the damaged area, lining up the pattern so the repair blends in.
Tape the scrap in place, then cut through both layers at once with a sharp utility knife. This double-cut trick ensures the patch fits the hole perfectly, with no awkward gaps.
Press firmly and use steady, slow strokes. Linoleum can be stubborn, so a fresh blade makes all the difference. You’ll hear a clean slicing sound when the knife is sharp enough.
Remove the damaged piece and test-fit your new patch. It should drop in snugly, like a puzzle piece sliding home.
Step 5 – Apply Adhesive and Set the Patch
Spread a thin, even layer of flooring adhesive across the exposed subfloor with a putty knife. Too much glue squeezes out the sides and makes a mess, so go light.
Lower the patch into place, starting at one edge and easing it down. Press from the center outward to push out trapped air. You’ll feel it grip and settle as the adhesive takes hold.
A vinyl roller comes in handy here. Roll firmly across the patch to bond every inch and flatten the surface. If you don’t have one, a rolling pin works almost as well.
Wipe away excess glue immediately with a damp rag. Dried adhesive is far harder to remove later.
Read More: How to Repair Water Spots on Ceiling.
Step 6 – Seal the Seams
Fresh seams need protection, or water and dirt will work their way in. Apply seam sealer along every edge of your patch using the applicator tip, keeping a steady, thin bead.
The sealer fuses the patch to the old flooring, creating a smooth, nearly invisible line. As it dries, it forms a clear barrier you can run your finger over without catching an edge.
Work slowly and follow the seam exactly. Wiping past the line leaves a glossy streak that’s tough to fix.
Give the sealer the full drying time listed on the bottle, usually a couple of hours. Resist the urge to walk on it early—patience here pays off with a lasting bond.
Step 7 – Fill Small Dents and Gouges
Not every flaw needs a patch. For shallow dents and scratches, floor patch filler is your friend. Scoop a small amount onto your putty knife and press it firmly into the gap.
Drag the knife flat across the surface to smooth the filler level with the floor. It should sit slightly proud at first, since most fillers shrink a little as they cure.
Let it dry fully, then sand the spot with fine-grit sandpaper until it feels even under your palm. Wipe away the dust with a damp cloth.
For deeper gouges, build up the filler in thin layers rather than one thick blob. This prevents cracking and gives you a stronger, longer-lasting repair.
Read More: How to Repair Water Damaged Drywall.
Step 8 – Clean Up and Let Everything Cure
You’re almost done. Give the whole area a final wipe to remove dust, glue smears, and sealer residue. A clean finish makes your repair nearly invisible.
Now comes the hardest part: waiting. Keep foot traffic off the repaired section for at least twenty-four hours. Walking on it too soon can shift the patch or dent the soft filler.
Block the area with a chair or a few weights if you live with curious pets or kids. A little planning here protects all your hard work.
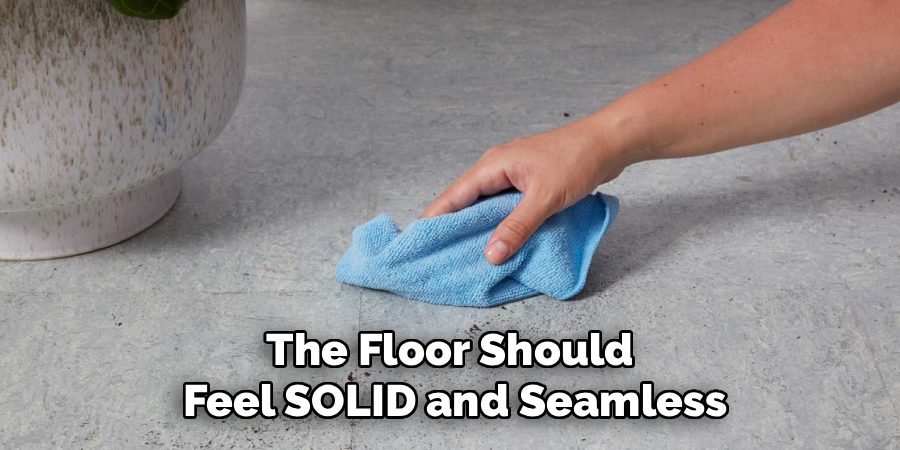
Once cured, the floor should feel solid and seamless. Run your hand across it one last time—if it’s smooth and firm, you’ve nailed it.
Critical Mistakes When Repairing Linoleum Flooring
Even careful beginners slip up, so learn from these common errors before you start.
The biggest mistake is skipping the cleaning step. Adhesive simply won’t grip a greasy or dusty surface, and your patch will peel within weeks. Always clean and dry the area completely, no shortcuts.
Another frequent error is using too much adhesive. It feels like more glue means a stronger hold, but excess oozes out, traps air, and creates lumps under the surface. A thin, even layer always beats a thick, sloppy one.
Many people also ignore the pattern when cutting a patch. If you don’t line up the design first, the repair stands out like a sore thumb. Take an extra minute to match scrap pieces carefully.
Rushing the drying time ranks high too. Walking on fresh sealer or filler shifts everything and ruins the bond. Give each layer the full cure time, even when you’re eager to finish.
Finally, watch for moisture. Patching over a damp subfloor traps water underneath, which leads to mold and another lifted spot down the road. Fix any leaks first.
Expert Cleaning Tips
Keeping your linoleum clean extends its life and keeps repairs looking fresh. Skip harsh chemicals, since strong cleaners dull the finish and weaken seams over time. A simple mix of warm water and a splash of dish soap handles most messes.
Sweep or vacuum regularly. Grit acts like sandpaper underfoot, scratching the surface and grinding down your patches.
Wipe spills quickly, especially near seams and edges where moisture sneaks in. A damp mop works better than a soaking-wet one, since standing water is linoleum’s worst enemy.
Every few months, buff the floor with a soft cloth to restore shine. For extra protection, apply a thin coat of floor polish made for linoleum. It guards against dents, hides minor scratches, and keeps your repairs blending in beautifully.
Frequently Asked Questions
Can I repair linoleum flooring without replacing the whole floor?
Yes, absolutely. Most damage like tears, bubbles, dents, and gouges can be patched or filled in place. As long as the subfloor underneath is solid and dry, a spot repair holds up well. Full replacement only makes sense when the floor is failing across large areas or hiding serious water damage below.
How long does a linoleum repair take to dry?
It depends on the products you use. Here’s a quick guide:
- Flooring adhesive: 24 hours for a full cure
- Seam sealer: 2 to 4 hours
- Floor patch filler: 1 to 2 hours per layer
Always check the label, since brands vary. Keep traffic off the area until everything fully sets.
What can I use if I don’t have matching scrap linoleum?
Check inside closets or under appliances, where you might cut a small, hidden piece that matches perfectly. Many flooring stores also sell remnants cheaply. If you can’t find a match, choose a filler tinted close to your floor color for small spots, or consider a decorative element like a transition strip to disguise the repair.
Why does my linoleum keep bubbling up?
Bubbles usually mean the adhesive has failed, often from moisture or age. Trapped water under the floor is a common culprit, so check for leaks nearby. Re-gluing the spot and weighting it overnight fixes most bubbles. If they keep returning, the subfloor may be damp and needs to dry out fully first.
Do I need special tools to fix linoleum?
Not really. A sharp utility knife, a putty knife, and a vinyl roller cover most jobs, and you can substitute a rolling pin for the roller. A heat gun helps with stubborn spots but isn’t essential. Most homeowners already own half the supplies needed, which makes this one of the more budget-friendly home repairs.
Conclusion
Fixing your floors isn’t as hard as it looks. With a sharp utility knife, a little adhesive, and some patience, you can patch tears, flatten bubbles, fill gouges, and seal seams like a pro. The key takeaways are simple: clean thoroughly before you glue, match your patches to the pattern, use adhesive sparingly, and always give each layer enough time to cure.
Remember that moisture is your biggest enemy, so dry every surface and fix leaks before you begin. Regular cleaning and the occasional buff keep your repairs blending in for years.
You don’t need a contractor or a big budget to keep your floors looking great. Once you’ve learned how to repair linoleum flooring, you’ll spot small problems early and tackle them with confidence before they grow.
So grab your tools, pick that one nagging trouble spot, and start with Step 1 today. Your floor—and your wallet—will thank you.