

Spilled drinks, hidden leaks, or unexpected flooding can wreak havoc on your beautiful home. Seeing cupped, warped, or discolored wood can easily make your heart sink.
But don’t panic just yet. Figuring out how to repair water damaged hardwood floors is easier than you might think.
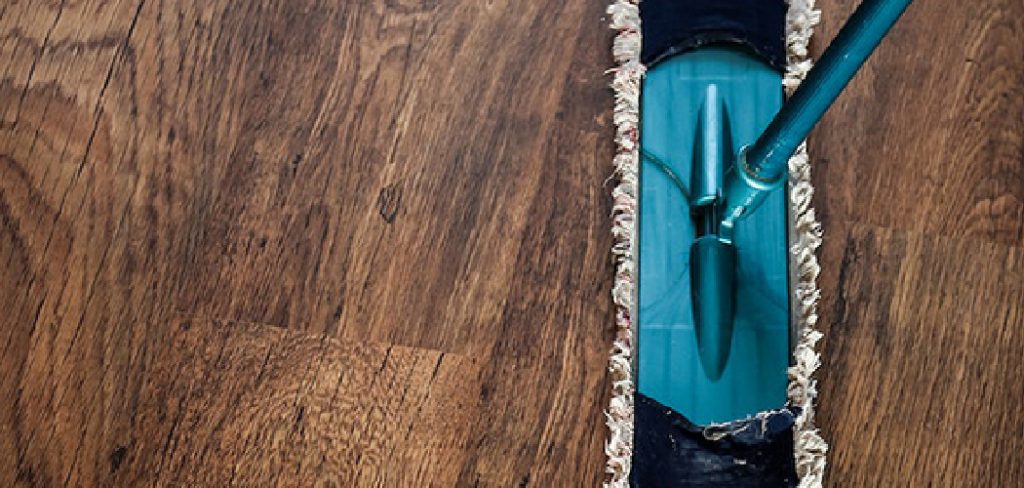
Renters, homeowners, and weekend warriors face this frustrating issue all the time. The good news? You can fix most minor to moderate damage yourself.
Tackling this project on your own saves a massive amount of money. You skip the expensive labor fees and take total control of your home’s upkeep.
In this guide, we will walk you through exactly what to do. Grab your toolbelt, and let’s get those floors looking brand new again.
What Causes This Problem?
Before fixing the floor, you need to understand why it happened. Water and wood are natural enemies.
When moisture sits on untreated or worn wood, it seeps into the grain. This causes swelling, buckling, and dark stains.
Here are the most common culprits behind your ruined floorboards:
- Appliance leaks: Dishwashers, refrigerators, and washing machines often drip water slowly over time.
- Potted plants: Overwatering indoor plants leaves hidden puddles right on your floorboards.
- Pet accidents: Urine or spilled water bowls can cause deep, dark stains if not wiped up fast.
- Plumbing failures: Burst pipes or leaky radiators push massive amounts of moisture under the floor.
- Poor window seals: Rainwater can sneak in during heavy storms, soaking the wood near your exterior walls.
- Humid environments: Homes without proper climate control let excess moisture warp the wood over time.
Tools & Materials Needed
Preparation is the secret to a stress-free DIY repair. You do not want to stop halfway through to buy more supplies.
Gather these items before you pull up a single plank. Having everything ready makes the job safe and simple.
Safety Gear:
- Work gloves
- Safety goggles
- Dust mask or respirator
Demolition & Prep Tools:
- Pry bar
- Hammer or mallet
- Chisel
- Circular saw
- Shop vacuum
Installation & Finishing Materials:
- Matching replacement hardwood planks
- Wood glue or flooring adhesive
- Finishing nails
- Nail punch
- Medium and fine-grit sandpaper (or a hand sander)
- Wood stain (matched to your current floor)
- Polyurethane finish
- Clean rags and foam brushes
Step-by-Step Guide: How to Repair Water Damaged Hardwood Floors
Follow these simple steps to restore your floor. Take your time, and do not rush the drying process.
Patience is your best friend when dealing with water damage.
Step 1: Find and Stop the Moisture Source
You cannot fix the floor until you fix the leak. Otherwise, your brand-new repair will get ruined again.
Check nearby appliances, pipes, and windows. Fix the underlying plumbing issue before touching the wood.
Step 2: Dry the Area Completely
Never install new wood over a wet subfloor. It will trap moisture and cause harmful mold growth.
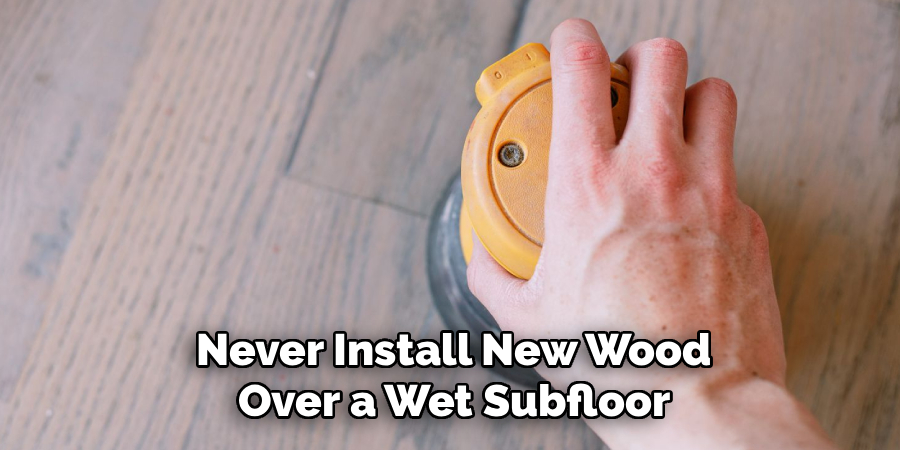
Set up large fans and a dehumidifier right next to the wet spot. Let them run continuously for at least 48 to 72 hours.
Use a moisture meter if you want to be totally sure. The subfloor must be bone dry before you move forward.
Step 3: Remove the Damaged Planks
Set your circular saw to the exact depth of the hardwood. You do not want to cut into the subfloor below.
Make two cuts down the center of the warped board. Use your chisel and hammer to gently pry the broken pieces out.
Step 4: Clean and Inspect the Subfloor
With the old wood gone, vacuum up all the dust and debris. A clean workspace ensures your new planks sit perfectly level.
Check the subfloor for rot or deep structural damage. If the subfloor is soft and crumbly, you will need to replace that section too.
Step 5: Measure and Cut New Planks
Take your replacement boards and measure them against the empty gap. Mark your cuts with a pencil for accuracy.
Use your saw to cut the boards to the exact length. For the final board, you may need to cut off the bottom lip of the groove so it drops into place.
Step 6: Install the Replacement Floorboards
Apply a generous amount of wood glue to the subfloor and the edges of the new boards. Slide the tongue of the new board into the groove of the old one.
Use your mallet to tap it firmly into place. For extra security, drive a few finishing nails into the edges and sink them with a nail punch.
Step 7: Sand the Repaired Area
Your new boards might sit slightly higher than the old floor. Sanding blends everything perfectly together.
Start with medium-grit sandpaper to level the edges. Finish with fine-grit sandpaper until the wood feels totally smooth.
Step 8: Apply the Wood Stain
Wipe away all the sanding dust with a damp rag. You need a completely clean surface before staining.
Apply your matching wood stain using a clean cloth or brush. Let it sit for a few minutes, then wipe off the excess.
Step 9: Seal with a Protective Finish
Once the stain is completely dry, it is time to protect your hard work. Apply a coat of polyurethane finish over the new boards.
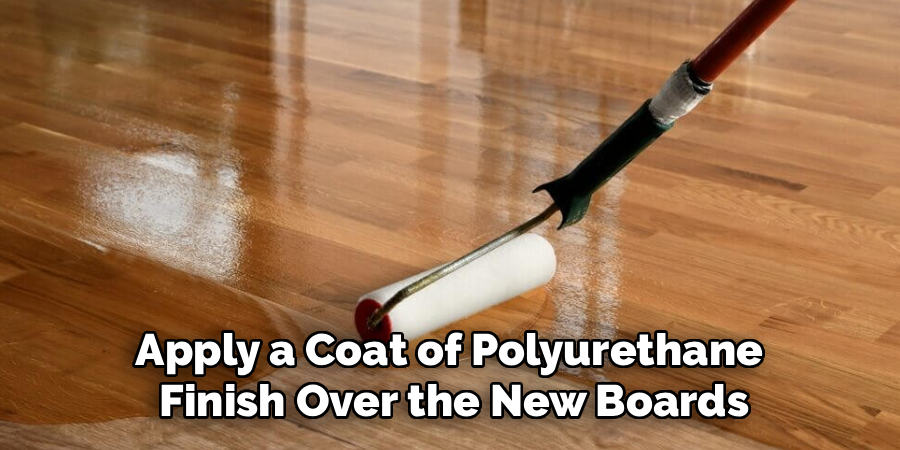
Let it dry according to the package instructions. You may need two or three coats for maximum durability.
Important Safety Warnings
DIY projects are fun, but safety always comes first. Working with tools and chemicals requires focus and care.
Always wear your safety goggles when using saws or chisels. Wood splinters can fly up unpredictably.
Wear a dust mask while sanding or working with polyurethane. The fumes and fine sawdust are terrible for your lungs.
Finally, keep the room well-ventilated. Open windows and run fans when applying stains and chemical finishes.
When to Call a Professional
We love DIY, but some jobs are simply too big for one person. It is important to know your limits.
If the water damage covers more than a quarter of the room, call a pro. Massive flooding usually means the subfloor is structurally compromised.
Call an expert if you see extensive black mold growing under the floorboards. Mold remediation requires special hazardous material training.
If your home features rare, antique, or intricate parquet flooring, let a specialist handle it. Matching vintage patterns is incredibly difficult for beginners.
Cost Estimate: DIY vs. Pro Repair
Budget is a huge factor when deciding whether to do it yourself. Repairing a floor on your own keeps cash in your pocket.
If you already own the basic tools, a DIY repair costs between $50 and $150. You are only paying for a few replacement boards, stain, and glue.
Hiring a professional tells a different story. Contractors charge for materials, hourly labor, and travel time.
A professional wood floor repair typically costs between $500 and $1,200. Doing it yourself saves you hundreds, if not thousands, of dollars.
FAQs About How to Repair Water Damaged Hardwood Floors
Can warped hardwood floors go back to normal?
Sometimes, yes. If you catch a spill immediately and dry it fast, minor cupping can flatten out on its own. However, deeply warped wood usually needs replacement.
Does homeowners insurance cover this?
It depends on the source of the water. Sudden burst pipes are usually covered, but gradual appliance leaks or slow seepage are often denied.
How long does water take to damage wood floors?
Damage can start in just a few hours. Water seeps into the seams quickly, so you must wipe up spills the second they happen.
Can I just paint over water stains?
No, painting over water stains traps the moisture inside. You must sand away the dark spots or replace the wood completely.
Will a hair dryer fix wet hardwood?
A hair dryer is too hot and can actually bake the wood, causing it to crack. Always use room-temperature fans and a dehumidifier to extract moisture safely.
Conclusion: You Can Save Your Floors
Seeing your beautiful home damaged by water is incredibly stressful. But knowing how to repair water damaged hardwood floors gives you the power to fix it yourself.
By following these simple steps, you can save money and restore your home’s natural beauty. Just remember to find the leak, dry the area thoroughly, and take your time with the finishes.
You do not have to live with ugly, warped floorboards anymore.
Ready to tackle more home improvement projects? Check out our other DIY repair guides and transform your home today!