

We all have that one favorite bag we carry everywhere. But heavy daily use takes a toll, and eventually, the handle starts to crack, peel, or snap entirely.
If you are wondering how to repair a leather purse strap at home, you are in the right place. Throwing away a beautiful bag just because of a broken strap is a waste.
Fixing it yourself is surprisingly easy. It also saves you a significant amount of money compared to buying a replacement or paying high cobbler fees.
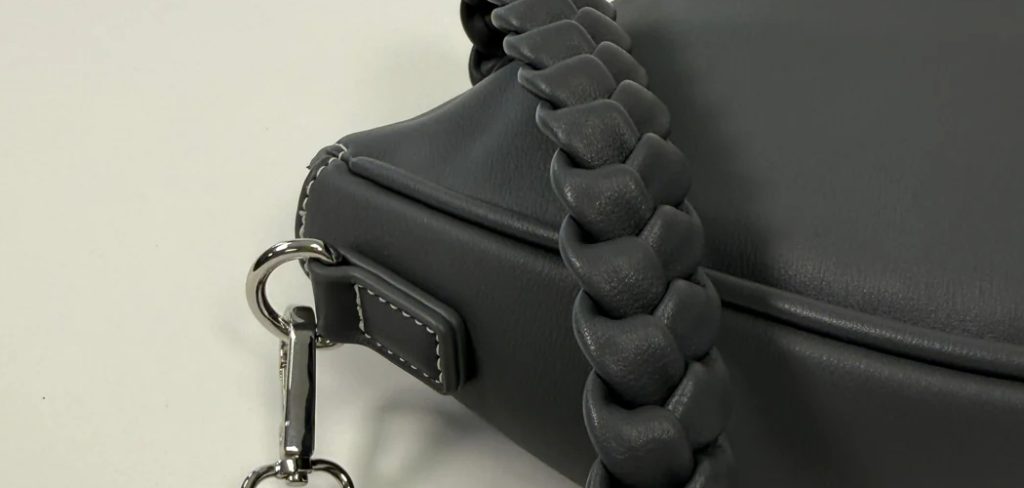
Anyone can learn this skill. You do not need professional leatherworking experience to bring your favorite accessory back to life.
With a few basic tools and a free afternoon, you can fix tears, reattach hardware, and seal frayed edges. Let us dive right in and get your bag looking brand new again.
What Causes Leather Strap Damage?
Understanding why your bag breaks helps you prevent future damage. Leather is durable, but it requires care and has its limits.
Here are the most common reasons your bag handles fail:
- Overloading the bag: Carrying too much weight puts severe stress on the stitching and hardware.
- Lack of conditioning: Dry leather becomes brittle, leading to cracks and severe snapping over time.
- Friction and daily wear: Constant rubbing against your shoulder or rough coats wears down the protective edge paint.
- Sun and heat exposure: Leaving your bag in a hot car or direct sunlight dries out the natural oils.
- Poor quality materials: Sometimes, manufacturers use bonded leather or cheap hardware that simply breaks down fast.
- Moisture damage: Getting caught in heavy rain without letting the leather dry properly weakens the fibers.
Tools & Materials Needed for the Job
Before you learn how to repair a leather purse strap, you need to gather your supplies. Having everything ready makes the process smooth and frustration-free.
You can find all of these items online or at your local craft store.
- Leather adhesive: Choose a flexible glue specifically designed for leather and fabric.
- Heavy-duty waxed thread: Standard sewing thread will snap. You need thick, waxed cord for durability.
- Leather stitching needles: Also known as harness needles, these have blunt points to pass through existing holes.
- A stitching awl: This tool helps you punch new holes if the old ones are torn.
- Leather edge paint: This seals the raw edges of the strap to stop peeling and fraying.
- Fine-grit sandpaper: You will need this to smooth the edges before applying the paint.
- Replacement hardware (optional): If a D-ring or swivel clasp is broken, buy a matching replacement.
- Leather conditioner: This restores moisture and blends the repaired area with the rest of the bag.
- Rubbing alcohol and cotton swabs: Used for cleaning the area before you apply any glue.
Step-by-Step Guide: How to Repair a Leather Purse Strap
Repairing a bag might seem intimidating at first. However, if you break it down into small tasks, it is incredibly manageable.
We will cover fixing splits, restitching tears, and fixing the edges. Follow these steps carefully.
Step 1: Clean and Prep the Leather
Never apply glue or paint to dirty leather. The repair simply will not hold.
Dip a cotton swab in a small amount of rubbing alcohol. Gently wipe down the broken ends of the strap.
This removes skin oils, dirt, and old adhesive. Let the alcohol dry completely, which should only take a few minutes.
If the edges are heavily frayed, use small scissors to snip away any loose threads. You want a clean, flat surface to work with.
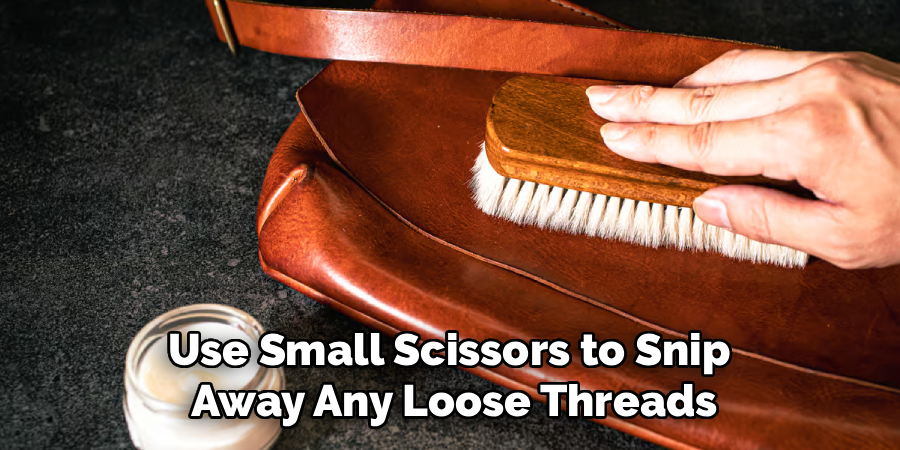
Step 2: Apply Leather Adhesive to Splits
Often, a strap is made of two layers of leather glued together. Over time, these layers separate and split open.
Take your leather adhesive and apply a very thin, even layer inside the split. Use a toothpick to spread it deep into the crevice.
Press the two layers firmly together. Wipe away any excess glue that squeezes out immediately with a damp cloth.
Use binder clips or heavy books to clamp the glued section flat. Let it dry for at least 24 hours for a secure bond.
Read More: How to Repair Leather Boots Scratch Issues.
Step 3: Re-Stitch Torn Sections
Glue is great, but stitches provide the real structural strength. Thread two harness needles, one on each end of a long piece of waxed thread.
This is called a saddle stitch. Push an awl through the existing holes to clear out old glue and thread.
Push one needle through the first hole, centering your thread. Then, pass both needles through the next hole from opposite sides.
Pull the thread tight. Repeat this alternating pattern until you stitch past the damaged area. Tie the thread off securely on the underside.
Step 4: Fix Broken Hardware or Clasps
Sometimes the leather is fine, but the metal clasp connecting it to the bag breaks. This requires opening the leather loop.
Carefully cut the stitches holding the metal ring in place. Slide the broken hardware out and slip the new D-ring or swivel clasp in.
Fold the leather back over the new hardware. Use your adhesive to secure the flap down temporarily.
Once the glue dries, use your awl and waxed thread to re-stitch the loop exactly as you did in step three.
Read More: How To Repair Leather Coat.
Step 5: Sand and Apply Leather Edge Paint
A strap with raw, exposed edges looks messy and will quickly deteriorate. You need to seal it with edge paint.
Take your fine-grit sandpaper and gently sand the edge of the strap until it feels smooth. Wipe away the dust.
Dip a specialized edge roller or a cotton swab into the leather edge paint. Roll it evenly along the side of the strap.
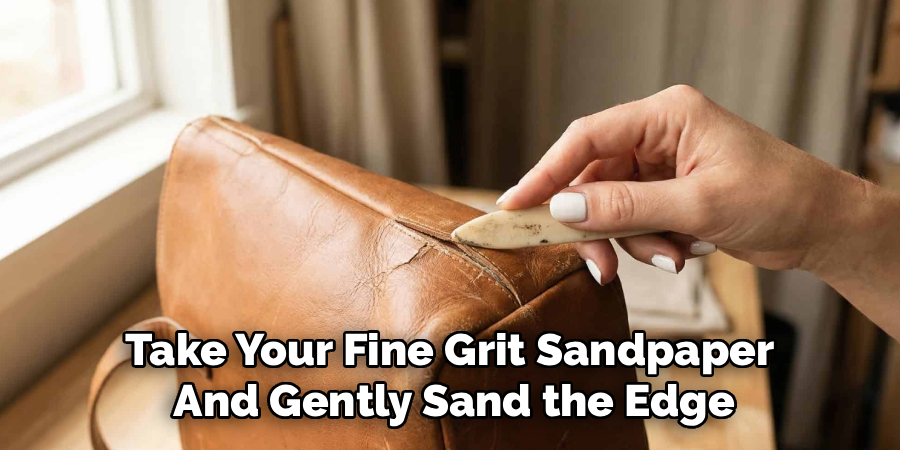
Let the first coat dry for an hour. Sand it lightly again, and apply a second coat for a professional, rounded finish.
Step 6: Condition the Entire Strap
The final step is to restore moisture and blend your repair work. Leather conditioner keeps the material flexible so it will not snap again.
Apply a small dime-sized amount of conditioner to a soft microfiber cloth. Rub it into the leather using circular motions.
Coat the entire strap, not just the repaired section. This ensures an even color and texture.
Let the conditioner soak in overnight. Buff away any excess the next morning with a clean, dry cloth.
Safety Warnings for Leather Repair
DIY projects are fun, but you always need to prioritize safety. Working with sharp tools and chemicals requires basic precautions.
Always use your stitching awl carefully. Always push the tool away from your body and keep your fingers clear of the sharp tip.
Leather adhesives and edge paints can emit strong fumes. Always work in a well-ventilated room or open a window.
Keep all glues, paints, and sharp needles far out of reach of children and pets.
If you get leather adhesive on your skin, wash it off immediately with warm, soapy water before it cures.
When to Call a Professional Leather Worker
While this guide empowers you to fix most issues, some repairs are beyond a simple DIY fix. Knowing your limits prevents further damage to expensive items.
If your bag is a high-end luxury designer item, consider taking it to a professional. DIY repairs can sometimes void brand warranties.
If the strap is completely shredded into multiple pieces, it likely needs to be entirely recreated from scratch.
Cobblers have industrial sewing machines that can punch through extremely thick, multi-layered leather that hand-stitching cannot penetrate.
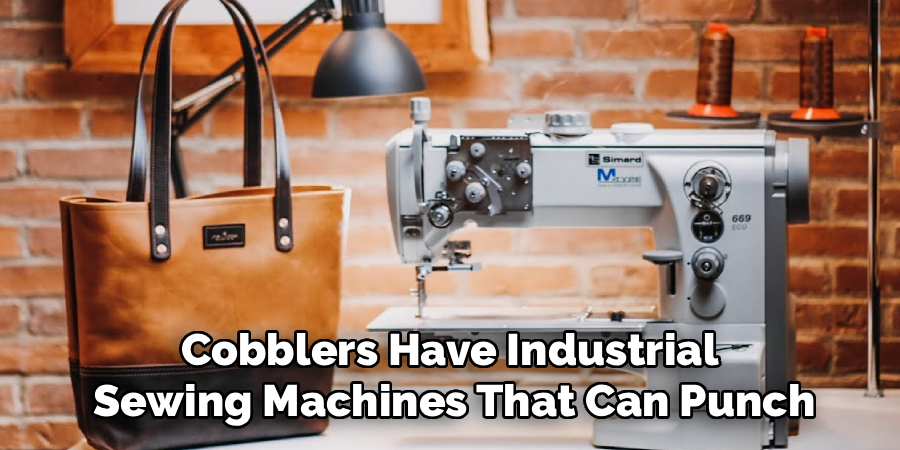
When in doubt, getting a quote from a local shoe repair or bag repair shop is a smart move.
Cost Estimate: DIY Repair vs. Pro Fix
Fixing things at home is a great way to stretch your budget. Let us look at the financial breakdown of repairing your bag.
A DIY repair kit (glue, thread, needles, and edge paint) usually costs between $20 and $35. These supplies will last for multiple future repairs, too.
Taking your bag to a professional cobbler for a strap repair usually starts at $50. For complex restitching or hardware replacement, it can exceed $100.
By spending just a little money on supplies and offering your time, you save quite a bit. Plus, you gain a valuable new skill.
FAQs on Leather Bag Repair
Can I use super glue on leather straps?
No. Super glue dries hard and brittle. When the leather bends, the super glue will crack and ruin the material. Always use flexible leather adhesive.
What kind of thread is best for leather?
Always use heavy-duty waxed nylon or linen thread. The wax helps the thread glide through the leather and protects it from rotting.
How do I stop my leather straps from peeling?
Peeling happens when the edge paint wears off. You can fix this by lightly sanding the edges and applying two coats of fresh leather edge paint.
Can a broken leather strap be fixed if it snapped in half?
Yes, but you will need to overlap the two pieces, glue them securely, and stitch heavily around the border to ensure it can bear weight again.
Conclusion
Learning how to repair a leather purse strap is a highly rewarding project. It saves you money, reduces waste, and gives your favorite bag a second life.
By taking the time to clean, glue, stitch, and seal the edges, you can achieve professional-looking results right at your kitchen table.
Do not let a broken handle keep your best accessory sitting in the closet. Grab your tools, follow these steps, and tackle that repair today.
Have you tried fixing your own bag recently? Grab a leather repair kit online and start restoring your favorite items this weekend!