

Ripping your favorite pair of pants can feel like a disaster. We all know the sinking feeling of catching fabric on a sharp edge or noticing a worn-out spot.
However, learning how to repair a hole in trousers is easier than you think. It is a practical skill that every DIY enthusiast should master.
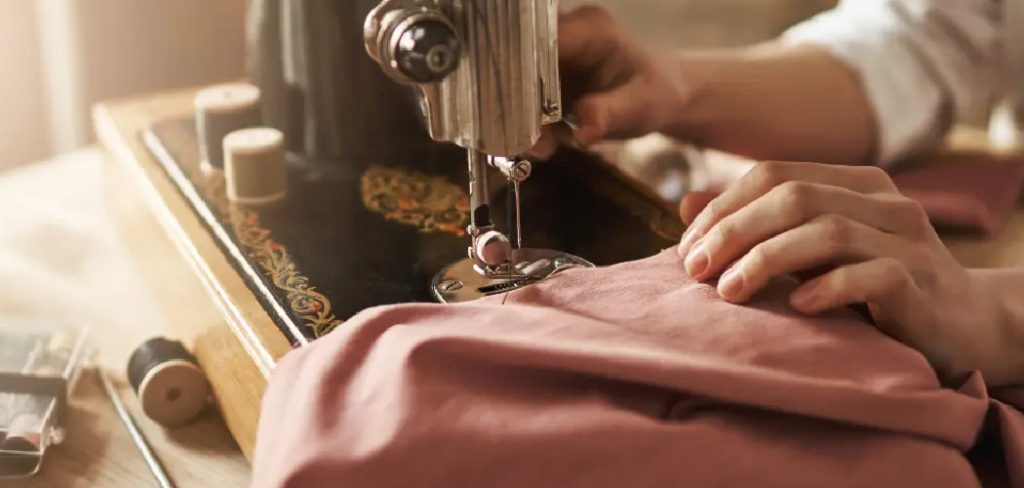
Fixing your clothes yourself saves you money and extends the life of your wardrobe. You do not need a fancy sewing machine to get started.
With a little patience and a few basic supplies, you can make your garments look good as new. Let us dive into the simple process of mending your clothes at home.
Why You Should Learn How to Repair a Hole in Trousers
Throwing away a perfectly good pair of pants just because of a small tear is a waste of money. A simple patch job costs pennies compared to buying a replacement.
When you know how to repair a hole in trousers, you take control of your wardrobe. You also reduce textile waste, which is great for the environment.
Whether you are a homeowner fixing work pants or a renter patching up denim, this skill pays off. You will feel a great sense of pride when you wear something you fixed yourself.
What Causes This Problem?
Pants take a lot of daily abuse. Understanding why tears happen can help you prevent them in the future. Here are the most common culprits:
- Friction: Constant rubbing, especially in the inner thigh area, wears down the fabric over time.
- Sharp Objects: Snagging your pants on a nail, fence, or sharp corner causes sudden tears.
- Weak Seams: Poor manufacturing can leave seams prone to splitting under pressure.
- Harsh Washing: Washing delicate fabrics on heavy-duty cycles breaks down the fibers.
- Age and Wear: Even the highest quality fabric naturally thins out and weakens after years of use.
Tools & Materials Needed
Before you start fixing your pants, gather your supplies. Having everything within reach makes the job much smoother.
- Needle: A standard sewing needle works fine, but a heavy-duty needle is best for denim.
- Thread: Choose a heavy-duty polyester thread that matches the color of your pants.
- Fabric Patch: Find a scrap piece of fabric similar in weight and color to your garment.
- Fabric Scissors: Sharp scissors ensure clean cuts without fraying the fabric edges.
- Straight Pins: You need these to hold the patch securely in place while you work.
- Iron-on Mending Tape (Optional): This is a great alternative for quick, no-sew fixes.
- Thimble (Optional): This protects your fingers when pushing needles through thick fabrics.
Step-by-Step Guide on How to Repair a Hole in Trousers
Fixing a tear might seem scary, but it is actually a very straightforward process. Just take your time and follow these simple steps.
This guide focuses on the patching method, which provides the strongest and most durable repair for most fabrics.
Step 1: Clean and Prep the Area
Always wash and dry your pants before starting a repair. Clean fabric is easier to work with and holds stitches better.
Once the pants are clean, lay them flat on a table or ironing board. Smooth out the area around the tear to avoid sewing in unwanted wrinkles.
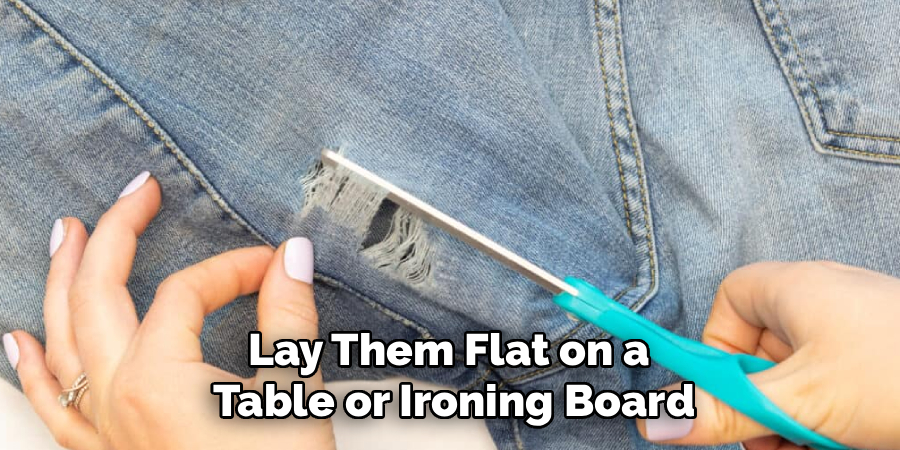
Trim away any loose threads or badly frayed edges around the hole. You want a clean, neat workspace before you apply any patches or stitches.
Step 2: Cut Your Fabric Patch
Take your scrap fabric and measure it against the torn area. The patch needs to be larger than the hole itself.
Cut the patch so it extends at least one inch beyond the edges of the tear on all sides. This gives your stitches plenty of solid fabric to grab onto.
If you are using iron-on mending tape, cut it to the same overlapping dimensions. Rounded corners on your patch will prevent the edges from peeling up over time.
Read More: How to Repair Crumbling Concrete Statues and Save Money.
Step 3: Turn the Pants Inside Out
Most repairs look much better when done from the inside of the garment. Turn your pants inside out and lay them flat again.
Position your cut patch directly over the hole. Make sure the “right” side of the patch faces outward through the hole.
Double-check that the patch covers the entire damaged area plus the extra inch of solid fabric.
Step 4: Pin the Patch in Place
Grab your straight pins and secure the patch to the pants. Place a pin at each corner and along the sides.
Make sure the fabric remains flat and unpuckered while you pin it. Take your time here, as a poorly pinned patch will result in a messy repair.
If you are using iron-on tape instead of a fabric patch, follow the package instructions to fuse it to the fabric with a hot iron.
Step 5: Thread Your Needle
Cut a piece of thread about 18 to 24 inches long. Using thread that is too long will cause annoying tangles as you sew.
Thread the needle and pull it through so you have equal lengths on both sides. Tie a sturdy double knot at the very end of the thread.
If you are sewing thick denim, you can use a single thread, but doubling it up makes the repair much stronger.
Step 6: Begin Stitching
Start sewing from the inside of the pants, pushing the needle up through both the patch and the pant fabric.
Begin your stitches about half an inch away from the edge of the hole. This ensures you anchor the thread in strong, undamaged fabric.
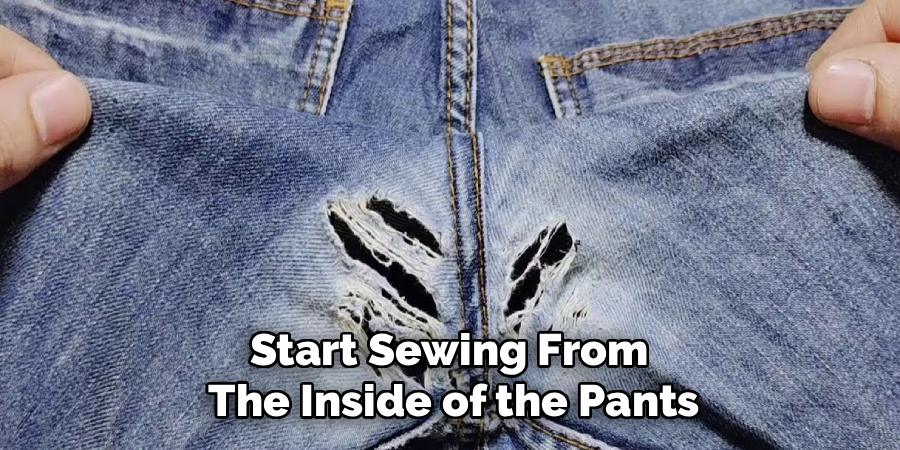
Use a simple running stitch or a whip stitch. Push the needle up and down through the layers, keeping your stitches small and tight.
Step 7: Sew Around the Edges
Work your way completely around the perimeter of the patch. Keep your stitches close together for maximum strength.
Do not pull the thread too tight as you go. If you pull too hard, the fabric will pucker and feel uncomfortable against your skin.
Once you have sewn around the outside edge of the patch, you can add a second row of stitches closer to the hole for extra durability.
Read More: How to Repair Pool Light.
Step 8: Tie Off the Thread
When you finish sewing around the entire patch, bring the needle to the inside of the pants.
Create a small loop with the thread, push the needle through the loop, and pull tight to form a knot. Repeat this two or three times.
Snip off the excess thread close to the knot. Turn your pants right side out and admire your handy work!
Safety Warnings
Sewing is a safe activity, but you still need to pay attention to a few hazards. Carelessness can lead to minor injuries.
Always point needles away from your body when sewing. Consider using a thimble if you are pushing through thick denim or canvas.
Keep fabric scissors out of reach of children. They are much sharper than standard paper scissors and can cause deep cuts.
If you use an iron for mending tape, never leave it unattended. Turn it off and unplug it the moment you finish your repair.
When to Call a Professional
DIY repairs are fantastic, but they have their limits. Some jobs require industrial machines and professional tailoring skills.
If you tear a pair of expensive suit trousers, take them to a tailor. A visible DIY patch will ruin the formal look of the garment.
Large blowouts along the crotch seam often require professional serging machines to reconstruct the fabric.
If a tear is larger than your hand, a home repair might not hold up to daily wear and tear. A pro can rebuild the area with specialized techniques like invisible darning.
Cost Estimate: DIY vs. Professional Repair
Fixing things yourself is a great way to keep money in your wallet. The materials needed for a basic patch job cost very little.
A spool of thread and a pack of needles will cost you around $5 total. Since you can reuse them for dozens of repairs, the actual cost per fix is merely pennies.
If you buy iron-on patches, expect to spend between $3 and $8 per pack.
Taking your pants to a professional tailor will cost significantly more. A standard patch or seam repair usually ranges from $15 to $30.
If the tailor needs to reconstruct a large area or do invisible darning, the price can easily jump to $40 or more.
Frequently Asked Questions
Can I fix a hole without sewing?
Yes! You can use iron-on mending tape or adhesive fabric patches. These are very quick but may not last as long as a sewn patch.
What is the best thread for fixing jeans?
Always use a heavy-duty polyester thread or a specialized denim thread. Standard cotton thread is too weak and will snap under pressure.
Does the patch need to match the pants perfectly?
Not necessarily. If you patch from the inside, you will only see the thread. However, matching colors helps the repair blend in nicely.
Will the repaired area feel stiff?
It might feel slightly thicker at first due to the extra fabric. After a few washes, the patch will soften up and feel totally normal.
How do I stop a hole from getting bigger before I fix it?
Stop wearing the pants immediately. If you cannot fix them right away, apply a piece of clear tape over the hole temporarily to stop the fraying.
Final Thoughts on How to Repair a Hole in Trousers
Learning how to fix your clothes is an incredibly rewarding experience. It gives you independence and saves you cash over time.
You do not need to be a master tailor to get good results. A simple patch and a basic needle and thread are all it takes to rescue your favorite garments.
The more you practice, the faster and neater your stitches will become. Do not be afraid to tackle that pile of ripped clothes sitting in your closet.
Now that you know how to repair a hole in trousers, grab your sewing kit and get to work! Keep exploring our site for more easy DIY fixes and repair guides.