

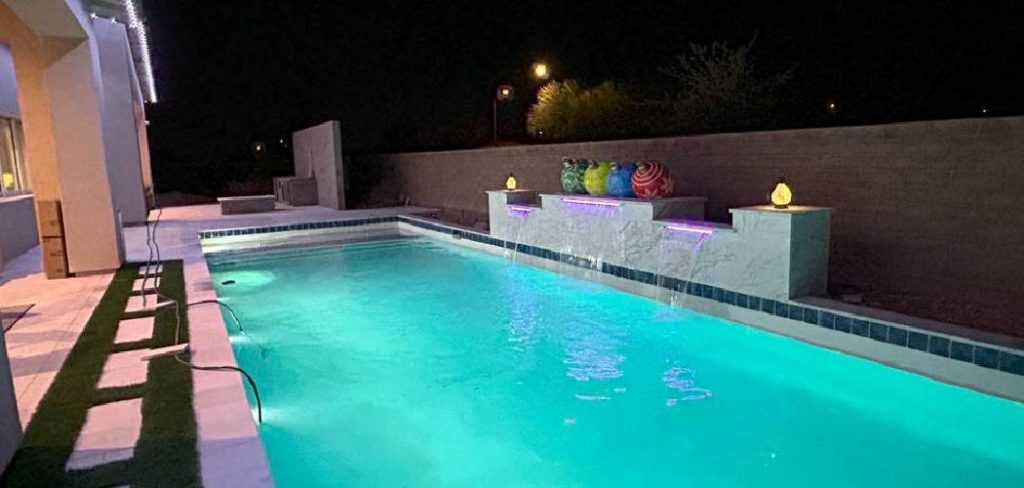
Does your swimming pool look dark and uninviting at night? A broken underwater light can ruin your evening swim plans. Many homeowners panic when they see a dead bulb underwater. You might think you have to drain the entire pool to fix it.
The good news is you do not have to drain a single drop of water. You can learn how to repair pool light fixtures right from your pool deck. Doing this repair yourself will save you hundreds of dollars in professional service fees. All you need is a little patience and some basic tools.
Ready to bring the glow back to your backyard oasis? Let us dive into the details.
What Causes Pool Light Failures?
Before we jump into the repair, it helps to understand why the fixture stopped working. Pool lights live in a harsh underwater environment.
Chemicals, water pressure, and age all take a toll on the components. Here are the most common culprits behind a dark pool:
- Burned-out bulbs: Just like the lamps in your living room, underwater bulbs eventually reach the end of their lifespan and burn out.
- Tripped circuit breakers: A power surge or a minor electrical hiccup can trip the GFCI breaker connected to your outdoor lighting.
- Leaking gaskets: The rubber seal that keeps water out of the light housing degrades over time, allowing water to seep inside.
- Corroded connections: If moisture gets into the fixture, it can rust the metal socket, breaking the electrical connection.
- Damaged power cords: Pool chemicals and shifting ground can wear down the protective casing on the electrical cord supplying the fixture.
Tools & Materials Needed for the Job
Preparation is the secret to a smooth DIY project. You want to gather everything before your hands get wet.
Running back and forth to the garage is frustrating when you are in the middle of a repair.
Here is exactly what you need to successfully fix your underwater light:
- Replacement bulb: Make sure you buy the exact match for your specific fixture (usually a 12V or 120V LED or halogen bulb).
- New lens gasket: Never reuse the old rubber seal. You must install a new one every time you open the fixture.
- Phillips head screwdriver: You will need this to remove the single screw holding the light housing in the pool wall.
- Flathead screwdriver: This helps gently pry the housing out of the niche if it feels stuck.
- Multimeter or voltage tester: You need this tool to verify the power is completely off before touching any wires.
- Clean, dry towels: You will use these to thoroughly dry the housing before opening it.
Step-by-Step Fix Guide: How to Repair Pool Light Safely
Learning how to repair pool light assemblies might sound intimidating at first. It is actually a very straightforward process. The fixture is specifically designed to be pulled up to the dry pool deck for maintenance. Follow these simple steps to swap out your broken bulb and get your pool shining again.
Step 1: Turn Off the Power
Safety always comes first when mixing electricity and water. Do not skip this step under any circumstances. Go to your main home electrical panel or your dedicated pool equipment sub-panel. Locate the breaker switch that controls the pool lights.
Flip the switch to the “Off” position. If you have a separate light switch near the pool, turn that off as well. Use your voltage tester at the switch to confirm no electricity is flowing.
Step 2: Remove the Light Housing
Walk over to the edge of the pool where the broken fixture is located. Look down at the top edge of the metal or plastic light ring.
You will see a single pilot screw holding the fixture into the wall niche. Use your Phillips head screwdriver to remove this screw. Keep a firm grip on the screw so it does not fall to the bottom of the deep end. Place it safely on the deck.
Step 3: Pull the Fixture to the Deck
Once the screw is out, the housing should pop loose from the wall. You might need to use a flathead screwdriver to gently pry it free.
The fixture has a long waterproof cord coiled up inside the wall niche. This cord gives you plenty of slack. Grab the housing and pull it up onto the dry pool deck. Lay it flat on a clean towel.
Step 4: Dry and Open the Fixture
Take a dry towel and wipe down the entire outside of the metal housing. You do not want any pool water dripping inside when you open it.
Look at the back of the fixture. You will see a metal clamp ring held together by a tension screw or a series of smaller screws. Loosen the clamp and carefully lift off the glass lens. Remove the old rubber gasket and throw it away.
Step 5: Inspect for Water Damage
Look closely inside the metal housing before you touch the bulb. It should be completely bone dry inside.
If you see pooled water or heavy rust on the socket, you have a bigger problem. A leaky housing might need a complete replacement. If the inside is dry and clean, you are clear to proceed with the bulb swap.
Step 6: Replace the Bulb
Unscrew the old, burned-out bulb from the socket. Turn it counter-clockwise just like a normal household lamp.
Take your new replacement bulb and carefully thread it into the socket. Turn it clockwise until it feels snug. Do not over-tighten the bulb, or you risk cracking the glass base.
Step 7: Install the New Gasket
This is the most critical step of the entire repair. Grab your brand new rubber lens gasket.
Stretch it gently around the edge of the glass lens. Make sure it sits perfectly flat without any twists or kinks. A twisted gasket will let water inside and ruin your new bulb immediately.
Step 8: Reassemble the Housing
Place the glass lens and the new gasket back onto the metal housing. Line up the edges perfectly.
Put the metal clamp ring back over the assembly. Tighten the tension screw down firmly. The clamp must be tight enough to compress the rubber gasket and create a watertight seal.
Step 9: Submerge and Test for Leaks
Do not put the fixture back in the wall just yet. We need to test the seal first.
Lower the fully assembled light into the pool water and hold it there for a minute. Watch closely for any air bubbles escaping from the rim. If you see bubbles, pull it out immediately. You will need to realign the gasket and tighten the clamp again.
Step 10: Test the Light
If there are no bubbles, leave the light resting underwater on the top step of your pool. Walk back to your electrical panel and flip the breaker switch back to the “On” position. Turn on the pool light switch. If the water lights up beautifully, you have successfully fixed the problem!
Step 11: Reinstall the Fixture
Turn the power back off before finishing the job. Coil the slack cord neatly behind the housing.
Push the cord and the fixture back into the wall niche. Hook the bottom tab of the light ring into the niche first. Line up the top screw hole. Insert the pilot screw and tighten it down securely with your screwdriver.
Crucial Safety Warnings for Underwater Electronics
We cannot talk about pool repairs without stressing the importance of safety. You are dealing with electricity near a large body of water.
Never assume the power is off just because the light bulb is not shining. Always physically flip the breaker.
Make sure your hands are completely dry when handling the exposed wires or the open socket.
Never turn on a pool light while it is resting on the dry deck. These bulbs generate immense heat.
The pool water acts as a cooling system for the glass lens. If you turn it on dry, the lens can shatter in seconds.
When to Call a Professional Electrician
DIY projects are incredibly rewarding, but you must know your limits. Sometimes a repair is too complex for a weekend warrior.
If your pool light keeps tripping the breaker immediately after you turn it on, stop what you are doing. You likely have a short circuit.
If the entire metal housing is deeply rusted, the fixture is severely compromised. A professional will need to pull a completely new light cord through the underground conduit.
Call a licensed pool technician or electrician if you feel unsure about any of the electrical components. Your safety is worth far more than saving a few bucks.
Cost Estimate: DIY vs. Pro Repair
Fixing this yourself is one of the best ways to keep your home maintenance budget intact. The materials are surprisingly affordable.
A standard replacement bulb costs between $15 and $40, depending on if you choose halogen or LED. The required replacement gasket usually costs between $10 and $25.
Your total DIY cost will run somewhere between $25 and $65. That is a fantastic deal.
If you hire a professional pool company, the story changes drastically. They will mark up the parts and charge a hefty service fee.
A professional light repair typically costs between $150 and $300 just for a basic bulb and gasket swap.
By taking an hour to do this yourself, you are keeping a couple hundred dollars in your pocket.
Frequently Asked Questions
Do I have to drain my pool to fix the light?
No, you do not need to drain the water. The light housing has an extra-long cord coiled behind it. You simply unscrew the fixture and pull it up to the dry deck for repairs.
Why does my pool light keep burning out quickly?
Frequent burnouts usually point to water leaking inside the housing. This happens when you reuse an old gasket instead of buying a new one. Always replace the rubber seal when changing the bulb.
Can I upgrade my old halogen pool light to an LED bulb?
Yes! You can easily swap an old halogen bulb for a modern LED replacement. Just make sure the new LED matches the voltage of your system (12V or 120V) and fits the socket base.
What should I do if the light housing is filled with water?
If the inside of the fixture is completely flooded, you need to dry it out thoroughly. Inspect the socket for deep rust. If it is badly corroded, you will need to replace the entire light fixture, not just the bulb.
How tight should the clamp be on the pool light?
The metal clamp needs to be very tight to ensure a waterproof seal. Tighten the screw until the rubber gasket compresses slightly. Do not use power tools, as you might strip the screw or crack the glass lens.
Conclusion
Bringing the glow back to your swimming pool does not have to be a stressful or expensive ordeal.
By following this guide on how to repair pool light fixtures, you can tackle the job safely and confidently. You will save money and gain a great sense of accomplishment.
Remember to always double-check that the power is off, and never forget to install a brand new rubber gasket. These small details make all the difference.
If you found this repair guide helpful, be sure to bookmark our website for more practical, money-saving DIY fixes.
Have fun swimming under the stars tonight!