

Nothing ruins a great weekend on the water faster than a broken fishing pole. You cast your line, hear a nasty crack, and suddenly your favorite gear is out of commission.
We have all been there, and it is incredibly frustrating. But before you throw that expensive gear in the trash, I have some good news for you.
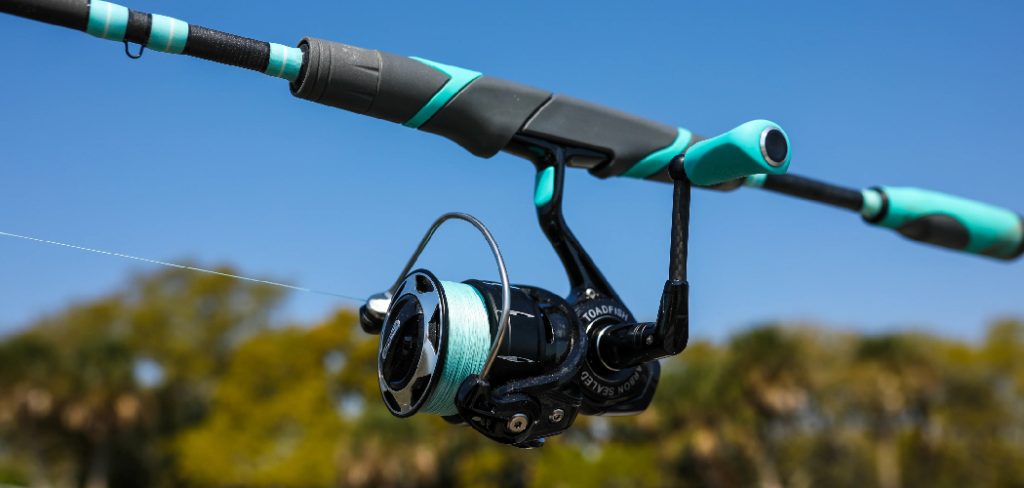
Learning how to fishing rod repair yourself is much easier than you might think. It is a simple weekend project that requires only a few basic supplies.
By fixing it yourself, you save a trip to the tackle shop and keep hard-earned cash in your wallet. Plus, there is a deep sense of pride that comes with catching a fish on a pole you fixed with your own two hands.
Let us dive right in and get your gear back in fighting shape!
What Causes Fishing Rod Damage?
Before we start fixing things, it helps to know why fishing poles break in the first place. You might be surprised to learn that fish rarely cause the worst damage.
Most breaks happen off the water. Here are the most common culprits:
- Car doors and tailgates: The undisputed champions of breaking fishing gear. One careless slam is all it takes to snap a fragile tip.
- Ceiling fans and door frames: Walking through the house with a fully assembled pole often leads to a bent or broken top eyelet.
- Stepping on the blank: Leaving gear lying on the dock or boat deck is a recipe for disaster. Heavy boots will crush graphite instantly.
- Improper storage: Leaning a pole in a hot garage corner for months can warp the material. Always store them vertically in proper racks.
- High-sticking a snag: Trying to yank a lure out of a tree by pulling the pole straight back puts massive stress on the thinnest section.
- Normal wear and tear: Over time, the epoxy holding the guide rings will crack. Sunlight and saltwater slowly degrade the protective coatings.
Tools & Materials Needed
You do not need a fancy workshop to get the job done. A clean kitchen table and a few common household items will work just fine.
Before starting your repair, gather these essential supplies:
- Replacement rod tip or guide: Make sure you measure the diameter of your pole to buy the correct size.
- Rod wrapping thread: Do not use regular sewing thread. You need specialized nylon thread designed for this specific job.
- Two-part rod building epoxy: This provides a flexible, waterproof seal. Avoid standard super glue, as it dries too brittle.
- A simple lighter or alcohol burner: You need a small, controlled heat source to melt the old glue on the tip.
- A sharp razor blade or craft knife: You will use this to carefully slice off old thread and dried epoxy.
- Fine-grit sandpaper (400 to 600 grit): This helps smooth out the surface before you apply new parts.
- Masking tape: Essential for holding guides in place while you wrap the thread.
- A small brush or toothpick: You need this for applying the epoxy smoothly over the threads.
Step-by-Step Fix Guide: How to Fishing Rod Repair
Ready to get to work? Roll up your sleeves and let us walk through the process together.
I will break down the three most common fixes you will ever need to do. Follow these beginner-friendly steps, and take your time.
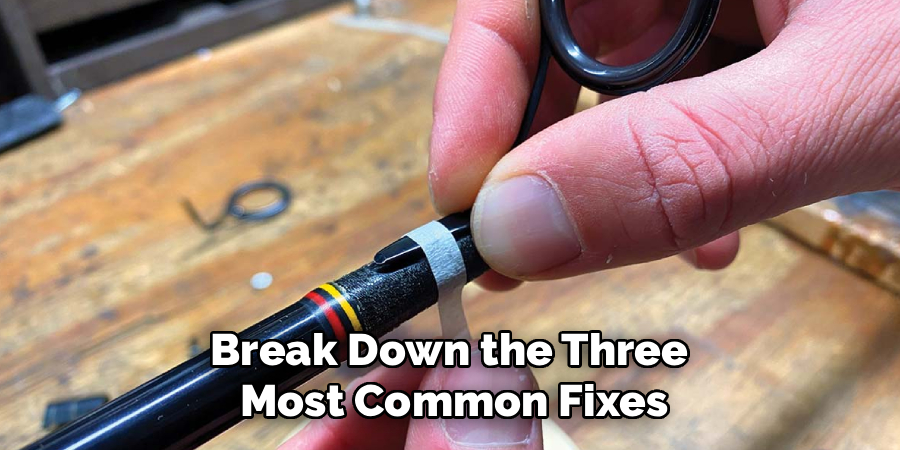
Fixing a Broken Rod Tip
This is the most common issue anglers face. Fortunately, it is also the easiest to fix.
- Remove the old tip: Hold your lighter under the metal tube of the broken tip. Heat it gently for about five seconds.
- Pull it off: Grab the heated metal with a pair of pliers. Pull straight away from the pole. It should slide right off.
- Clean the blank: Use your craft knife to gently scrape away any leftover dried glue. Lightly sand the area so it is smooth.
- Test the fit: Slide your new tip onto the pole. It should fit snugly without wobbling.
- Apply the glue: Heat a stick of hot melt rod tip cement and dab a generous amount onto the exposed tip of the pole.
- Attach the new tip: Quickly slide the new metal tip over the glued area. Make sure it lines up perfectly with the rest of the guides.
- Clean it up: Wipe away any excess glue that squeezes out the bottom before it hardens. Let it dry for ten minutes.
Read More: How to Repair Crumbling Concrete Statues and Save Money.
Replacing a Broken Eyelet (Guide)
When the ceramic ring pops out of a guide, you have to replace the whole thing. Sharp edges will cut your fishing line instantly.
- Remove the old wrapping: Take your razor blade and carefully cut the epoxy directly over the metal foot of the old guide. Never cut into the pole itself.
- Peel the thread: Once the epoxy is cut, you can easily peel the old thread away like a wrapper. Remove the broken metal guide.
- Prep the surface: Sand off the remaining bumps of old epoxy. Wipe the area clean with a little rubbing alcohol.
- Tape the new guide: Place the new guide on the pole. Tape one side down firmly with masking tape to hold it still.
- Start wrapping: Begin wrapping your thread tightly around the pole, starting about a quarter-inch before the metal foot.
- Climb the foot: Slowly wrap the thread up and over the metal foot. Keep the thread under constant tension. Push the wraps tight against each other.
- Tie it off: Once the foot is covered, pull the thread through a small loop to secure the knot under the wraps. Cut the excess thread flush.
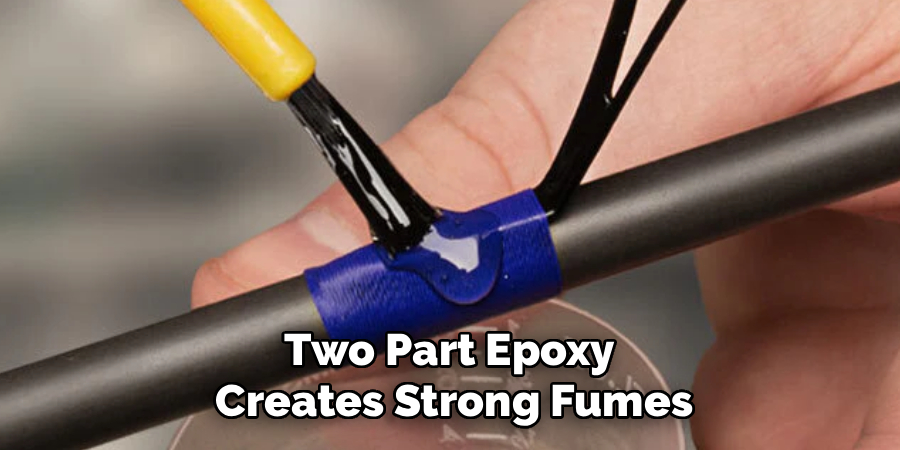
- Apply the epoxy: Mix your two-part epoxy. Use a brush to apply a thin, even coat over the entire thread wrap.
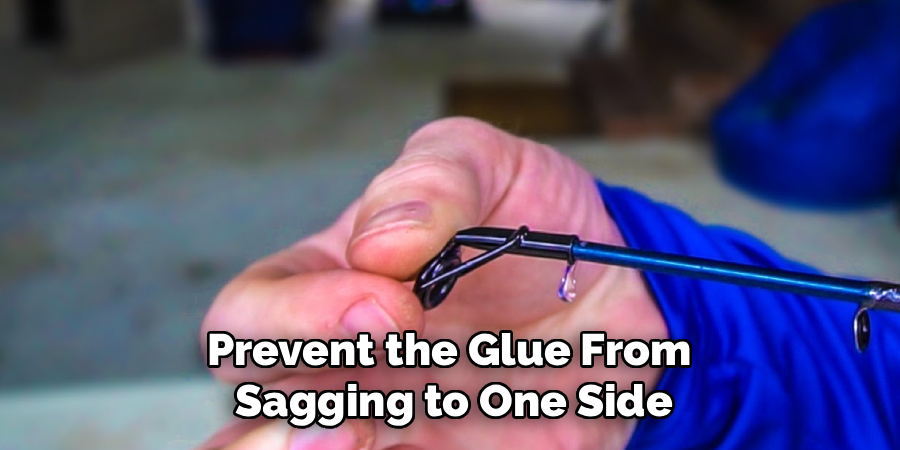
- Rotate to dry: Turn the pole slowly by hand for about an hour so the epoxy does not sag. Let it cure completely overnight.
Repairing a Minor Blank Crack
If your pole has a small, hairline split, you can reinforce it. Note that this only works for minor superficial splits, not total breaks.
- Assess the damage: Gently flex the pole. If it feels extremely weak or crunches, it might be beyond a simple DIY fix.
- Sand the area: Use fine-grit sandpaper to remove the clear coat around the crack. You want a slightly rough surface for the repair to grip.
- Apply epoxy: Mix a small batch of flexible two-part rod epoxy. Dab it directly over the cracked area.
- Wrap for strength: Just like wrapping a guide, wrap rod-building thread tightly over the epoxied crack. This acts like a splint.
- Seal the wrap: Coat the newly wrapped thread with another layer of epoxy. This locks everything together and waterproofs the repair.
- Let it cure: Rotate the pole slowly to ensure an even finish. Allow it to sit in a warm, dry room for 24 hours.
Read More: How to Repair Pot Metal.
Safety Warnings for DIY Repairs
Working with tools and chemicals requires a little bit of caution. I want you to finish this project with all ten fingers intact!
First, always work in a well-ventilated area. Two-part epoxy creates strong fumes that can cause headaches if you breathe them in a closed room.
Second, be extremely careful with razor blades. You are cutting on a round, slippery surface. Always cut away from your body and your fingers.
Finally, mind the heat. When using a lighter to remove a rod tip, the metal gets blistering hot in seconds. Always use pliers to touch heated parts.
When to Call a Professional
I firmly believe anyone can learn how to fishing rod repair at home. However, you need to know your limits.
If your pole snaps clean in half right near the handle, a DIY fix will not hold up. The stress from casting will break it again instantly.
You should also hesitate if you own a highly expensive, custom-built tournament rod. A messy epoxy job will ruin the aesthetic and resale value.
In those cases, hand it over to a professional custom rod builder. They have internal fiberglass sleeves and professional lathes to do an invisible, structural fix.
Read More: How to Repair Sliding Glass Door Lock.
Cost Estimate: DIY vs. Professional
Let us talk numbers. Why should you spend your Saturday fixing gear instead of dropping it off at the shop?
A basic DIY kit with a new tip, thread, and epoxy will cost you between $15 and $30. The best part is, you will have enough materials left over to fix ten more poles later.
If you take it to a tackle shop, a simple tip replacement usually starts at $20. But replacing an eyelet or re-wrapping a section can run you anywhere from $50 to $100.
When you consider the time and gas spent driving to the shop twice, the DIY route wins easily. You save money and learn a great new skill.
Frequently Asked Questions
Can I use super glue to fix my fishing rod?
No, you should never use standard super glue. It dries hard and brittle, which means it will crack and fail the moment the pole bends under pressure. Always use flexible rod-building epoxy or hot melt tip cement.
How long does rod epoxy take to dry?
Most two-part rod epoxies take about 24 hours to fully cure and reach maximum strength. You should rotate the pole for the first hour to prevent the glue from sagging to one side.
Is a repaired fishing rod as strong as a new one?
If you fix a broken tip or replace an eyelet, the pole will perform just as well as it did before. However, if you patch a crack in the main blank, that section will always be slightly stiffer and potentially weaker.
Can I fix a rod that snapped completely in half?
Technically yes, using an internal fiberglass stent. However, it completely changes the action and flexibility of the gear. For beginner DIYers, a completely snapped pole is usually best replaced.
Conclusion
There is no reason to panic the next time you hear that awful cracking sound on the boat. You now have the knowledge to fix the most common issues yourself.
Understanding how to fishing rod repair is a rite of passage for every dedicated angler. It saves you money, keeps your gear out of the landfill, and gets you back on the water faster.
Take your time, follow the steps, and do not worry if your first thread wrap looks a little sloppy. The fish certainly will not care!
Are you ready to tackle your broken gear? Check out our recommended tool list to order your epoxy and replacement parts today!