

We all love our furry best friends.
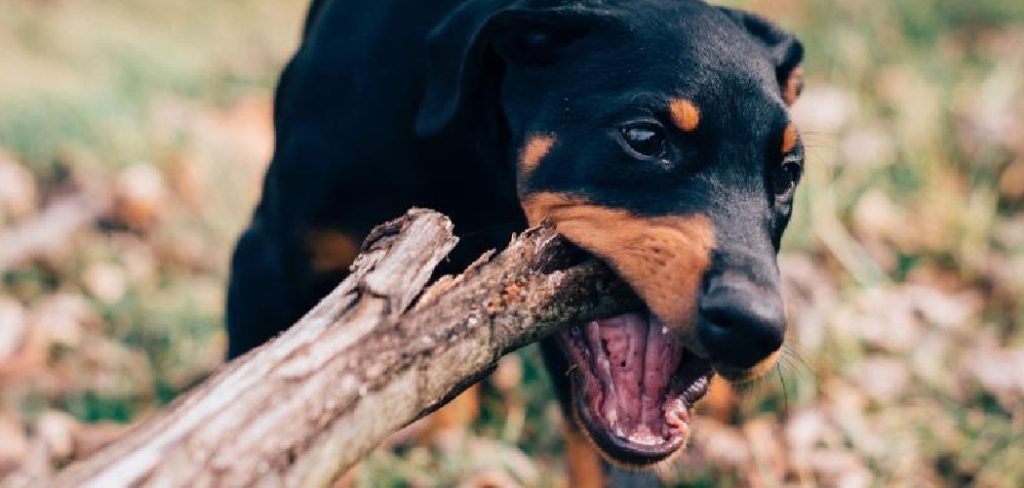
But coming home to chewed baseboards, ruined table legs, or gnawed door frames is a nightmare.
If you are staring at a splintered mess, do not panic.
Learning how to repair dog chewed wood is actually much easier than you might think.
You do not need to replace the entire piece of furniture.
You also do not need to hire an expensive carpenter or handyman.
Tackling this quick repair yourself saves serious money and time.
It is a beginner-friendly project that anyone can master in a weekend.
Let us grab some basic supplies and make that wood look brand new again.
What Causes This Problem?
Before we start fixing, we need to understand the root cause.
Dogs do not chew your expensive wooden doors just to make you mad.
Here are the most common reasons your pup is turning your baseboards into chew toys:
- Teething: Puppies experience gum pain and chew hard surfaces for relief.
- Boredom: A lack of physical exercise leads to destructive behavior.
- Separation Anxiety: Many dogs chew door frames when left alone out of stress.
- Nutritional Deficiencies: Some dogs chew wood seeking missing minerals.
- Habit: If not corrected early, chewing simply becomes a comforting habit.
- Curiosity: Wood smells and tastes interesting to a highly curious dog.
Tools & Materials Needed
You cannot fix the problem without the right supplies.
Gather these items before you start to ensure a smooth repair process.
Most of these are cheap and available at any local hardware store.
- Heavy-duty wood filler (epoxy wood filler works best for deep damage)
- Putty knife
- Sandpaper (medium 120-grit and fine 220-grit)
- Utility knife or chisel
- Wood glue (if attaching large broken splinters)
- Primer and matching paint (for painted wood)
- Wood stain and polyurethane (for natural wood)
- Clean microfiber cloths
- Painter’s tape
Step-by-Step Fix Guide
Ready to get your hands a little dusty?
Follow these simple steps to restore your woodwork.
Step 1: Clean and Assess the Damage
First, wipe down the chewed area with a damp cloth.
You need to remove all dog saliva, dirt, and loose grime.
Let the wood dry completely before moving forward.
Inspect how deep the teeth marks actually go.
Surface scratches require a different approach than deep gouges.
Step 2: Remove Loose Splinters
Grab your utility knife or a small chisel.
Carefully trim away any jagged or hanging splinters of wood.
You need a solid, clean base for the wood filler to stick to.
If you leave loose wood behind, the repair will eventually fall apart.
Always carve away from your body to stay safe.
Read More: How to Repair Water Damage on Wood.
Step 3: Sand the Rough Edges
Take your medium 120-grit sandpaper and sand the chewed area.
You want to smooth out the harsh bite marks.
This also creates a slightly rough texture that helps the filler grip the wood.
Wipe away all the sanding dust with a clean, dry cloth.
Step 4: Apply the Wood Filler
Now it is time to rebuild the missing wood.
Scoop up a generous amount of wood filler with your putty knife.
Press it firmly into the gouges, filling them slightly above the original wood level.
Wood filler shrinks slightly as it dries, so overfilling is crucial.
Smooth the top out as best as you can with the knife.
Read More: How To Repair Splintered Wood Deck.
Step 5: Shape the Filler
If you are repairing a corner or a rounded edge, use your hands.
You can wear latex gloves and mold the putty to match the wood’s natural shape.
Use the edge of your putty knife to carve in any necessary lines.
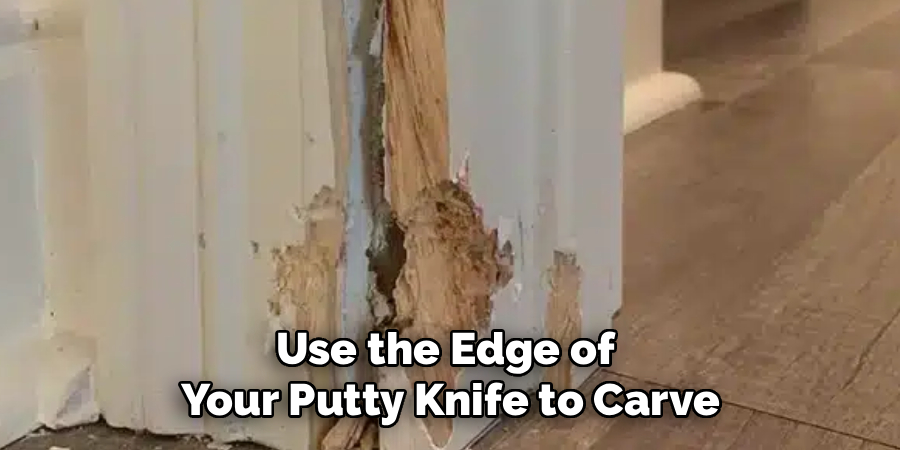
Take your time here to get the basic shape right.
Step 6: Let the Filler Dry
Patience is key for a successful repair.
Read the manufacturer’s instructions on your wood filler container.
Some fillers dry in an hour, while epoxy versions need overnight curing.
Do not touch or rush this step.
If it feels soft or cool to the touch, it is not dry yet.
Read More: How to Repair Wood Floor Damaged by Dog Urine.
Step 7: Sand the Filler Smooth
Once the filler is rock hard, grab your fine 220-grit sandpaper.
Sand the patched area gently until it is perfectly flush with the surrounding wood.
Run your fingers over the repair to feel for any bumps.
It should feel smooth and seamless to the touch.
Wipe away the fine dust with a damp cloth.
How to Repair Dog Chewed Wood: Finishing Touches
Your repair is structurally sound, but it probably looks like an ugly patch.
We need to blend it in so no one ever knows it happened.
The finishing process depends on whether your wood is painted or stained.
Finishing Painted Wood
Painted baseboards and doors are the easiest to hide repairs on.
Start by applying a strip of painter’s tape to protect your floors or walls.
Brush a thin layer of primer over the sanded wood filler.
Primer helps the final paint stick and hides the filler’s color.
Let the primer dry for about an hour.
Finally, apply a coat or two of matching interior paint.
Feather the paint edges so it blends perfectly with the old paint.
Finishing Stained Wood
Natural, stained furniture requires a bit more finesse.
Make sure you bought a wood filler that says “stainable” on the label.
Apply your matching wood stain using a clean rag or foam brush.
Wipe off the excess stain after a few minutes.
You may need multiple coats to match the darkness of the original wood.
Once the stain is dry, seal the repair with a layer of clear polyurethane.
This protects the fix from future moisture and wear.
Protecting the Area from Future Chewing
You fixed the damage, but how do you stop it from happening again?
If your dog comes back for seconds, your hard work is ruined.
Spray the repaired area with a bitter apple deterrent spray.
Dogs hate the taste of bitter apples and will usually avoid it.
You can also offer your dog high-quality chew toys as a better alternative.
If the chewing happens when you leave the house, consider crate training.
Redirecting the behavior is the only permanent fix.
Safety Warnings
DIY repairs are fun, but safety always comes first.
Wood fillers and epoxies contain strong chemicals.
Always work in a well-ventilated area to avoid breathing in fumes.
Open windows or turn on a fan while the putty dries.
Wear a dust mask and safety glasses when sanding the wood.
Fine sanding dust can irritate your lungs and eyes very quickly.
Keep all sharp tools and chemicals out of reach of children and pets.
When to Call a Professional
Most chewed wood damage is a simple cosmetic fix.
However, there are times when you should put the tools down.
If your dog has chewed entirely through a structural support beam, call a pro.
If a vintage, high-value antique heirloom is severely damaged, hire a furniture restorer.
Amateur repairs on priceless antiques can ruin their value forever.
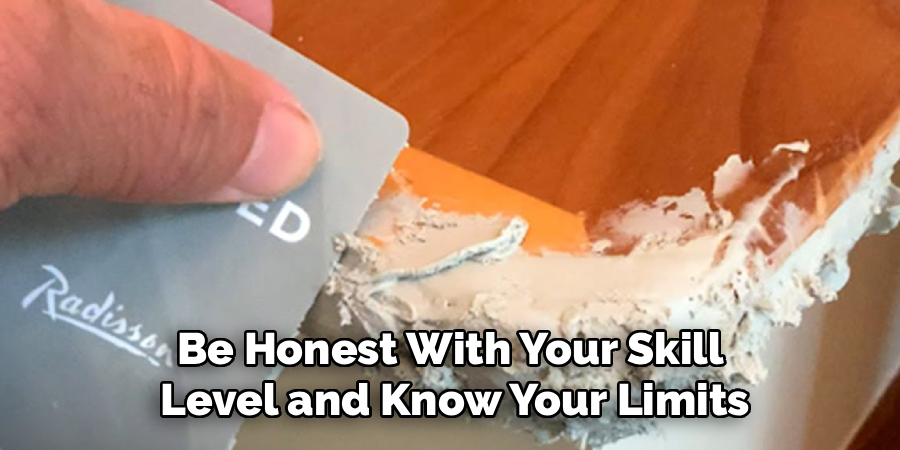
If the damage is on an exterior door and compromises home security, get it replaced.
Be honest with your skill level and know your limits.
Cost Estimate: DIY vs. Pro
How much cash are you really saving by doing this yourself?
Let us break down the rough numbers.
The DIY Cost
A tub of wood filler costs about $10 to $15.
Sandpaper, a putty knife, and small paint samples will run you another $15.
In total, you can expect to spend $25 to $35 on DIY supplies.
Plus, you will have leftover materials for future repairs.
The Professional Cost
Hiring a handyman or carpenter is a different story entirely.
Professionals usually charge a minimum call-out fee just to show up.
Expect to pay anywhere from $100 to $300 for a minor repair.
If the piece needs to be completely replaced, the cost skyrockets.
Replacing a solid wood door and framing can cost $500 or more.
Doing it yourself is a massive win for your wallet.
FAQs
Can I use regular wood glue instead of wood filler?
No, standard wood glue is not meant to fill large gaps. It will shrink and crack. You must use a dedicated wood filler or epoxy putty to rebuild the chewed missing pieces.
Will stainable wood filler perfectly match my natural wood?
It gets close, but rarely matches perfectly on the first try. Wood filler absorbs stain differently than real wood grain does. Test your stain on a small piece of dried filler first.
What is the best wood filler for dog chewed wood?
A two-part epoxy wood filler is the absolute best choice. It dries harder than actual wood and will not crack or shrink over time. It is perfect for deep bite marks on furniture legs.
Do I really need to use primer before painting?
Yes, skipping primer is a common mistake. Wood filler has a porous texture that absorbs paint unevenly. Primer seals the filler and ensures your topcoat looks smooth and professional.
How can I stop my puppy from chewing wood instantly?
Apply a commercial pet-safe anti-chew spray to your baseboards and table legs. The bitter taste stops chewing immediately. Also, redirect their energy by offering engaging puzzle toys.
Conclusion
Seeing your home damaged by your beloved pet is frustrating.
But as you can see, tackling this issue is completely manageable.
Knowing how to repair dog chewed wood is an essential skill for pet owners.
You can fix deep gouges, restore beautiful furniture, and keep your security deposit safe.
By taking your time and using the right filler, no one will ever notice the damage.
Plus, you get the satisfaction of saving hundreds of dollars on professional repairs.
Grab your putty knife, put on your favorite playlist, and get to work.
Ready to tackle more easy home improvements?
Check out our other beginner-friendly DIY repair guides on the blog today!