

A splintered deck can turn a relaxing afternoon outside into a painful surprise. One barefoot step and—ouch—you catch a sharp sliver of wood right in your heel. If your deck boards have started cracking, peeling, or fraying at the edges, you’re not alone. Years of sun, rain, and foot traffic wear down even the toughest lumber.
The good news? Learning how to repair splintered wood deck surfaces is easier than you think. You don’t need to call a contractor or replace the whole thing. With a few basic tools and a free weekend, you can smooth out rough spots and bring your deck back to life. This guide walks you through every step, from prep to finish, so you can fix splinters safely and confidently on your own.
Why Repairing a Splintered Wood Deck Matters
A splintered deck isn’t just an eyesore—it’s a safety hazard. Sharp wood fibers can cut bare feet, snag clothing, and injure curious pets or kids. Left alone, small splinters spread into bigger cracks, and water seeps into the damaged wood. That moisture leads to rot, which weakens the entire structure over time.
For homeowners, renters, and DIY beginners, fixing these problems yourself saves money and builds real confidence. You learn how your deck is built, how wood reacts to weather exposure, and how to keep it strong for years. A smooth, well-maintained deck also makes your outdoor space more usable and inviting. When you handle repairs early, you protect your investment and avoid costly replacements down the road. That’s a win for your wallet and your weekends.
Tools and Materials You’ll Need
Before you start, gather everything in one spot so you’re not running back and forth mid-project. Most of these items are affordable and available at any hardware store. Having the right gear makes the job faster and far less frustrating.
You’ll want an orbital sander or sandpaper in coarse and fine grits, plus a putty knife for applying wood filler. Grab some exterior-grade wood filler, wood hardener for soft spots, and replacement boards if any planks are too damaged to save. Keep a pry bar and screw gun handy for swapping out boards, along with corrosion-resistant fasteners. Don’t skip safety glasses and a dust mask—your lungs and eyes will thank you. Finish the job with a quality exterior wood sealant or stain.
One optional convenience item: a pressure washer makes surface prep quick and thorough.
Step-by-Step Guide on How To Repair Splintered Wood Deck
Step 1 – Inspect the entire deck surface
Start by walking the whole deck slowly, eyes down, looking for trouble spots. Run your hand lightly across the boards—carefully—to feel for raised splinters, soft patches, and loose fasteners. Mark each damaged area with chalk or painter’s tape so nothing gets missed later.
Pay close attention to high-traffic zones near steps and doorways, since these wear fastest. Press down on suspicious spots with your thumb. If the wood feels spongy or gives way, that’s rot, and it needs extra care.
Check the screws and nails too. Popped fasteners create raised edges that catch toes and clothing. This first inspection sets your whole plan, so take your time and note everything you find before grabbing a single tool.
Step 2 – Clean and prep the wood
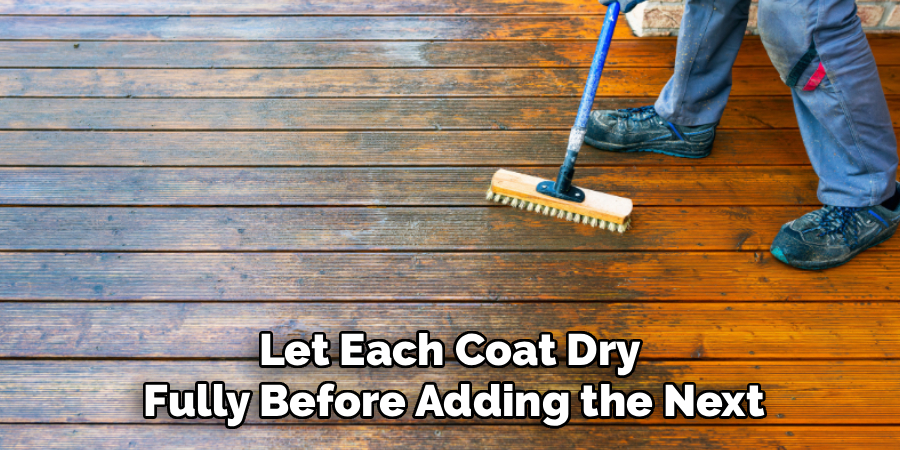
A clean surface is the foundation of every good repair. Sweep away leaves, dirt, and debris, then give the deck a thorough wash. Pressure washing works wonders here, blasting out grime stuck deep in the grain and old flaking finish.
Hold the nozzle about twelve inches from the boards and move steadily—getting too close can gouge soft wood. If you don’t own a pressure washer, a stiff brush and deck cleaner do the trick with a little elbow grease.
Once you’re done, let the deck dry completely. Damp wood won’t accept filler or sealant properly, and trapped moisture invites future rot. Give it a full day of dry, sunny weather before moving on. Clean, dry boards make the next steps smooth and effective.
Step 3 – Sand down the rough splinters
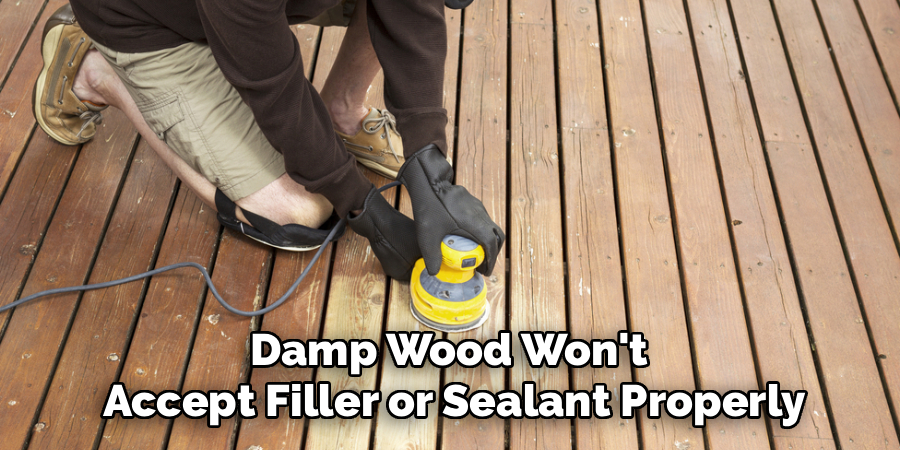
Now comes the satisfying part. Fit your orbital sander with coarse-grit paper and work over each splintered area, moving with the grain of the wood. You’ll hear the gritty hum of the sander and watch fine sawdust drift away as the rough fibers disappear.
Keep the sander flat and moving—lingering in one spot creates dips. For tight corners and edges your sander can’t reach, fold a sheet of sandpaper and smooth them by hand.
Wear your safety glasses and dust mask the whole time, because airborne wood dust is no joke. After the coarse pass, switch to a finer grit for a smooth, splinter-free feel. Wipe the surface clean and run your palm across it to confirm every sharp edge is gone.
Step 4 – Treat soft or rotted spots
Found some spongy wood during your inspection? Those soft areas need wood hardener before anything else. This liquid soaks deep into the damaged fibers and dries into a tough, solid base that grips filler and resists further decay.
Brush or pour the hardener generously over each soft spot, letting it penetrate fully. You’ll notice the wood darken slightly as it absorbs the liquid. Follow the product’s drying time exactly—rushing this leaves you with a weak repair.
If a board is severely rotted all the way through, hardener won’t save it. That plank needs full replacement instead, which we cover shortly. For minor soft patches, though, this step rescues wood you’d otherwise toss. Treating it now keeps moisture from spreading and protects your repair for the long haul.
Step 5 – Fill cracks and gouges
With everything dry and hardened, grab your wood filler and putty knife. Scoop a small amount and press it firmly into each crack, gouge, and splinter scar, working it deep so no air pockets remain. Overfill slightly, since filler shrinks a bit as it cures.
Drag the putty knife across the surface to smooth the filler flush with the surrounding board. Wipe away any excess immediately—dried filler smears are a pain to remove later.
Choose an exterior-grade filler that flexes with temperature swings and stands up to weather exposure. Cheap indoor fillers crack and pop out within a season. Let each filled spot cure fully according to the label, usually a few hours, before you touch it again. Patience here pays off beautifully.
Step 6 – Replace boards that are too far gone
Sometimes a board is just done. If it’s cracked end to end, deeply rotted, or splitting apart, replacement beats repair every time. Slide your pry bar under the damaged plank and lift gently, working along its length to pop it free without harming neighbors.
Remove the old fasteners completely. Measure the gap, then cut your replacement board to match. Dry-fit it first to check the spacing—you want consistent gaps for drainage and airflow.
Secure the new plank with corrosion-resistant screws and your screw gun, driving them snug but not so deep they crack the wood. New boards often look lighter than the rest, but stain evens that out later. This step restores both strength and a clean, uniform appearance to your deck.
Step 7 – Sand everything smooth again
After filling and replacing, your deck needs one more pass. Fresh filler dries slightly raised, and new boards have rough mill edges, so a final sanding ties it all together. Switch to fine-grit paper and lightly go over every repaired area until it blends seamlessly.
Feel the surface as you work—your fingertips will catch any spot that still needs attention. Smooth transitions between old and new wood make the finish look professional and prevent future snags.
Sweep up the sawdust and wipe the boards with a slightly damp cloth to lift the fine residue. A perfectly clean surface helps your sealant or stain bond evenly. This is also your last chance to spot a missed splinter, so inspect carefully before moving to the final coat.
Step 8 – Seal and finish for protection
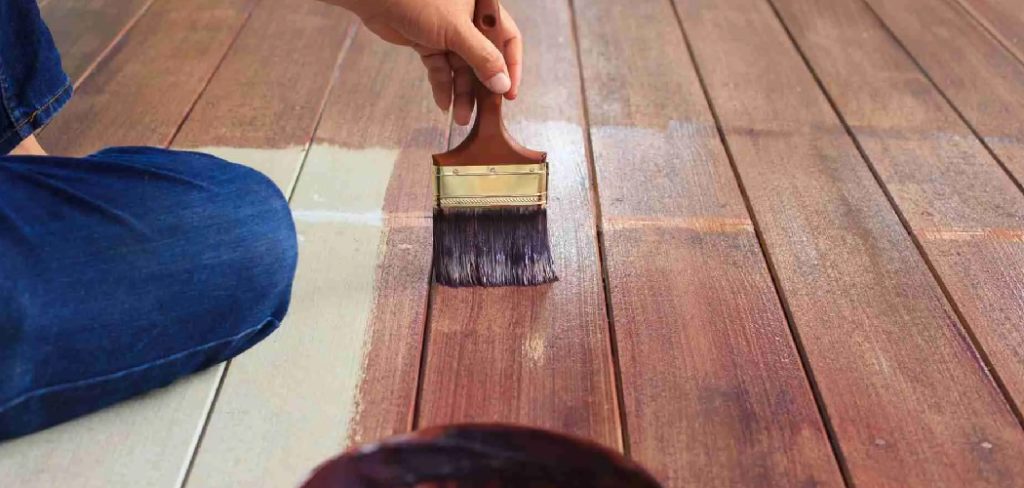
The final step locks in all your hard work. Choose a quality exterior wood sealant or stain that matches your deck’s look and handles your local climate. Stir it well, then apply thin, even coats with a brush, roller, or pad, following the grain.
Watch as the wood drinks in that first coat and the color deepens richly. Sealant repels moisture, blocks UV damage, and keeps splinters from returning. Stain adds color while still protecting the surface.
Let each coat dry fully before adding the next, and avoid sealing in direct midday sun, which dries the finish too fast. Two thin coats usually beat one heavy layer. Once cured, your deck stands ready for bare feet, summer barbecues, and years of safe enjoyment.
Critical Mistakes When Repairing a Splintered Wood Deck
Even careful DIYers slip up, so learn from these common errors before you start. The biggest mistake is skipping proper surface prep. People get excited and slap filler onto dirty, damp wood, then wonder why it peels off weeks later. Clean, dry boards aren’t optional—they’re the whole foundation of a lasting repair.
Another frequent blunder is using the wrong products. Interior wood filler and cheap paint won’t survive weather exposure. They crack, fade, and crumble fast outdoors. Always reach for exterior-grade filler, hardener, and sealant built to handle rain, sun, and temperature swings.
Many beginners also ignore underlying rot. Sanding over a soft, spongy board hides the problem instead of fixing it. Moisture keeps working beneath the surface, and soon the whole plank fails. Treat or replace rotted wood properly the first time.
Finally, people rush the drying and curing stages. They seal before filler sets or stain over damp boards, trapping moisture inside. That guarantees bubbling, peeling, and disappointment. Give every layer the time it needs, and your repair will reward your patience.
Expert Cleaning Tips
Keeping your deck clean is the secret to fewer splinters down the road. Sweep it weekly to clear leaves and dirt that trap moisture against the wood. Standing debris breaks down finishes and speeds up decay, so don’t let it pile up in corners.
Wash your deck deeply once or twice a year. Pressure washing is fast, but always use a wide-fan nozzle and keep your distance to avoid gouging the grain. For gentle upkeep, a deck-specific cleaner and a stiff brush work great.
Tackle stains and mildew quickly before they set in. And reapply sealant whenever water stops beading on the surface—usually every one to three years. Consistent care keeps your boards smooth, strong, and ready for bare feet.
Frequently Asked Questions
How often should I reseal my deck?
Most decks need resealing every one to three years, depending on weather exposure and foot traffic. An easy test: sprinkle water on the boards. If it beads up, your seal is fine. If it soaks in, it’s time for a fresh coat. Decks in harsh sun or heavy rain need sealing more often to stay protected.
Can I repair splinters without sanding?
Sanding is the most reliable way to remove splinters, but for tiny, isolated ones, you can sometimes smooth the spot with a sharp utility knife and a dab of wood filler. Still, sanding gives the safest, most even result. Skipping it usually leaves rough patches that snag feet again within weeks, so it’s worth the small effort.
What’s the difference between wood filler and wood hardener?
They do different jobs:
- Wood hardener soaks into soft, rotted wood and strengthens it from within.
- Wood filler fills cracks, gouges, and surface gaps for a smooth finish.
Use hardener first on spongy spots, then apply filler on top. Together they create a strong, lasting repair that resists moisture and further damage.
Is pressure washing safe for my deck?
Yes, when done correctly. Use a wide-fan nozzle, hold it about twelve inches away, and move steadily with the grain. Holding the nozzle too close or pausing in one spot gouges soft wood and raises new splinters. If you’re nervous, start on low pressure and test a hidden corner before cleaning the whole deck.
When should I replace a board instead of repairing it?
Replace a board when it’s cracked all the way through, deeply rotted, or splitting apart. If the wood feels spongy across most of its length or wood hardener can’t firm it up, repair won’t hold. For minor splinters and small cracks, sanding and filler work great. Save replacement for boards that threaten the deck’s strength and safety.
Conclusion
Fixing up a tired, splintery deck doesn’t require a contractor or a big budget—just a little time and the right approach. You’ve now seen how to repair splintered wood deck surfaces from start to finish, from inspecting and cleaning to sanding, filling, replacing boards, and sealing it all in.
Remember the key takeaways: prep your surface thoroughly, use exterior-grade products, treat rot before it spreads, and never rush the drying stages. Each step builds on the last, and patience pays off with a smooth, safe deck you’ll actually enjoy walking on.
The best part is the confidence you gain. Once you’ve tackled this project, future repairs feel easy, and you’ll spot small problems before they grow into big ones. Your deck is more than wood and screws—it’s where you relax, gather, and make memories.
So grab your tools, pick a sunny weekend, and get started. With a bit of effort, you’ll transform those rough, painful boards into a deck that’s ready for years of barefoot summers and good times outdoors.