

We all have that one favorite belt we wear with almost everything. It fits perfectly, matches your style, and feels like an old friend. But what happens when the buckle suddenly gives out? Your first thought might be to throw it away and buy a new one.
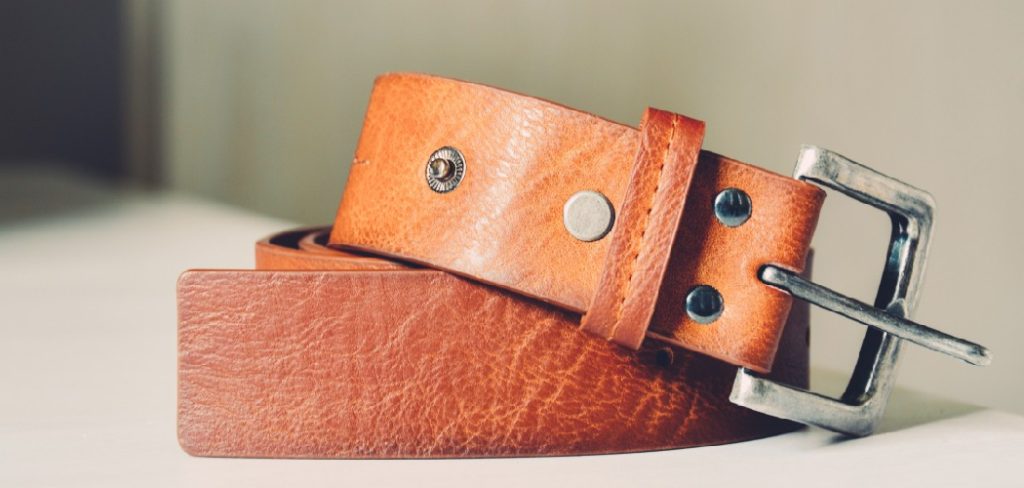
Before you toss it in the trash, wait! Learning how to repair belt buckle issues yourself is easier than you think. Fixing it at home saves you money and rescues your favorite accessory. Plus, it gives you a great sense of accomplishment.
In this guide, we will walk through exactly how to fix common buckle problems. We will cover loose prongs, missing pins, and broken springs. Grab your tools, and let’s get started!
What Causes Your Belt Buckle to Break?
Understanding why your belt broke can help you prevent future damage. Buckles endure a lot of stress every single day.
Here are the most common culprits behind a broken belt buckle:
- Everyday wear and tear: Constant buckling and unbuckling slowly grinds down the metal components.
- Excessive tension: Pulling the belt too tight puts massive pressure on the prong and the center pin.
- Low-quality materials: Many modern belts use cheap alloys that snap or bend easily under pressure.
- Moisture and rust: Exposure to water or heavy sweat can corrode the internal springs and metal joints.
- Accidental impacts: Dropping the buckle on a hard tile floor or slamming it in a car door can crack the frame.
Essential Tools & Materials Needed
You do not need a professional workshop to fix your belt. A few basic tools will do the job perfectly.
Before you start taking things apart, gather these items on a clean, well-lit table.
- Needle-nose pliers: Essential for bending metal prongs and pulling out stubborn pins.
- Small flathead screwdriver: Perfect for prying open clamp-style buckles or adjusting springs.
- Replacement prong or pin: You can salvage these from an old, unused belt in your closet.
- Strong metal adhesive: Epoxy or super glue works well for securing loose end-caps.
- A soft cloth: Use this to protect the metal finish from getting scratched by your pliers.
- Small hammer: Helpful for gently tapping tight pins back into their proper place.
Step-by-Step Guide on How to Repair Belt Buckle
Belt buckles come in a few different styles, so the fix depends on what exactly is broken.
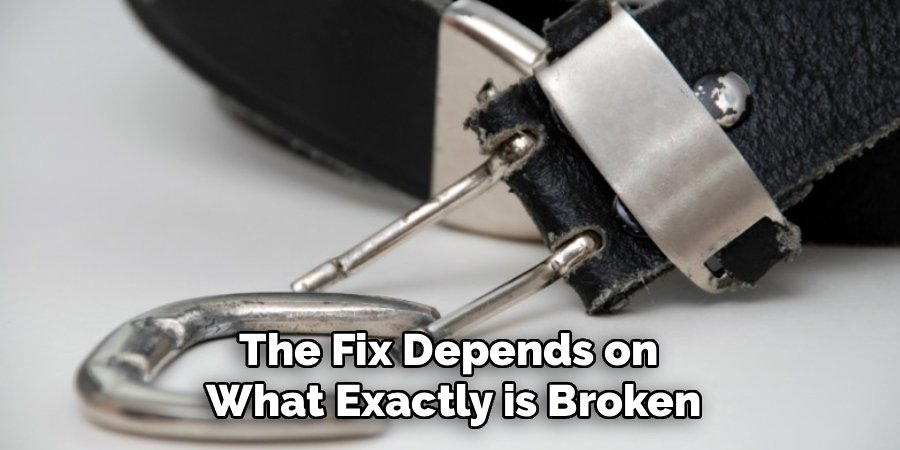
We broke this down into the three most common problems. Find the issue that matches your belt and follow the numbered steps.
Method 1: Fixing a Loose or Bent Prong
The prong is the metal piece that goes through the holes in your leather strap. It is the most common part to bend or fall off entirely.
Step 1: Inspect the damage.
Look closely at where the prong attaches to the main metal bar. Check if the metal loop at the base of the prong is bent or fully snapped.
Step 2: Remove the leather strap.
If your belt has snaps, unbutton them and slide the buckle off. If it is stitched, you will have to work with the leather attached.
Step 3: Reshape the prong base.
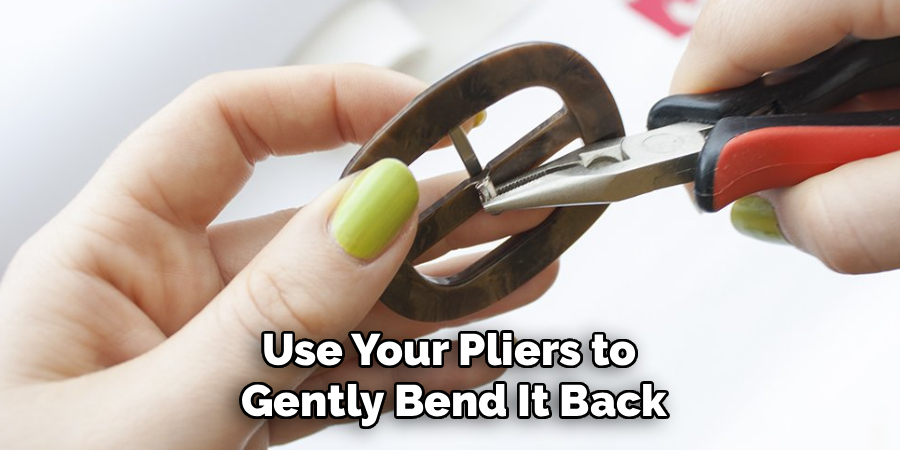
Wrap your soft cloth around the base of the prong. Grip it firmly with your needle-nose pliers. Gently squeeze the metal loop until it tightens around the center bar.
Step 4: Straighten the tip.
If the tip of the prong is bent, use your pliers to gently bend it back into a straight line. Do this slowly so the metal does not snap.
Step 5: Test the movement.
Swing the prong back and forth across the center bar. It should move smoothly but shouldn’t wobble from side to side.
Read More: How to Repair a Leather Purse Strap.
Method 2: Replacing a Missing Pin or Bar
Sometimes the tiny pin holding the buckle frame to the leather strap goes missing. This leaves your buckle completely detached.
Step 1: Find a replacement pin.
You need a metal rod that fits the hole. A small tension pin from a hardware store or a salvaged pin from an old belt works best.
Step 2: Align the buckle frame.
Slide the buckle frame back into the leather loop. Make sure the holes on the leather line up perfectly with the holes on the metal frame.
Step 3: Insert the new pin.
Push the replacement pin through one side of the metal frame. Guide it straight through the leather loop and out the other side.
Step 4: Secure the pin.
If the pin is a bit loose, dab a tiny drop of metal adhesive on the very ends. Do not get glue on the leather, or the buckle won’t pivot.
Step 5: Tap it gently.
Use your small hammer to gently tap the pin until it sits flush with the frame. Wipe away any excess glue immediately.
Method 3: Fixing a Reversible Buckle Spring
Reversible belts let you flip between brown and black leather. When they stop clicking into place, a tiny internal spring is usually to blame.
Step 1: Pull the buckle apart.
Grip the leather strap in one hand and the buckle in the other. Pull them slightly apart while twisting to expose the internal mechanism.
Step 2: Remove the screws.
Look for tiny screws on the back of the buckle clamp. Use your small screwdriver to carefully remove them and set them in a safe place.
Step 3: Check the spring.
Open the casing. You will see a tiny coiled spring. If it has slipped out of place, use your pliers to set it back into its groove.
Step 4: Stretch the spring slightly.
If the spring looks compressed and weak, gently stretch it out just a tiny bit. This restores the tension needed to lock the buckle.
Step 5: Reassemble the housing.
Put the casing back together and tighten the screws. Give the buckle a twist to ensure it snaps firmly into place.
Read More: How to Repair Buckled Wood Floor.
Crucial Safety Warnings for Belt Repair
DIY repairs are fun and rewarding, but safety should always come first. Working with small metal parts and tools carries a few risks.
First, always watch your fingers when using pliers. It is very easy to slip and pinch your skin.
Second, wear safety glasses if you are cutting or snapping metal. Tiny metal shards can easily fly into your eyes.
Finally, handle metal adhesives with care. Super glue bonds to skin in seconds, so work slowly and keep acetone nearby just in case.
When to Call a Professional Leather Worker
While fixing things yourself is great, some jobs require a pro. Knowing your limits prevents you from ruining a good belt.
If you have a high-end designer belt, do not try to fix it yourself. Attempting a DIY repair could void the warranty or ruin expensive hardware.
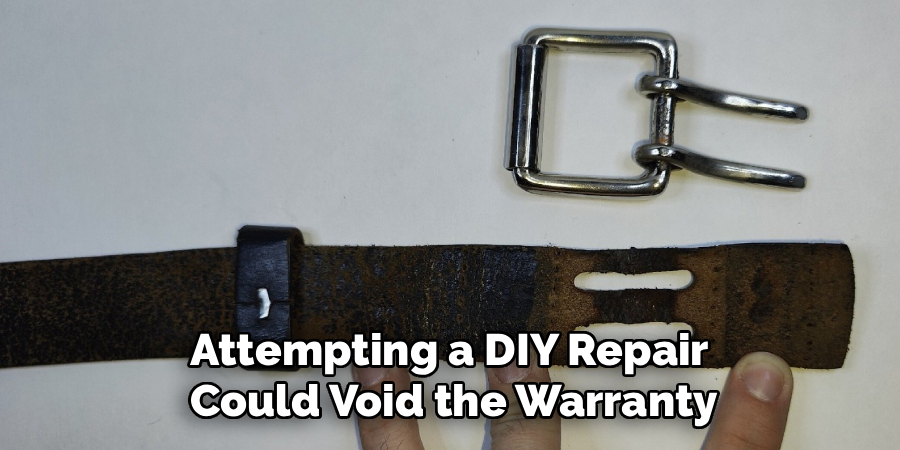
You should also seek help if the leather itself is severely torn near the buckle. A professional cobbler or leather worker can cut, restitch, and reattach the buckle properly.
Calling a professional is also smart if the metal frame is completely snapped in half. You cannot safely glue a load-bearing metal frame back together.
Cost Estimate: DIY vs. Pro Repair
Is it really worth your time to fix this? Let us look at the numbers.
If you choose the DIY route, you likely already have pliers and screwdrivers. A tube of metal glue or a replacement pin costs between $3 and $5.
Taking your belt to a professional cobbler will cost a bit more. Most shops charge between $15 and $30 for a basic buckle repair.
If you are dealing with a standard $20 belt, the DIY route makes the most financial sense. For a $150 premium leather belt, a $30 professional repair is a very smart investment.
Frequently Asked Questions
Can I use super glue to fix a snapped belt prong?
No, super glue is not strong enough to hold a snapped prong under tension. You need to replace the prong entirely for a secure hold.
How do I clean rust off an old buckle before fixing it?
Soak the rusty parts in white vinegar for 30 minutes. Use an old toothbrush to scrub the rust away, then dry it completely.
What if my belt buckle is stitched into the leather?
You will need a seam ripper to cut the old threads. After fixing the buckle, you can use a heavy-duty needle and wax thread to restitch it.
Can a broken belt clamp be fixed?
Yes. If the teeth on the clamp are bent, use flathead pliers to gently press them back down so they grip the leather tightly again.
Conclusion
A broken accessory does not have to ruin your day or your budget. As we have seen, taking the time to learn how to repair belt buckle problems is incredibly rewarding.
By following these simple steps, you can fix loose prongs, missing pins, and broken springs. You will keep your favorite belt in your wardrobe and out of the landfill.
Remember to work slowly, use the right tools, and prioritize your safety. Don’t be afraid to visit a local cobbler if the job looks too tough.
Have you successfully rescued your favorite belt? Share this guide with a friend who might need it, or leave a comment below with your own DIY repair tips!