

Spilled bleach, a dropped iron, or a playful puppy can ruin your floor fast. You might look down and panic at the sight of a gaping hole.
But you do not need to replace the entire room’s flooring. Learning how to repair hole in carpet is easier than you think.
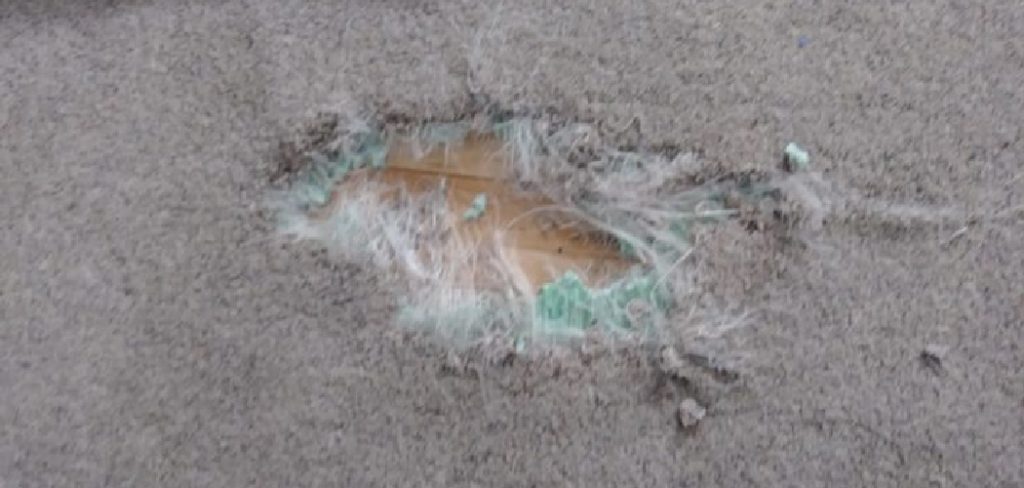
Anyone can fix this common household issue with a little patience. Fixing it yourself saves you a massive headache and keeps cash in your pocket.
Homeowners and renters alike face this frustrating issue all the time. Instead of losing your security deposit or paying expensive service fees, we can fix it together.
Grab your tools, roll up your sleeves, and let us get that floor looking brand new again.
Understanding Carpet Damage: What Causes This Problem?
Before we dive into the fix, it helps to know how the damage happened. Carpets take a lot of abuse over the years.
Understanding the cause helps you prevent future damage once your repair is complete. Here are the most common culprits behind damaged floors:
- Pet damage: Dogs and cats love to dig, scratch, and chew on loose fibers.
- Burn marks: Dropped irons, rogue fireplace embers, or cigarette ashes easily melt fibers.
- Chemical spills: Bleach, strong cleaners, and certain beauty products can eat right through the material.
- Heavy furniture: Dragging heavy couches or tables often tears the backing and creates rips.
- High traffic wear: Constant pacing in a specific spot eventually wears a hole right down to the pad.
- Pest infestations: Carpet beetles and moths love to snack on natural wool fibers.
Tools and Materials Needed for the Job
You cannot do a good job without the right equipment. Gathering everything beforehand makes the process smooth and stress-free.
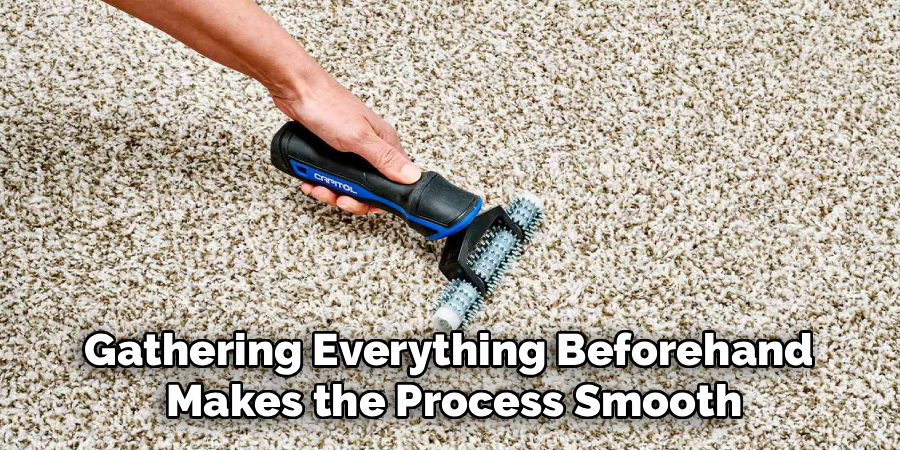
Most of these items are already sitting in your garage or utility drawer. If not, they are incredibly cheap at your local hardware store.
Here is exactly what you need to gather:
- A sharp utility knife or carpet knife (a dull blade will ruin the edges).
- Double-sided carpet tape or carpet seam tape.
- A donor piece of matching carpet (from a closet, scrap pile, or hidden corner).
- A smooth, flat object like a hardback book.
- A carpet tractor or a clean, wide-tooth comb.
- A marker or pen.
- A small piece of paper.
Preparation: Finding the Perfect Donor Piece
You cannot patch a spot without matching material. Finding a good donor piece is the secret to an invisible repair.
If you kept scraps from the original installation, you are in luck. Grab a piece that is slightly larger than the damaged area.
If you do not have scraps, look inside a closet. You can cut a small piece from the back corner of a dark closet.
No one will ever notice a small missing square hidden under storage boxes. Make sure the donor piece has the same pile direction and wear pattern if possible.
Step-by-Step Guide: How to Repair Hole in Carpet
Now it is time to get to work. Take a deep breath and take your time.
Rushing leads to sloppy seams. Follow these steps carefully, and you will be amazed at the results.
Step 1: Measure and Mark the Damaged Area
First, you need to isolate the damage. Take your small piece of paper and place it over the hole.
Use your marker to trace a perfect square or rectangle around the damaged spot. Make sure the shape is slightly larger than the hole itself.
Cut out this paper shape to use as your official template. A square or rectangle is much easier to patch than a jagged, irregular circle.
Read More: How to Repair Water Damaged Drywall.
Step 2: Cut Out the Damaged Section
Place your paper template over the hole. Press firmly so it does not shift.
Take your sharp utility knife and trace the edges of the template. Cut straight down through the carpet backing.
Do not cut so deep that you slice into the underlying carpet pad. Gently lift the damaged square out and throw it away.
Step 3: Cut Your Matching Donor Patch
Take that same paper template and place it over your donor material. Make sure the fibers are pointing in the same direction as the rest of the room.
Hold the template firmly in place. Use your utility knife to cut around the template just like you did before.
You now have a perfectly sized replacement patch ready to go. Check the fit by dry-laying the patch into the empty hole.
Step 4: Apply the Carpet Tape
Take your double-sided carpet tape and cut several strips. The strips should be slightly wider than the hole itself.
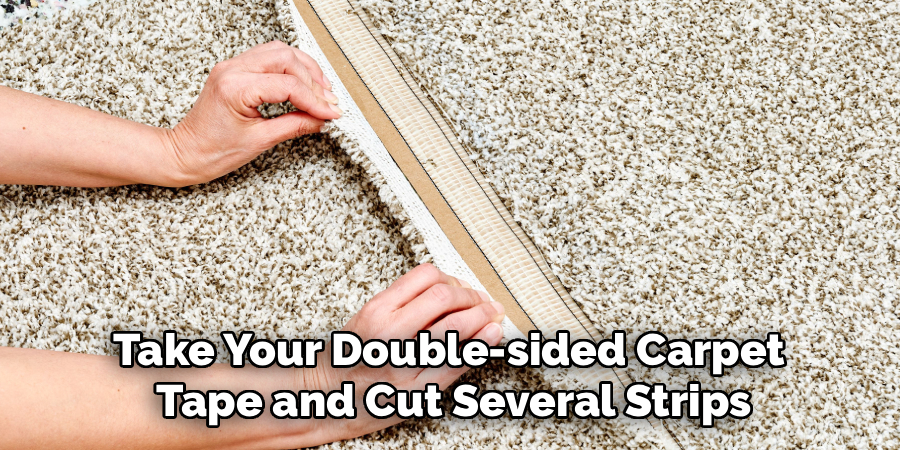
Slide the tape strips halfway under the edges of the existing carpet. The sticky side should face up.
Cover the entire exposed floor pad with the tape. Press the edges of the existing carpet down firmly onto the tape to secure it.
Read More: How to Repair Water Damaged Hardwood Floors.
Step 5: Insert and Secure the Patch
Peel the protective backing off the exposed tape. Carefully place your donor patch into the square opening.
Press down firmly on the patch to ensure it sticks to the tape. Start from the center and press outward toward the edges.
Take your heavy book and place it over the patch. Leave it there for about 15 minutes to help the adhesive bond perfectly.
Step 6: Blend the Carpet Fibers
Remove the book and inspect your handy work. The patch is secure, but the seams might look a little obvious.
Take your carpet tractor or wide-tooth comb. Gently brush the fibers back and forth across the seams.
This tangles the old fibers with the new fibers, hiding the cut lines. Give the area a quick vacuum to fluff everything up nicely.
Read More: How to Repair Small Holes in Plaster Walls Like a Pro.
Safety Warnings to Keep in Mind
Working with sharp tools requires focus and care. One slip of a utility knife can cause a nasty cut.
Always cut away from your body and keep your fingers clear of the blade. Change your blade if it feels dull, as dull blades require more force and slip easily.
If you are using chemical adhesives instead of tape, ventilate the room well. Open a window or turn on a fan to avoid breathing in strong fumes.
Keep pets and young children out of the room while you work. Loose blades and sticky tape are hazardous to curious little ones.
When to Call a Professional
DIY repairs are incredibly satisfying, but they have their limits. Some damage requires an expert touch.
If the hole is massive—say, larger than a dinner plate—a patch might not hold well. Heavy traffic areas like hallway centers can pull large patches apart over time.
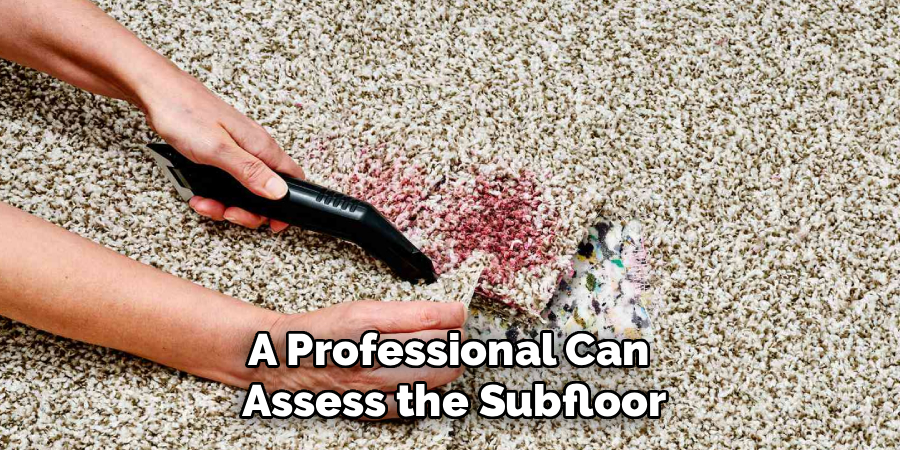
If water damage caused the hole, you might have hidden mold underneath. A professional can assess the subfloor and replace the padding properly.
Always call a pro if you rent and your landlord requires certified repairs. It is better to pay a small service fee than lose your entire security deposit.
Cost Estimate: DIY vs. Professional Carpet Repair
Money is a huge motivator for fixing things yourself. Let us look at the numbers to see how much you actually save.
A DIY repair is extremely budget-friendly. A roll of carpet tape costs about $10, and a utility knife is around $5.
If you already have a donor scrap, your total out-of-pocket cost is under $20. The whole project takes less than an hour of your time.
Professional carpet repair services charge a minimum call-out fee. You can expect to pay anywhere from $150 to $300 depending on your area.
Choosing the DIY route easily keeps a few hundred dollars in your bank account.
Frequently Asked Questions
Can I fix a hole without extra carpet?
You need some type of matching material for a true patch. If you lack scraps, cut a small square from the back corner of an unseen closet.
Does carpet tape actually hold up?
Yes, heavy-duty double-sided carpet tape is incredibly strong. It will easily hold a small patch in place for years under normal foot traffic.
Can I use glue instead of tape?
Carpet seam sealer or glue works well, but it is messier. Tape is much more beginner-friendly and reduces the risk of ruining the nearby fibers.
How do I make the patch invisible?
Matching the fiber direction is crucial. Always comb the edges vigorously after installation to blend the old and new fibers together.
Conclusion on How to Repair Hole in Carpet
Fixing your floor does not have to be a stressful ordeal. You now know exactly how to repair hole in carpet like a seasoned pro.
By taking your time, making clean cuts, and blending the fibers, you can easily hide unsightly damage. You saved money, learned a new skill, and restored your room.
We encourage you to tackle this weekend project with complete confidence. You have all the knowledge you need to get the job done right.
If you found this guide helpful, check out our other easy home repair tutorials for more money-saving tips!