

A dented or cracked garage door panel is more than an eyesore. It weakens your door, lets in drafts, and drags down your home’s curb appeal. The good news? You can fix most panel damage yourself in an afternoon.
You don’t need to be a pro to learn how to repair garage door panels. With a few basic tools and a bit of patience, you can straighten dents, seal cracks, and even swap out a ruined section entirely. Most repairs cost far less than a service call.
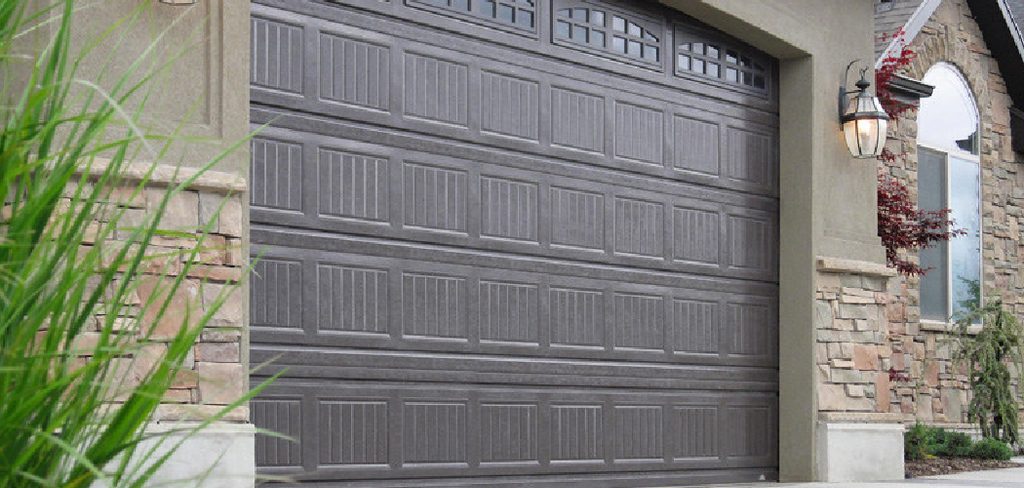
This guide walks you through every step, from sizing up the damage to finishing the job clean. By the end, you’ll know exactly what to do, what to avoid, and when a simple fix beats a full replacement.
Why Repairing Garage Door Panels Is Worth Learning
Skip the technician fee. A single service visit often runs more than the cost of every tool in this guide combined. Learn this skill once and you save money every time damage strikes.
Damaged panels do real harm. They throw off the door’s balance, strain the opener motor, and create gaps that invite cold air, moisture, and pests. Fix the panel early and you protect the whole system from bigger, pricier failures.
There’s also the look of your home to consider. Your garage door takes up a huge slice of your front view. A clean, smooth surface tells visitors and buyers that the place is cared for.
Best of all, the work builds confidence. Master one repair and you’ll tackle the next with less hesitation and better results.
Tools and Materials You’ll Need
Gather everything before you start. Stopping mid-job to find a tool wastes time and breaks your focus.
- Work gloves and safety glasses — protect your hands and eyes
- Rubber mallet or block of wood — tap out dents without scratching
- Adjustable wrench and socket set — loosen panel hardware
- Putty knife — apply filler to cracks
- Auto body filler or wood filler — match the filler to your door material
- Sandpaper (120 and 220 grit) — smooth repaired areas
- Exterior primer and matching paint — seal and blend the finish
- Clean rags and mild detergent — prep the surface
- Replacement panel — only if the damage is too severe to patch
- Heat gun (optional) — speeds dent removal on metal panels and makes the job easier
Step-by-Step Guide on How to Repair Garage Door Panels
Step 1 – Inspect and Assess the Damage
Start by getting close. Run your hand across the panel and feel for dents, ridges, and hairline cracks. Look at the surface in raking light, where shadows make small imperfections pop.
Decide what you’re dealing with. A shallow dent in a metal panel straightens easily. A cracked wooden section needs filler. A panel that’s split, rusted through, or buckled usually needs full replacement.
Check the hinges, rollers, and tracks while you’re there. Sometimes a “panel problem” is really a bent track pushing the section out of line. Press on the panel and watch how it flexes.
Knowing the exact problem saves you from buying the wrong materials. A clear diagnosis is the foundation of every successful fix.
Step 2 – Disconnect Power and Secure the Door
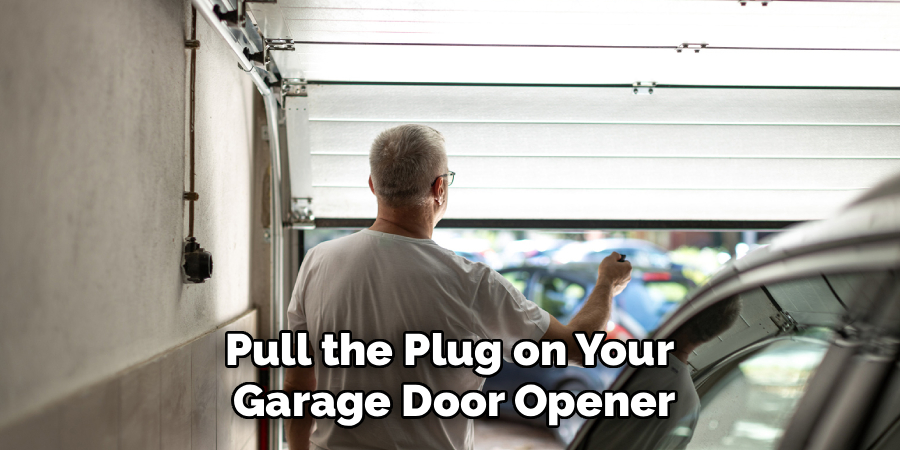
Safety first, always. Pull the plug on your garage door opener or flip the breaker. A motor that kicks on mid-repair can crush a hand or worse.
Lower the door fully so the damaged panel sits at a comfortable working height. Then clamp a pair of locking pliers onto the track just above a roller. This stops the door from sliding while you work.
Listen for the click as the clamp bites the metal. That sound means the door is locked in place.
Never touch the spring system. Those springs hold enormous tension and have injured countless homeowners. If your repair involves anything near the springs, stop and call a pro.
Step 3 – Clean the Work Area
Dirt ruins repairs. Filler won’t stick to grime, and paint peels off greasy surfaces within weeks.
Mix mild detergent with warm water. Wipe the damaged panel and the area around it with a clean rag. Scrub away road salt, cobwebs, and any flaking old paint.
Pay attention to the texture under your fingers. The surface should feel dry and slightly rough, never slick or dusty. Rinse with clean water and let everything dry completely.
This step feels minor, but it decides whether your work lasts five years or five weeks. A clean base lets filler bond tight and paint lay smooth. Take your time here and the finish rewards you.
Step 4 – Pop Out Dents in Metal Panels
For shallow dents in steel or aluminum, heat is your friend. Wave a heat gun over the dent for about a minute until the metal warms, then press from behind with steady hands.
No heat gun? Place a wood block against the dent and tap firmly with a rubber mallet. Work from the edges of the dent toward the center. You’ll feel the metal give and hear a soft pop as it returns to shape.
Go slow. Hammering too hard stretches the metal and creates a bulge worse than the original dent. Small, controlled taps win every time.
Run your palm over the spot to check progress. The surface should feel flat and continuous, with no sharp ridges left behind.
Step 5 – Fill Cracks and Holes
Now tackle cracks, gouges, and stubborn dents that won’t pop out. Scoop a small amount of filler onto your putty knife. Use auto body filler for metal doors and wood filler for wooden ones.
Press the filler firmly into the damage, then drag the knife flat across the surface. Build up the area slightly higher than the surrounding panel, since filler shrinks as it dries.
You’ll smell the filler curing as it sets. Most types harden within 20 to 30 minutes, but check the label.
Patience matters here. Knowing how to repair garage door panels well means resisting the urge to sand before the filler is rock-hard. Touch it lightly first; it should feel cool and solid.
Step 6 – Sand the Repaired Area Smooth
Once the filler cures, grab your 120-grit sandpaper. Sand in small circles, knocking down the high spots until the patch sits level with the panel.
Switch to 220-grit for the final pass. This finer paper erases scratches and leaves a surface ready for primer.
Feel as you go. Slide your fingertips over the repair and the original panel together. When you can’t tell where one ends and the other begins, you’re done.
Wipe away all the dust with a dry rag. Even a thin layer of grit will show through paint as tiny bumps.
Good sanding is the difference between a repair that disappears and one that screams “patch job.” Light pressure and steady passes give the best result.
Step 7 – Replace a Damaged Panel (If Needed)
Sometimes a panel is too far gone. If it’s rusted through or split in half, replacement beats patching.
Order a matching panel from your door’s manufacturer using the model number on the inside of any section. With the door secured and power off, unbolt the hinges connecting the damaged panel to the ones above and below.
Slide the rollers out of the track and lift the old panel free. It’s heavier than it looks, so get a helper. Set the new panel in place, reseat the rollers, and bolt the hinges back on.
Tighten every bolt firmly but don’t strip the threads. Wiggle the panel to confirm it sits flush with its neighbors.
Step 8 – Prime, Paint, and Reconnect
Brush exterior primer over every repaired and bare spot. Let it dry per the label, usually an hour or two.
Apply your matching paint in thin, even coats. Two light coats beat one thick coat every time, since heavy paint runs and drips. Feather the edges into the surrounding panel so the color blends seamlessly.
Once the paint dries, remove your locking pliers from the track. Restore power to the opener.
Run the door up and down a few times. Watch how it moves and listen for scraping or hesitation. A smooth, quiet cycle means your repair holds. Stand back and admire a panel that looks factory-fresh again.
Critical Mistakes When Repairing Garage Door Panels
The biggest mistake is touching the spring system. Torsion and extension springs store tremendous force, and a slip can break bones or worse. If your repair goes anywhere near the springs, stop and hire a professional. No DIY saving is worth a trip to the emergency room.
Rushing the prep work ruins more repairs than any other error. Skipping the cleaning step leaves grease and dust that block filler and paint from bonding. Within weeks, your patch flakes off and you start over. Clean thoroughly and let everything dry fully before you apply anything.
Over-hammering dents creates new damage. Homeowners often swing too hard, stretching the metal into a bulge that’s harder to fix than the original dent. Tap gently and work from the edges inward.
Mismatched materials cause headaches too. Wood filler on a steel door won’t hold, and the wrong paint shade leaves an obvious patch. Match your filler to the panel material and your paint to the exact factory color.
Finally, many people forget to secure the door before working. An unclamped door can shift suddenly and pin your hand. Always lock the track and cut the power first.
Expert Tips
Keep the leftover paint. Garage doors take regular hits, so storing the exact color saves you matching headaches down the road.
Photograph the hardware layout before you remove any panel. A quick phone snap shows you exactly where each hinge and bolt belongs during reassembly.
Test paint colors on a hidden spot first. Sun fades door finishes over time, so a fresh can may not match an older door perfectly. Blend outward from the repair to soften any difference.
For metal doors, a magnet helps you find the best spot to push out dents from behind. Work in mild weather, too. Filler and paint cure best between 50 and 85 degrees, so skip humid or freezing days.
Above all, fix small damage fast. A minor dent today becomes a balance problem tomorrow.
Frequently Asked Questions
Can I repair a garage door panel myself or do I need a pro?
You can handle most panel repairs yourself. Dents, small cracks, and surface damage all respond well to basic tools and filler. Call a professional only for spring-related issues or panels that affect the door’s structural balance. Springs carry dangerous tension and should never be a DIY project.
How much does it cost to repair a garage door panel?
A DIY repair usually costs between $20 and $80 for filler, sandpaper, primer, and paint. A full replacement panel runs $150 to $400 depending on material and style. Professional repairs typically start around $200. Doing the work yourself saves the most when the damage is cosmetic rather than structural.
When should I replace a panel instead of repairing it?
Replace the panel when:
- It’s rusted completely through
- It’s split, cracked across its full width, or buckled
- The damage compromises the door’s balance or safety
- Filler and paint can’t restore a smooth surface
For everything else, a patch repair is faster and cheaper.
What kind of filler should I use on a garage door panel?
Match the filler to your door material. Use auto body filler for steel and aluminum panels, since it bonds to metal and resists weather. Use exterior-grade wood filler for wooden doors. Avoid lightweight indoor spackle, which crumbles outdoors and won’t survive temperature swings or rain.
How long does a garage door panel repair last?
A proper repair lasts years when done right. Thorough cleaning, quality filler, and good paint create a finish that holds through seasons of weather. Skipping prep work shortens that lifespan dramatically. Inspect the repair once a year and touch up any chips early to keep it looking and performing like new.
Conclusion
Fixing a damaged panel is one of the most rewarding home repairs you can take on. You save money, protect your door’s working parts, and restore the clean look of your home’s front face.
Remember the core steps. Inspect the damage carefully, secure the door and cut the power, clean the surface, then dent, fill, sand, and paint your way to a smooth finish. Match your materials, work slowly, and never go near the spring system.
The skills here carry over to dozens of other projects around the house. Each repair you finish builds the confidence to tackle the next one with less worry and better results.
Now you know how to repair garage door panels from start to finish. Grab your tools, set aside an afternoon, and get to work. Your door will look factory-fresh again, and you’ll have the satisfaction of knowing you did it yourself. When the next dent shows up, you’ll be ready.