

That sinking feeling when you spot a tear in your favorite puffer is real. One snag on a fence, a careless zipper, or a curious pet, and suddenly little feathers or fluffy clusters start drifting out like tiny snowflakes. It looks like a disaster, but it rarely is.
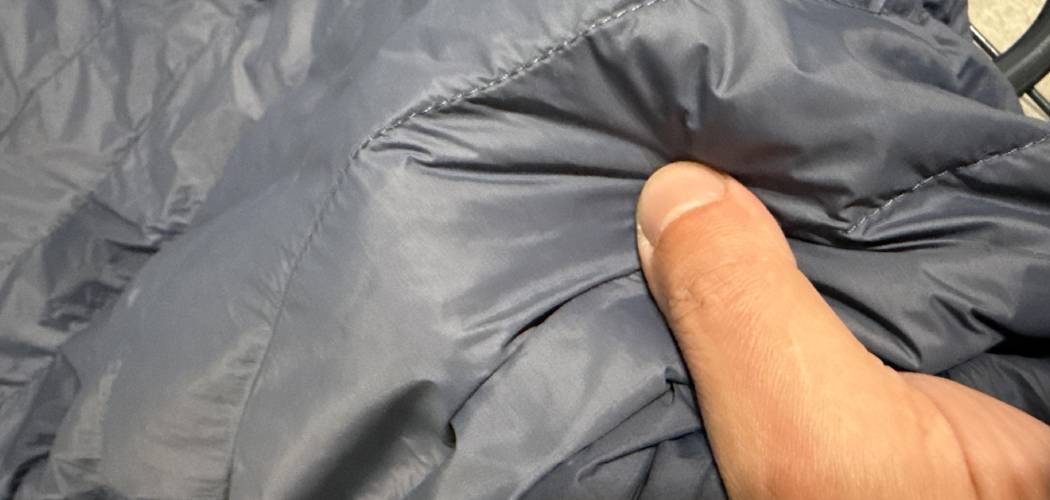
Here’s the truth: most rips are quick, affordable fixes you can handle at your kitchen table in under an hour. You don’t need a tailor, a sewing machine, or any special talent. Learning how to fix a rip in a puffer jacket simply takes the right materials and a little patience.
In this guide, you’ll walk through every step to seal that tear, trap your insulation, and get your jacket back into rotation looking nearly as good as new.
Why Fixing a Rip in a Puffer Jacket Matters
A puffer keeps you warm because of the air trapped inside its down filling or synthetic insulation. The moment the nylon shell tears, that warmth starts leaking out along with the stuffing, and a small hole only grows wider with every wear.
For homeowners and renters, a fast repair saves you from replacing a pricey coat you already love. For DIY enthusiasts, it’s a satisfying skill that carries over to sleeping bags, vests, and other insulated outerwear.
Campers and outdoor beginners have even more at stake. When you’re miles from shelter, a damaged jacket can mean a cold, miserable night. Knowing how to seal a tear on the spot keeps you safe and comfortable. A patched jacket performs almost like new, so a few minutes of work protects both your wallet and your warmth.
Tools and Materials You’ll Need
Grab everything before you start so you’re not chasing supplies with insulation escaping the whole time. Most of these items are inexpensive and live in a basic repair drawer or a nearby outdoor shop.
- Self-adhesive repair patch made for nylon or insulated gear
- Fabric tape rated for outerwear, in a color close to your jacket
- Rubbing alcohol and a clean cloth to prep the surface
- Small, sharp scissors for trimming patches and loose threads
- Tweezers to tuck stray down or synthetic fill back inside
- Needle and strong thread for stitching larger tears
- Seam seal or fabric glue for extra hold on edges
- A heavy book or flat weight to press the patch flat while it bonds
- A hair dryer (optional, but it warms adhesive for a stronger seal)
That hair dryer is a small convenience that helps your adhesive patch grip faster and hold tighter.
Step-by-Step Guide on How to Fix a Rip in a Puffer Jacket
Move through these eight steps in order, and resist the urge to rush the cleaning and pressing. Solid prep is what makes the difference between a patch that lasts for years and one that lifts after a single wash.
Step 1 – Assess the Tear
Lay your jacket flat under good light and take a close look at the damage. Is it a clean slit, a jagged rip, or a worn spot at a seam? The shape and size tell you whether tape, a patch, or a few stitches will work best.
Run your fingertip gently around the edges to feel for fraying threads. Small punctures under an inch usually need only an adhesive patch, while longer tears near the elbow or pocket may want stitching first.
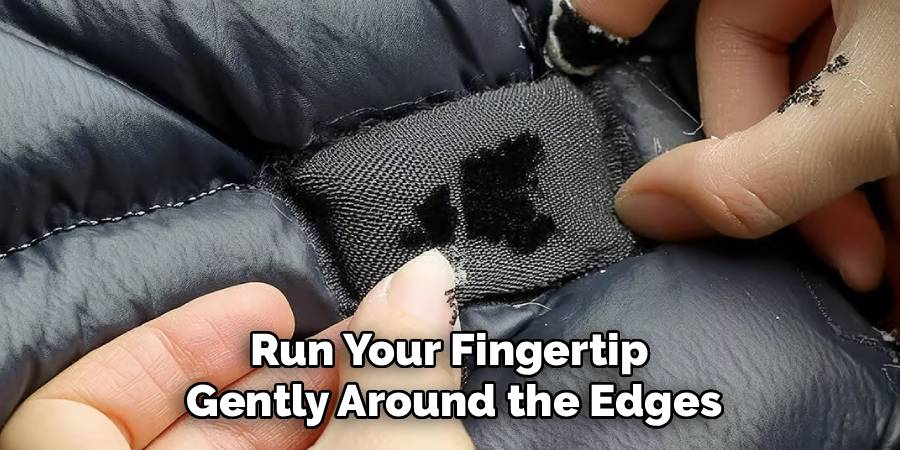
Knowing how to fix a rip in a puffer jacket starts with this honest assessment. Spend a minute here, because matching the right method to the damage saves you from redoing the whole repair later.
Step 2 – Tuck the Insulation Back In
Before you seal anything, you need to get the escaped filling back where it belongs. Use your tweezers or a clean fingertip to gently push loose down or synthetic insulation back through the hole.
Work slowly and patiently. Those clusters are light and stubborn, and a sudden breeze or sneeze can send them floating across the room. Cup your hand around the opening as you tuck to keep stray bits from drifting off.
Press the surrounding area to redistribute the fill evenly, so you don’t end up with a flat, empty patch beside a lumpy one. The fabric should feel plump and balanced again under your fingers. A well-stuffed pocket of insulation keeps your jacket warm right up to the repaired spot.
Step 3 – Clean the Surface
Adhesive only sticks to a clean, dry shell, so this step matters more than it looks. Dampen a cloth with a little rubbing alcohol and wipe the area around the tear, removing body oils, dirt, and any laundry residue.
You’ll notice the nylon shell looks slightly brighter and feels squeaky clean once the oils lift away. Let it air dry completely, which takes only a minute or two since alcohol evaporates fast.
Avoid touching the cleaned spot with your bare fingers afterward, since even a light smudge of oil can weaken the bond. If your jacket is visibly grubby, follow the washing instructions on the care tag first, then let it dry fully before repairing. A clean canvas is the foundation of every lasting fix.
Step 4 – Line Up the Torn Edges
Now bring the ripped edges together so they sit flush and even. Pinch the two sides of the tear and align them the way they naturally lay, without stretching or overlapping the fabric.
For a clean slit, this is simple. For a jagged rip, take your time matching the contours so the patch has a smooth surface to grab. Smooth the area flat with your palm, pressing out any wrinkles or puckers around the hole.
If stray threads stick up, snip them close with your sharp scissors so they don’t poke through the patch later. The edges should meet neatly, like closing a small seam. Well-aligned edges mean your patch lays flat and bonds across the whole tear instead of just part of it.
Step 5 – Cut and Apply the Patch
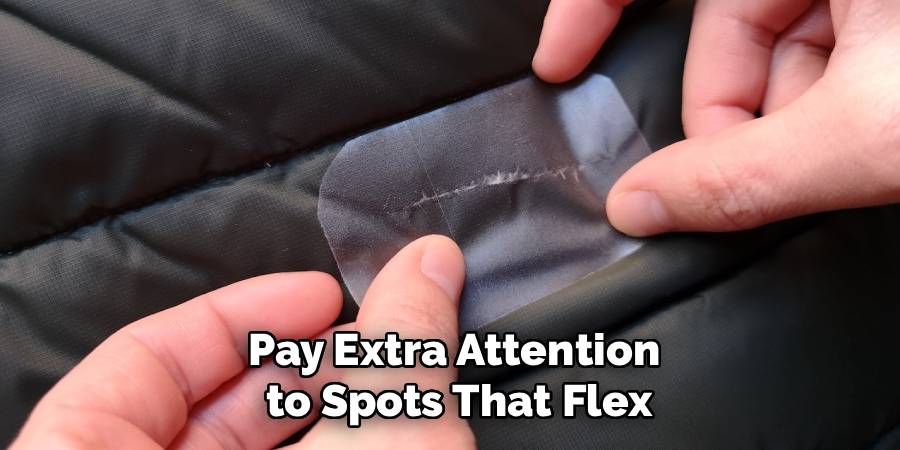
Measure your tear, then cut a repair patch that extends at least half an inch beyond the damage on every side. Round the corners with your scissors so they won’t catch and peel up over time.
Peel the backing slowly and position the adhesive patch directly over the aligned tear. Lay it down from the center outward, smoothing as you go to push out trapped air bubbles. You’ll feel it grip the nylon shell with a satisfying tackiness.
Press firmly across the entire surface for thirty seconds or so. For extra security, add a matching patch on the inside of the shell too. A patch that overlaps generously spreads stress across more fabric and resists lifting far better than a tight, minimal one.
Step 6 – Reinforce With Stitching if Needed
For larger tears or high-stress areas like elbows and pockets, a patch alone may not hold. Thread your needle with strong thread and sew a row of small, close stitches along the tear before or after patching.
Use a whipstitch or a simple running stitch, keeping your tension snug but not so tight that it puckers the fabric. Push the needle through slowly to avoid scattering the insulation inside.
Knot your thread securely at both ends and trim the tails close. The stitches add a sturdy backbone that handles the bending and stretching your arms put on the jacket. Combined with fabric tape or a patch on top, this reinforcement gives your repair the kind of strength that survives real outdoor use.
Step 7 – Seal the Edges
Even a snug patch benefits from a thin border of protection. Run a small bead of seam seal or fabric glue around the outer edge of your patch, then smooth it with a gloved fingertip or a toothpick.
This sealed border locks down the patch corners and blocks water and wind from sneaking underneath. The sealant should sit thin and even, with no thick globs that stay tacky for hours.
Wipe away any excess right away, since dried glue is much harder to remove later. Pay extra attention to spots that flex, like along a sleeve, because those areas peel first. A clean, sealed edge is your last line of defense and turns a decent fix into one that truly lasts.
Step 8 – Press and Cure
Patience pays off at the finish line. Lay the jacket flat and set a heavy book or flat weight over the patched area to keep firm, even pressure on the bond as it sets.
If your patch is heat-activated, warm it gently with a hair dryer first, then apply the weight. The warmth helps the adhesive flow into the fibers for a tighter seal.
Let it cure for the full time on the product label, often several hours, before wearing or washing the jacket. Resist the urge to test it early. Press the cured patch with your finger, and it should feel firm and flat rather than soft or lifting at the edges. This short wait protects all the careful work you just did.
Critical Mistakes to Avoid When Fixing a Rip in a Puffer Jacket
Even careful beginners stumble over a few common traps, so let’s clear them up before you start.
The biggest mistake is patching over a dirty shell. Body oils, sunscreen, and laundry residue all block adhesive from bonding, so a patch slapped onto grubby fabric peels within days. Always wipe the area with rubbing alcohol and let it dry before you stick anything down.
Another frequent slip is using the wrong tape. Household duct tape or packing tape can’t flex with your jacket and leaves a sticky mess when it fails. Choose fabric tape or an adhesive patch made for outerwear, and the difference shows immediately.
Many people also forget to tuck the insulation back in. If you seal the tear with fill still poking out, you trap a lumpy mess and leave a cold gap behind it. Take the extra minute to push the down or synthetic insulation inside first.
Rushing the cure time causes trouble too. Wearing or washing the jacket before the bond sets pulls the patch loose almost instantly. Finally, don’t ignore a fraying seam. A quick stitch now keeps a small tear from unraveling into a major repair later.
Expert Tips
A few smart habits turn a decent fix into one that lasts for seasons.
First, always round the corners of any patch you cut. Sharp corners catch on sleeves, bags, and zippers, and they’re the first spot to peel. A rounded edge stays put far longer.
Second, patch both sides of the shell when you can. An inside patch backs up the outer one and shares the stress, which matters most on elbows and pockets.
Third, match your colors thoughtfully. Many repair patches come in shades that blend with common jacket colors, so the fix nearly disappears.
Finally, fold good outerwear care into your routine. Follow the washing instructions on the tag, store the jacket loosely rather than crammed in a drawer, and check seams now and then. Catching a tiny tear early means a two-minute fix instead of a major repair.
Frequently Asked Questions
Can I fix a puffer jacket rip without sewing?
Yes, plenty of rips need no needle at all. For small tears under an inch, a self-adhesive repair patch or quality fabric tape usually does the job:
- Tiny punctures: a single adhesive patch seals them fast
- Slits up to an inch: a patch on both sides holds well
- Long or seam tears: these need stitching for real strength
Just clean the shell first, and the no-sew route works great for most everyday damage.
Will the repair patch survive washing?
A properly applied patch holds up to washing when you let it cure fully first. Wait the complete time on the label before the jacket sees water. Then follow the washing instructions on the care tag, use a gentle cycle, and skip harsh heat in the dryer. Heat can soften adhesive over time, so air drying or low heat extends the life of your tear repair considerably.
What if down keeps escaping while I work?
Stray down is the trickiest part, so slow down and work in a draft-free room. Use tweezers to tuck clusters back through the hole, and cup your free hand around the opening to catch escapees. Avoid sneezing or breathing hard near the tear. Once the fill sits inside, press the area flat and seal it quickly before more drifts out.
Should I use tape or a patch for a small tear?
Both work, but they suit different needs. Fabric tape is fast and great for tiny slits or temporary trail fixes. A self-adhesive patch bonds more permanently and handles larger holes or high-stress spots better. For anything you’ll wear hard or wash often, choose a patch. For a quick fix on the go, tape gets you home dry and warm.
How do I fix a tear right along a seam?
Seam tears need a bit more care since the area already carries stress. Start by stitching the seam closed with strong thread and small, snug stitches. Then cover your stitches with a patch or fabric tape for extra protection, and add a thin line of seam seal along the edge. This combination restores the seam’s strength and keeps the tear from reopening.
Conclusion
Fixing a torn puffer feels intimidating until you break it into simple steps. You’ve seen that success comes down to good prep, tucking the insulation back in, and giving your patch time to cure before you wear or wash it.
Start by assessing the tear and pushing the fill back inside, then clean the shell, align the edges, and apply your patch. Reinforce larger tears with a few stitches, seal the border, and press everything flat until it sets. Respect those steps, dodge the common mistakes, and your jacket will hold strong through the coldest months.
A little regular outerwear care, like following the washing instructions and checking seams now and then, keeps small snags from becoming big problems. Once you’ve mastered how to fix a rip in a puffer jacket, you’ve gained a skill that protects your favorite coat, your comfort, and your wallet.
So gather your supplies, clear a flat surface, and get to work. Your puffer will be ready for the next cold morning in no time.
1 thought on “How to Fix a Rip in a Puffer Jacket”