

We all know the sinking feeling of watching a favorite ceramic piece slip from our hands. The crash is loud, and the damage looks permanent. But you do not have to throw that cherished item away.
Learning how to repair broken porcelain is entirely possible for anyone. You do not need special skills or a professional workshop. You just need patience and the right materials.
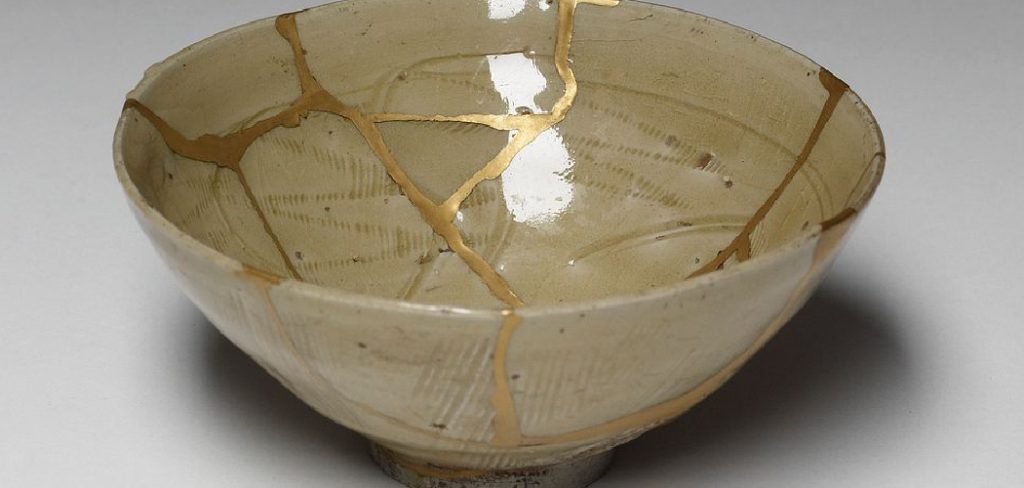
Fixing it yourself saves you a lot of money compared to hiring a restorer. It also gives you a great sense of pride. You can breathe new life into plates, mugs, and figurines.
In this guide, we will walk you through exactly what to do. You will learn the best techniques for a seamless fix. Let us get started on saving your favorite pieces.
What Causes Broken Porcelain?
Before we dive into the fix, it helps to understand why porcelain breaks. This material is elegant but notoriously fragile. Knowing the risks can help you protect your pieces in the future.
Here are the most common culprits behind cracked or shattered porcelain:
- Accidental Drops: The most obvious cause is a slip of the hand. Hard floors offer no mercy to brittle ceramics.
- Temperature Shock: Pouring boiling water into a cold porcelain cup can cause immediate cracking. Extreme temperature shifts expand the material too fast.
- Wear and Tear: Older pieces weaken over time. Micro-cracks develop through decades of regular use and washing.
- Improper Storage: Stacking heavy plates without padding places immense stress on the bottom pieces. Over time, they simply snap.
- Dishwasher Damage: Harsh water pressure and rattling against other dishes can chip delicate edges easily.
Tools and Materials Needed to Repair Broken Porcelain
Preparation is the secret to a perfect repair job. You need to gather everything before mixing your adhesives. Once the glue is ready, you have limited time to work.
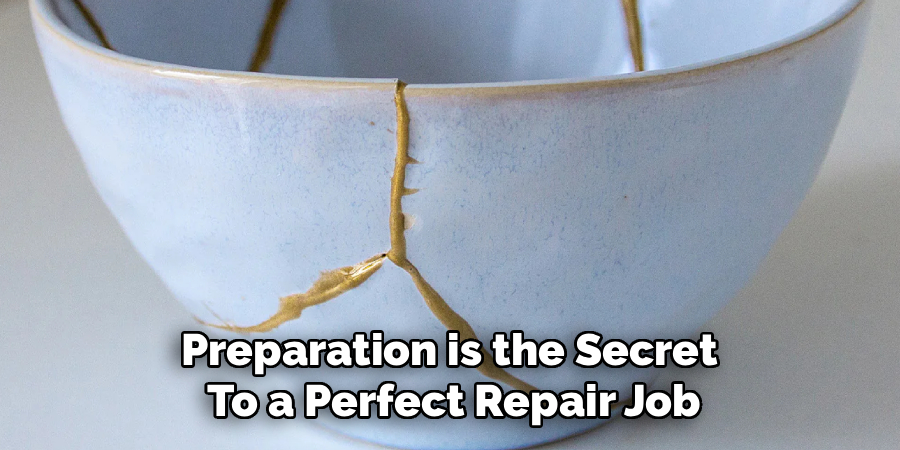
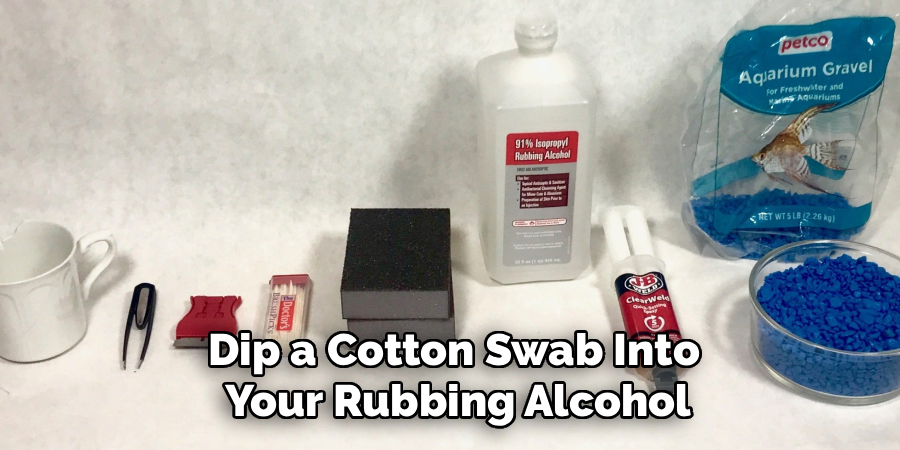
Here is exactly what you need to successfully fix your broken item:
- Two-Part Clear Epoxy: This is the strongest and best adhesive for porcelain. Do not use standard white school glue.
- Rubbing Alcohol: You need this to clean the broken edges thoroughly.
- Cotton Swabs: Perfect for applying alcohol and cleaning up small epoxy drips.
- Wooden Toothpicks: These allow you to apply the epoxy with ultimate precision.
- Masking Tape or Painter’s Tape: Used to hold the pieces tightly together while the glue dries.
- Fine-Grit Sandpaper: Essential for smoothing down any dried glue bumps later.
- A Razor Blade: Helpful for carefully scraping away semi-cured epoxy on flat surfaces.
- Disposable Gloves: Protect your hands from sticky chemicals.
- A Paper Plate: Use this as your mixing palette for the epoxy.
Step-by-Step Guide: How to Repair Broken Porcelain
Now it is time to get to work. Follow these steps carefully to ensure a strong, invisible bond. Take a deep breath and work slowly.
Step 1: Clean the Broken Pieces Thoroughly
Dirt and oils from your fingers will prevent the epoxy from sticking. You must start with completely clean surfaces. Wash the pieces gently with mild soap and warm water first.
Let them dry completely. Then, dip a cotton swab into your rubbing alcohol. Carefully wipe the raw, broken edges of every single piece.
Set them on a clean paper towel to dry. Alcohol evaporates quickly, so this will only take a few minutes. Do not touch the broken edges with your bare fingers again.
Step 2: Perform a Dry Fit
Never apply glue without testing the fit first. You need to know exactly how the pieces slide together. Sometimes, tiny shards block the main pieces from connecting perfectly.
Hold the pieces together and look closely at the seam. It should look nearly invisible. Practice assembling the item a few times so your hands know the motion.
If there are missing chips, take note of where they belong. You will need to fill those gaps later. For now, just ensure the main structural pieces fit securely.
Read More: How to Repair Home Foundation Cracks.
Step 3: Mix Your Two-Part Epoxy
Put on your disposable gloves and grab your paper plate. A two-part epoxy consists of a resin and a hardener. They only work when mixed together in equal amounts.
Squeeze a small, equal puddle of both liquids onto the paper plate. Use a wooden toothpick to stir them together briskly. Mix them for at least one full minute.
Ensure the mixture is completely blended. Once mixed, you usually have about three to five minutes of working time. Move efficiently but do not panic.
Step 4: Apply the Epoxy Carefully
Dip a fresh toothpick into the mixed epoxy. You only need a very small amount. Smearing too much glue creates a messy, visible seam.

Apply a thin layer of epoxy along the broken edge of one piece. Do not put glue on both sides of the break. A single, thin coat is enough to create a rock-solid bond.
Spread it evenly so there are no thick globs. Keep the glue slightly away from the visible surface edge. This helps prevent too much glue from squeezing out when you press the pieces together.
Step 5: Press and Secure the Pieces
Carefully align the two broken pieces exactly as you practiced during the dry fit. Press them together firmly. You should feel them lock right into place.
Hold them tightly together for about sixty seconds. This gives the epoxy a moment to grab hold. Now, take a strip of masking tape and stretch it tightly across the seam.
Apply several pieces of tape to keep the joint under pressure. The tape acts like a clamp, holding the porcelain tight while the epoxy cures. Set the item down in a safe, undisturbed spot.
Read More: How to Repair Solar Lights.
Step 6: Clean Up the Excess Glue
Even with careful application, some epoxy might squeeze out of the seam. You need to handle this before it hardens completely. Wait about fifteen minutes until the glue feels like a rubbery gel.
Take a fresh cotton swab dipped in a tiny bit of rubbing alcohol. Gently wipe away the sticky residue on the surface. Be very careful not to shift the taped pieces.
If you are working on a flat surface, you can carefully use a razor blade. Gently slice off the rubbery glue bumps. Do not scratch the porcelain glaze.
Step 7: Let the Repair Cure Entirely
Patience is your best friend right now. The epoxy needs time to reach its maximum strength. Check the packaging on your specific brand for exact curing times.
Most epoxies require at least 24 hours to fully cure. Do not remove the tape before this time is up. Leave the item in a room with a moderate, stable temperature.
Once the time has passed, gently peel off the masking tape. Your porcelain piece should now be strong and whole again.
Step 8: Sanding and Final Touches
Sometimes a tiny ridge of dried glue remains. You can smooth this out for a flawless finish. Take your fine-grit sandpaper and rub the seam extremely gently.
Only sand the glue itself, avoiding the shiny porcelain glaze. If you sand the glaze, you will leave dull scratches. Wipe away any dust with a damp cloth.
If there are small missing chips, you can fill them with a porcelain touch-up glaze. Paint it on with a tiny brush. Let it dry, and your repair is officially complete!
Read More: How to Repair Neon Signs.
Safety Warnings for Porcelain Repair
Fixing porcelain involves sharp edges and strong chemicals. You must prioritize your safety at all times. A small mistake can lead to a nasty cut.
Always wear disposable gloves when handling epoxy. These chemicals can cause severe skin irritation or allergic reactions. Never touch your face or eyes while working.
Work in a well-ventilated area. Epoxy fumes can be overwhelming in a closed room. Open a window or turn on a fan to keep fresh air circulating.
Keep all broken shards away from children and pets. Sweep your floor immediately after breaking a piece. Tiny, invisible slivers of porcelain act just like glass.
When to Call a Professional
While DIY fixes are great, they are not always the right choice. Some items require the touch of a master restorer. Knowing your limits prevents you from ruining valuable items.
If your piece is a rare antique, do not attempt to fix it yourself. Amateur repairs severely decrease the value of historic items. A professional can restore it seamlessly using museum-grade techniques.
You should also call a pro if the porcelain shattered into dozens of tiny pieces. Rebuilding dust and micro-shards is nearly impossible at home. Restorers have special tools to reconstruct shattered items.
Finally, seek help if the item holds immense sentimental value and you feel nervous. If the thought of making a mistake stresses you out, hire an expert. Peace of mind is worth the extra cost.
Cost Estimate: DIY vs. Professional Repair
Budget is a massive factor when deciding how to handle a broken item. Understanding the costs helps you make a smart decision.
A DIY repair is incredibly budget-friendly. A good tube of two-part epoxy costs between $5 and $10. Adding tape, sandpaper, and rubbing alcohol might bring your total to $20.
If you already have tape and alcohol at home, the cost is even lower. DIY is the clear winner for everyday items. It makes perfect financial sense for standard plates and mugs.
Professional repair, however, is an investment. Basic repairs usually start around $100. If the piece is highly complex or requires custom color matching, costs can easily exceed $300.
You must weigh the cost of repair against the value of the item. Spending $200 to fix a $10 mug does not make sense. But spending $200 to save a $1,000 family heirloom is a bargain.
Frequently Asked Questions
Is my repaired porcelain safe for food?
Most standard epoxies are not considered food-safe once cured. If you repaired the inside of a coffee mug or a dinner plate, do not use it for food. Use repaired items for display purposes only to stay safe.
Can I put repaired porcelain in the dishwasher?
No. The high heat and harsh water pressure of a dishwasher will break down the epoxy over time. Always hand wash your repaired porcelain gently with warm water and mild soap.
Can I use super glue to repair broken porcelain?
Super glue is not recommended for porcelain. It dries too fast, leaving no room for adjustments, and the bond becomes brittle over time. Always use a two-part epoxy for a lasting, strong repair.
How do I fix a hairline crack in porcelain?
For hairline cracks, use a specialized flowing epoxy or a very thin cyanoacrylate adhesive. Warm the porcelain slightly with a hair dryer to open the crack, apply the thin glue, and let it seep in.
Conclusion
Dropping your favorite ceramic item does not mean it is gone forever. By following this guide, you now know exactly how to repair broken porcelain. It simply takes a little patience, some clear epoxy, and a steady hand.
Remember to clean your pieces thoroughly, perform a dry fit, and let the adhesive cure entirely. DIY repairs save you money and bring a deep sense of accomplishment. You can proudly display your restored treasures once again.
Have you ever successfully fixed a broken family heirloom? We would love to hear your success stories! Leave a comment below with your best repair tips, and be sure to check out our other home repair guides.