

Oh no, your favorite coffee cup just took a tumble. We have all been there. Hearing that familiar crash on the kitchen floor is always a bummer.
But do not throw those ceramic pieces away just yet! Knowing how to repair a broken mug damage is easier than you might think. Fixing it yourself saves money and rescues your beloved ceramics from the trash.

Plus, there is a real sense of pride that comes from a successful DIY repair. You get to keep your morning coffee routine intact.
In this guide, we will walk you through the entire process. Grab your supplies, clear off a spot on your kitchen table, and let us get that mug looking great again.
What Causes Mug Damage in the First Place?
Before we start gluing, it helps to know why mugs break. Ceramics are tough, but they are not invincible.
Understanding the root cause can help you protect your favorite cups in the future. Here are the most common culprits behind a shattered mug.
Sudden Temperature Shock
Pouring boiling water into a freezing cold mug is a recipe for disaster. The sudden temperature change causes the ceramic to expand too quickly.
This thermal shock creates hairline fractures. Eventually, those tiny cracks cause the mug to split entirely.
Accidental Drops and Impacts
This is the most obvious reason for a broken handle or shattered cup. Slippery hands and soapy dishwater often lead to drops.
Even a short fall into a stainless steel sink can chip the porcelain. Hard countertops are also unforgiving to delicate ceramics.

Dishwasher Wear and Tear
Dishwashers are incredibly convenient, but they can be rough on your drinkware. The high heat and strong water jets jostle items around.
Over time, mugs bang against other heavy dishes. This constant rattling weakens the ceramic structure and leads to breaking.
Microwave Stress
Not all mugs are truly microwave-safe. Some ceramics absorb heat faster than the liquids inside them.
This uneven heating puts immense stress on the internal structure. Over time, the mug will weaken and crack right down the middle.
Essential Tools and Materials You Need
Proper preparation is the secret to a perfect DIY fix. You need the right supplies before you mix any adhesives.
Gather these items from your garage or local hardware store. Having everything within reach makes the job completely stress-free.
Food-Safe Epoxy or Silicone
This is the most important item on your list. You cannot use standard super glue for a drinking vessel.
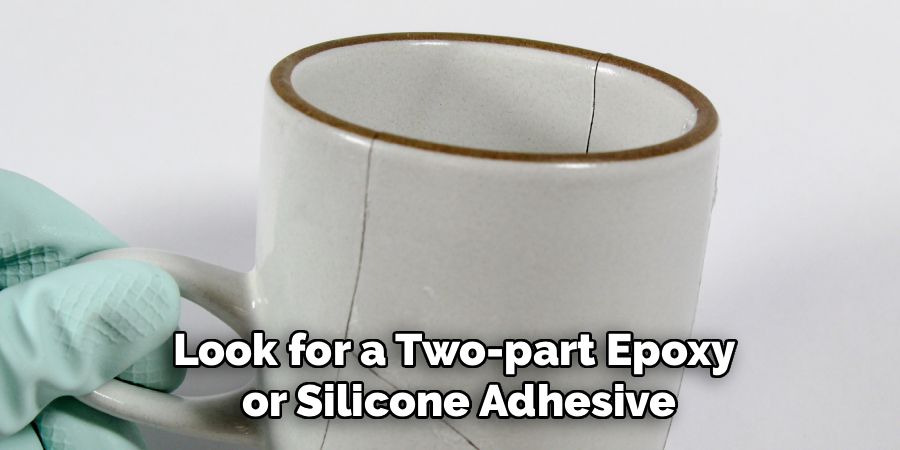
Look for a two-part epoxy or silicone adhesive clearly labeled “food-safe.” It must be non-toxic and able to withstand hot liquids.
Rubbing Alcohol and Cotton Swabs
Your ceramic pieces must be perfectly clean before you apply glue. Dirt, coffee oils, and fingerprints will ruin the adhesive bond.
Use rubbing alcohol and cotton swabs to wipe down the broken edges. This ensures the glue sticks permanently to the porcelain.
Painter’s Tape or Masking Tape
You will need something to hold the mug together while the glue dries. Painter’s tape is perfect for this job.
It acts like an extra set of hands to hold the broken shards tight. Plus, it peels off easily without leaving a sticky mess behind.
A Paper Plate and Toothpicks
Two-part epoxy requires thorough mixing before application. A disposable paper plate makes the perfect mixing palette.
Toothpicks are the ideal tool for stirring the adhesive. They also work great for applying tiny amounts of glue to thin ceramic edges.
How to Repair a Broken Mug: Step-by-Step Fix Guide
Do not let a pile of shattered porcelain intimidate you. Fixing a cup is a fun and simple weekend project.
Just take your time and follow these beginner-friendly steps. Here is exactly how to repair broken mug damage like a true DIY pro.
Step 1: Collect All the Broken Pieces
First, carefully pick up every single piece of the mug. Sweep the floor and check under your kitchen cabinets.
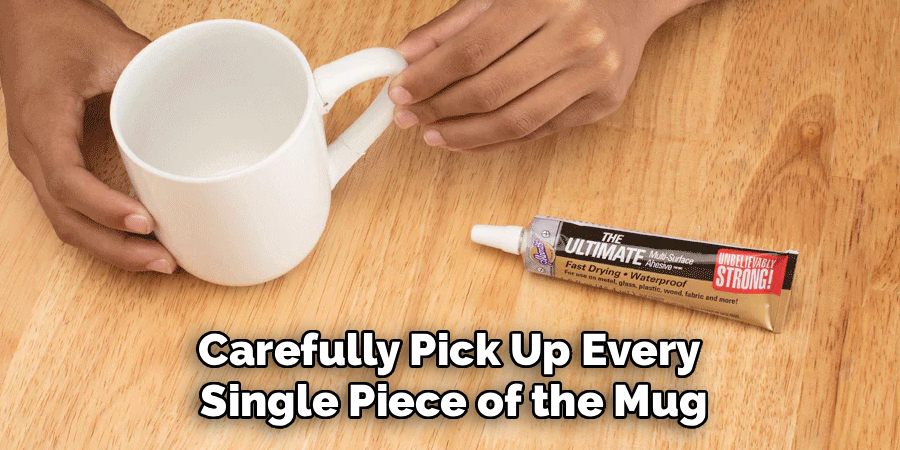
Even the tiniest ceramic shard is important for a seamless repair. Place all the pieces on a bright white towel so you can see them clearly.
Step 2: Clean the Ceramic Edges Thoroughly
Take your cotton swab and dip it into the rubbing alcohol. Gently wipe down the broken edges of every single shard.
You need to remove all dust, grease, and old coffee stains. Let the pieces air dry completely for about five minutes.
Read More: How to Repair Kitchen Cabinets.
Step 3: Do a Dry Run First
Never apply glue without testing the fit first. Piece the mug back together like a 3D jigsaw puzzle.
This dry run helps you figure out the exact order the pieces need to go in. It prevents you from getting halfway through and realizing a piece is stuck out of order.
Step 4: Mix Your Food-Safe Adhesive
Squeeze equal amounts of your two-part food-safe epoxy onto the paper plate. Grab a toothpick and mix them together vigorously.
Follow the package instructions for exact mixing times. Usually, you have about three to five minutes to work before the glue gets tacky.
Read More: How to Repair Cracked Pottery.
Step 5: Apply the Glue Carefully
Dip a clean toothpick into your mixed epoxy. Gently spread a very thin layer of glue onto one edge of the broken ceramic.
Do not use too much adhesive. A thick glob of glue will ooze out the sides and ruin the finish of your mug.
Step 6: Press the Pieces Together
Take the glued piece and press it firmly against the main body of the mug. Hold it in place with steady pressure for about sixty seconds.
You want the edges to align perfectly flush. If you feel a sharp ridge, adjust the piece slightly until it is completely smooth.
Read More: How to Repair a Microwave That is Not Heating.
Step 7: Secure the Mug for Curing
Once the pieces are joined, grab a strip of painter’s tape. Stretch the tape tightly across the repaired crack.
This keeps the pieces pressed together tightly while the epoxy cures. Leave the tape on for the full curing time recommended on your glue package.
Step 8: Clean Up Excess Epoxy
Sometimes a little bit of glue will squeeze out of the crack. Do not worry, this is completely normal.
While the glue is still slightly soft, scrape it away with a clean toothpick. You can also use a little rubbing alcohol on a paper towel to wipe away the sticky residue.
Crucial Safety Warnings for Ceramic Repair
DIY projects are fun, but safety must always come first. Working with broken ceramics and strong adhesives requires a bit of caution.
Keep these friendly warnings in mind before you start your repair. A little common sense goes a long way.
Protect Your Hands from Sharp Edges
Broken porcelain is basically as sharp as glass. Handle the shards very carefully to avoid slicing your fingers.
If your mug shattered into tiny, jagged pieces, consider wearing protective utility gloves. Never press down directly on a sharp point.
Always Prioritize Food Safety
We cannot stress this enough: standard glues are toxic. Never use typical wood glue, standard craft epoxy, or basic super glue on a drinking cup.
Hot coffee can cause regular glue to leach chemicals into your drink. Always verify your adhesive is 100% food-safe and heat-resistant.
Work in a Well-Ventilated Space
Even food-safe adhesives can have a strong odor before they cure. The fumes can sometimes cause mild headaches.
Set up your workspace near an open window or turn on a ceiling fan. Good airflow keeps your DIY project pleasant and safe.
When to Call a Professional for Ceramic Repair
We love fixing things ourselves, but sometimes a job is too big. Knowing your DIY limits is a sign of a smart homeowner.
There are certain situations where professional restoration is the better choice. Here is when you should step back and hire an expert.
Antique or Highly Valuable Mugs
Did you break a priceless heirloom passed down from your grandmother? Is the mug a rare, expensive collectible?
If the item has high monetary or deep sentimental value, do not risk a DIY fix. A professional ceramic conservator can repair the mug invisibly.
Complex Shatters and Missing Shards
If your mug broke into three clean pieces, you can easily fix it. But if it shattered into fifty tiny splinters, DIY is incredibly difficult.
Likewise, if you cannot find a missing chunk of the mug, a standard glue job will not work. Professionals can actually mold and paint custom filler pieces to replace lost shards.
Cost Estimate: DIY Repair vs. Professional Help
Is it worth the money to fix your mug? In most cases, absolutely!
Let us break down the costs so you can make an informed choice. Fixing things yourself is almost always the budget-friendly route.
The Cost of Fixing It Yourself
A high-quality, food-safe ceramic epoxy usually costs between $8 and $15 at the hardware store. Painter’s tape and rubbing alcohol are likely already in your house.
For under $20, you can repair your mug and have plenty of glue left over for future projects. It is a highly cost-effective weekend task.
The Price of Professional Restoration
Hiring a professional ceramic restorer is an investment. They use specialized techniques, like the beautiful Japanese art of Kintsugi, or invisible cosmetic repairs.
Professional mug repair can start at $50 and easily exceed $150. Reserve this option only for truly irreplaceable, highly valuable ceramics.
Frequently Asked Questions
We get a lot of questions from neighbors and DIYers about fixing kitchenware. It is completely normal to have a few doubts before starting.
Here are a few quick answers to help you feel confident. Read through these common questions before you mix your glue.
Can I put my repaired mug in the dishwasher?
It is highly recommended that you hand-wash your repaired mug. Even the strongest food-safe epoxy can weaken under the intense heat of a dishwasher.
Hand-washing with a soft sponge will keep your repair holding strong for years. Treat your fixed mug gently.
How long does food-safe epoxy take to dry?
Most epoxies set within a few hours, but curing takes much longer. Curing is when the glue reaches its maximum chemical strength and food safety.
Always let your repaired mug cure for at least 72 hours before using it. Check your specific adhesive package for exact curing timelines.
Can I microwave a mug after gluing it?
No, you should keep your repaired mug out of the microwave. Microwaves heat up the moisture trapped inside the ceramic.
This can soften the epoxy or cause the repair to pop back open. Stick to pouring your hot coffee directly from the pot.
What if my mug handle broke completely off?
You can absolutely reattach a broken handle using the steps above. However, the handle bears the entire weight of a full cup of coffee.
Apply a generous, even layer of food-safe epoxy to the joint. Clamp it tightly with tape and let it cure for a full week for maximum safety.
Is Kintsugi safe for drinking mugs?
Kintsugi is the traditional Japanese art of repairing pottery with gold-dusted lacquer. Authentic Kintsugi using natural urushi lacquer is generally food-safe once fully cured.
However, many modern DIY Kintsugi kits use synthetic gold powder and standard epoxies. If you use a modern kit, verify the materials are food-safe before drinking from the cup.
Enjoy Your Restored Mug
There you have it! You now know exactly how to repair broken mug damage like an expert.
By taking your time and using the right food-safe materials, you have saved your favorite cup. It is a great feeling to rescue something valuable with your own two hands.
The next time a dish slips out of your hands, you will not have to panic. You already have the tools, the knowledge, and the confidence to fix it yourself.
Now, give that freshly cured mug a gentle hand wash. Go brew a fresh pot of coffee, pour yourself a cup, and enjoy the fruits of your DIY labor!